Creators: Snake

This week we looked at creating a user-steerable snake in the style of the classic phone game.

8185657641_2761c2acd2_z

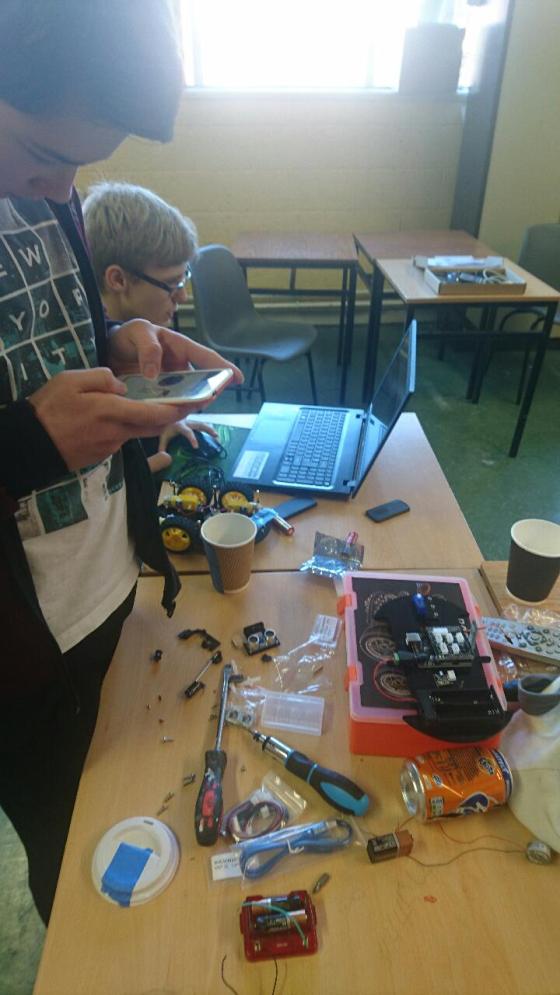
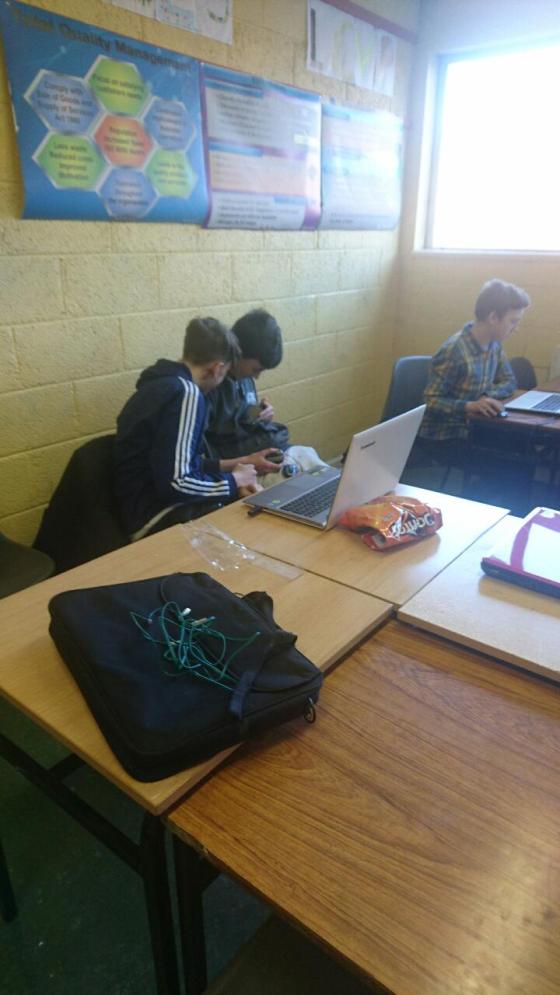
Image from James Hamilton-Martin, Flickr

Things we need

The snakes head moves and the rest of the snake’s body is made up of places the head’s already been, up to a certain point. For this we use a JavaScript array (we’ve also called it a list at times).

We don’t want the snake’s length to grow indefinitely, so we have a maximum length. Once the list of stored locations gets larger than this, we use the JavaScript splice() command to remove the first (oldest) element from the list.

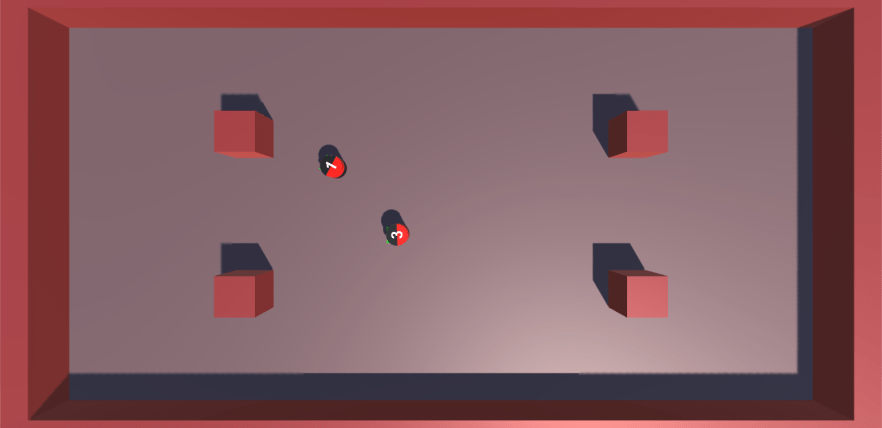
Direction and turning

Screen Shot 2018-02-06 at 22.59.28

We assign numbers to represent directions on the screen. Zero is right, one is up, two is left and three is down. Note then that if the snake is heading right (in the screen sense) and turns left it goes to up (in the screen sense); direction goes from zero to one. Similarly, if going up (in the screen sense) and it turns left then it goes to left (in the screen sense).

Generally then we note that turning to the left makes the direction number get bigger while turning to the right makes it get smaller. This rule hold until we get to a number bigger than three or smaller than zero; these make no sense. If direction is at zero and the snake goes right, we set direction to three. Similarly, if direction is at three and we turn left, we set direction to zero.

Getting this week’s code

As always, all the code from our Creator group can be found on our GitHub repository.

Week 7 2017 – Explorers – Piano

Hello everyone,

Thank you all for coming again this week and I hope you enjoyed the Halloween break.

This week we did a simple Piano.

piano

We only had to draw two keys, and then could duplicate these and change the names. The same applied to the code. The code is the same for each key apart from one small change so the note is the appropriate for the key.

REMEMBER! You need to make four changes each time you duplicate:

Change the name of the spite to the next Note

Change the name of the TWO costumes

Change the NOTE played

Piano2

Piano3


Here are notes from this week in PDF CDA-S6-Week_07-Piano.pdf

Martha

Congratulations to all our ninjas who received belts in Summer 2017!

This slideshow requires JavaScript.

On 27 May 2017, at our final CoderDojo Athenry session of the 2016-17 year, we awarded a total of 93 belts to our ninjas for their great individual achievements in acquiring and demonstrating coding and computing skills. And then we had a party with pizza!

Here is a link to our presentation from the day: CoderDojo Athenry Belts Day 2017

We are very grateful to Clarin College Athenry and the principal, Ciaran Folan, for their enabling CoderDojo Athenry by making the school and its wifi available to us.

We are also very grateful for the sponsorship and support we have received this year:

  • Galway Roscommon Education and Training Board, who provide us with an annual Youth Club Grant
  • Medtronic, employer of our mentor Declan Fox, who provide us with a grant to match Declan’s excellent volunteering
  • HP Enterprise, employer of our mentor Mark Davis, who provide loaner laptops that we make great use of
  • Boston Scientific, employer of our mentor Kevin Madden, who provided us with a set of 3D printers this year, which allowed a great new learning experience

Because of these supports, no child or parent/guardian ever has to pay to participate in CoderDojo Athenry.

This year also, mentor Martha Fahy introduced a new idea, “Java Dojo”, where parents can buy a cup of tea/coffee, providing additional funds. With these, we have been able to buy a speaker system, electronics needed by some of our groups, and our own 3D printer! Thank you, our CoderDojo ninja sidekicks!

And of course we must thank our mentors, who volunteer their time and expertise entirely without charge week after week, to make CoderDojo Athenry the success that it is.

Here is the full list of belts we awarded:

  • Explorers:    44     (39 Yellow & 5 White)
  • Advancers:  18
  • Bodgers:     17
  • Hackers:      8
  • Creators:     5
  • Black Belt:   1

Special mention must go to Eoin Clarke, who received our first ever black belt award. Eoin has been in CoderDojo Athenry for several years, working his way up through the groups, and this year took on the role of Mentor. Well done, Eoin!

Above are some photos of the belts awarded. You can find more on our Facebook page: https://www.facebook.com/CoderDojoAthenry/posts/1465673366786859

CoderDojo Athenry is now closed for the summer. See you all in September!

The GEEC at CoderDojo Athenry

We were fortunate to be visited on 8 April 2017 by Ciara and Connor, two engineering students from NUI Galway who are part of the Geec team, building the Galway Energy Efficient Car – this is an electric car that a group of students have built from scratch, that is capable driving very long distances. For example, they estimate that it could cover the distance from Galway to Dublin for 14 cents worth of electricity!

Ciara and Connor both explained their roles in the project and answered many questions from enthusiastic members of CoderDojo Athenry. The CoderDOjo members found the Geec and its underlying technologies very interesting. It was fascinating to see that skills that many of them are learning (such as Arduino programming, soldering, and App Inventor) can be put to such great use.

The Geec

A team, a project and a car. The Galway energy-efficient car (better known as the Geec) is an eco-car designed and built by engineering students from NUI Galway. In May 2015, we competed with 196 other teams at Shell Eco-marathon Europe, where every car was challenged to drive 16 km on a closed street circuit in Rotterdam using the least amount of fuel or energy. The Geec represented Ireland’s first ever attempt in this definitive global ultra-efficiency event. We finished in the top half of the leaderboard in prototype battery-electric class, with a score of 287 km/kWh – roughly equivalent to 8,000 miles per gallon for a petrol or diesel car.

The talk covered the basics of how the car has been designed, built and tested, with the main focus on the electronics and software involved in the car.

Ciara Finan

Ciara is a final year Electronic and Computing Engineering student in NUIG. Her role on the Geec team is to implement the Data Acquisition and Display system. The system collects data from sensors on the car and then has to accurately display them in real-time to the driver. All the data is used to write out driving strategies for the marathon. It entails designing, testing and building a circuit with various sensors, an Android app to display the data to the driver and a logging system to save the data for further analysis.

Connor Duignan

Connor is a final year student studying Electrical and Electronic Engineering in NUIG. His role on the GEEC team is designing the power electronics system, which delivers power from the battery to the motor. This involves both software and hardware, with an Arduino being used as the interface between the electrical and virtual sides of the system.

Creators: Text Based Adventure

The last two weeks we were looking at something quite different: a text-based adventure system built in Unity. This was inspired by the Henry Stickmin games and also by the old 80s-style choose-your-own-adventure books.

158788261_51be05e517_z

Basic Program Design (Story Card)

The user is presented with a “story card”. A card consists of some text describing their current situation and (normally) a number of options to choose from.

Screen Shot 2017-04-05 at 14.12.23.png

Depending on which option they pick, the story branches from there, card-by-card, until it reaches an end (a card with no options).

Setting up a card is straightforward:

Screen Shot 2017-04-05 at 14.15.27.png

You enter the card description (the text the user sees on screen), the text that the user will see on each option button (the program supports up to four at the moment) and the card (or branch, but we’ll get to that later) to jump to when that option is selected.

There’s also the mention of “States to Set True/False” and we’ll explain that next.

Story States & Story Branches

We could have programmed the system entirely using only cards, but there’s one situation where this becomes tedious. Imagine that you have a choice; hitting a button for example. The consequences of this choice won’t become apparent until later in the story. If we only had story cards, then we’d have to branch the story immediately at his point, replicating the same steps on both branches until the point at which the consequences of your action played out.

Fortunately, there is a better way.

First, to remember the value we introduce the idea of a “story state’. It’s just a container for a true or false value. Cards can set the value of specific states when they are activated as seen above.

Screen Shot 2017-04-05 at 14.14.09

So, that covers remembering values, how do we then make use of them? This requires a “story branch”. A branch references a state and two places for the story to go (either of these can be a card or another branch). The value of the state determines which is picked.

Screen Shot 2017-04-05 at 14.19.01


Game Manager

This class looks after the story. It is responsible for updating the UI to the details of the current card, for handling the use clicking on specific buttons and generally directing the flow of the story. It also needs a StoryCard to start off the story with.

Screen Shot 2017-04-05 at 14.21.33.png

Project


The project, including a very simple story using a number of cards and also a couple of states, can be found here. There are two scenes in the project, Adventure which contain a simple story and Basic which is a good starting place for your own story.

Creators : Breakout / Mouse Controlled Camera

Screen Shot 2017-03-16 at 15.25.41

This week we looked at a version of the classic game Breakout. It was an exercise in showing how a game developed with 3D assets can, nevertheless, appear like a 2D game given the correct choice of camera and lighting.

The camera for this game is an orthogonal one. Unlike a standard perspective camera, which mimics how we actually see the world, things don’t get smaller as they get further away with an orthogonal camera. This gives a very flat look where we don’t see the edges of the game area, blocks, bat or puck. In addition, the scene has a single directional light which shines directly downwards. Shining straight down means there are no shadows around the sides of the objects as there would be if the light was at an angle.

This game does not use Unity’s physics for the puck movement. I found that the physics just didn’t give the consistent behaviour you’d expect from this game. Accordingly, I programmed the movement of the puck myself. The maths is a little more complex than I’d like but the intention is to keep the puck moving at a constant speed, even after it hits something.

Additionally, we worked quickly on implementing a mouse controlled camera. In the hierarchy, we created a camera rig from two empty objects, one inside the other, and put the camera object inside the second. Changing the Y rotation of the first empty then turned the camera around the vertical while changing the X rotation of the second tilted the camera around horizontal. The visual below show what a real world camera rig that behaved this way might look like; rotating at the base and at a horizontal pivot.

Screen Shot 2017-03-16 at 15.53.28

In our scripts we referenced the usual horizontal and vertical input axes:

     float horiz = Input.GetAxis ("Horizontal");
     float vertical = Input.GetAxis ("Vertical");

but in the Input Manager (Edit|Project Settings|Input) we switched these from the arrow keys to the mouse axes:


Screen Shot 2017-03-16 at 15.35.08 (Edited)

The Breakout project can be downloaded here and the mouse controlled camera project can be downloaded here. These projects are both saved with Unity 5.5.2f1, so please use that version or later when opening them.


Creators – Projects

material-design-joystick-wallpaper-flat-video-game-1486908

This week we spoke about possible projects. We also looked at games that you like so that we could draw inspiration from them.

When it comes to projects, there are a few questions you need to ask yourself:

What is the type of game you want to make?

Take a look here for an exhaustive list of game genres: https://en.wikipedia.org/wiki/List_of_video_game_genres

What is the setting for your game? Do you have a character in mind?

These choices will determine the look and tone of your game and are good things to decide early on.

What do I already know that will help create my game?

From what we’ve seen already this year, what things will your game need that you already know how to do?

What do I not yet know how to do?

There are things you might like to be able to do that you’re not sure about how to achieve; these are things to raise with your mentor. He’ll focus on these in the next few weeks. Also; check the Asset Store. There are many free things there that might help you complete your game. If you’d ultimately like to do everything yourself, look at these as items as placeholders to get the basic game working that you might eventually replace.

Finally remember:

BE REALISTIC IN YOUR AMBITION

You will find it hard to get time to work on your project and it’s your first project on your own in most cases. The most important things are to show something that is yours and something that is fun. Showing something that is overly complex but that is not fun is not as good.

Get your thinking caps on!