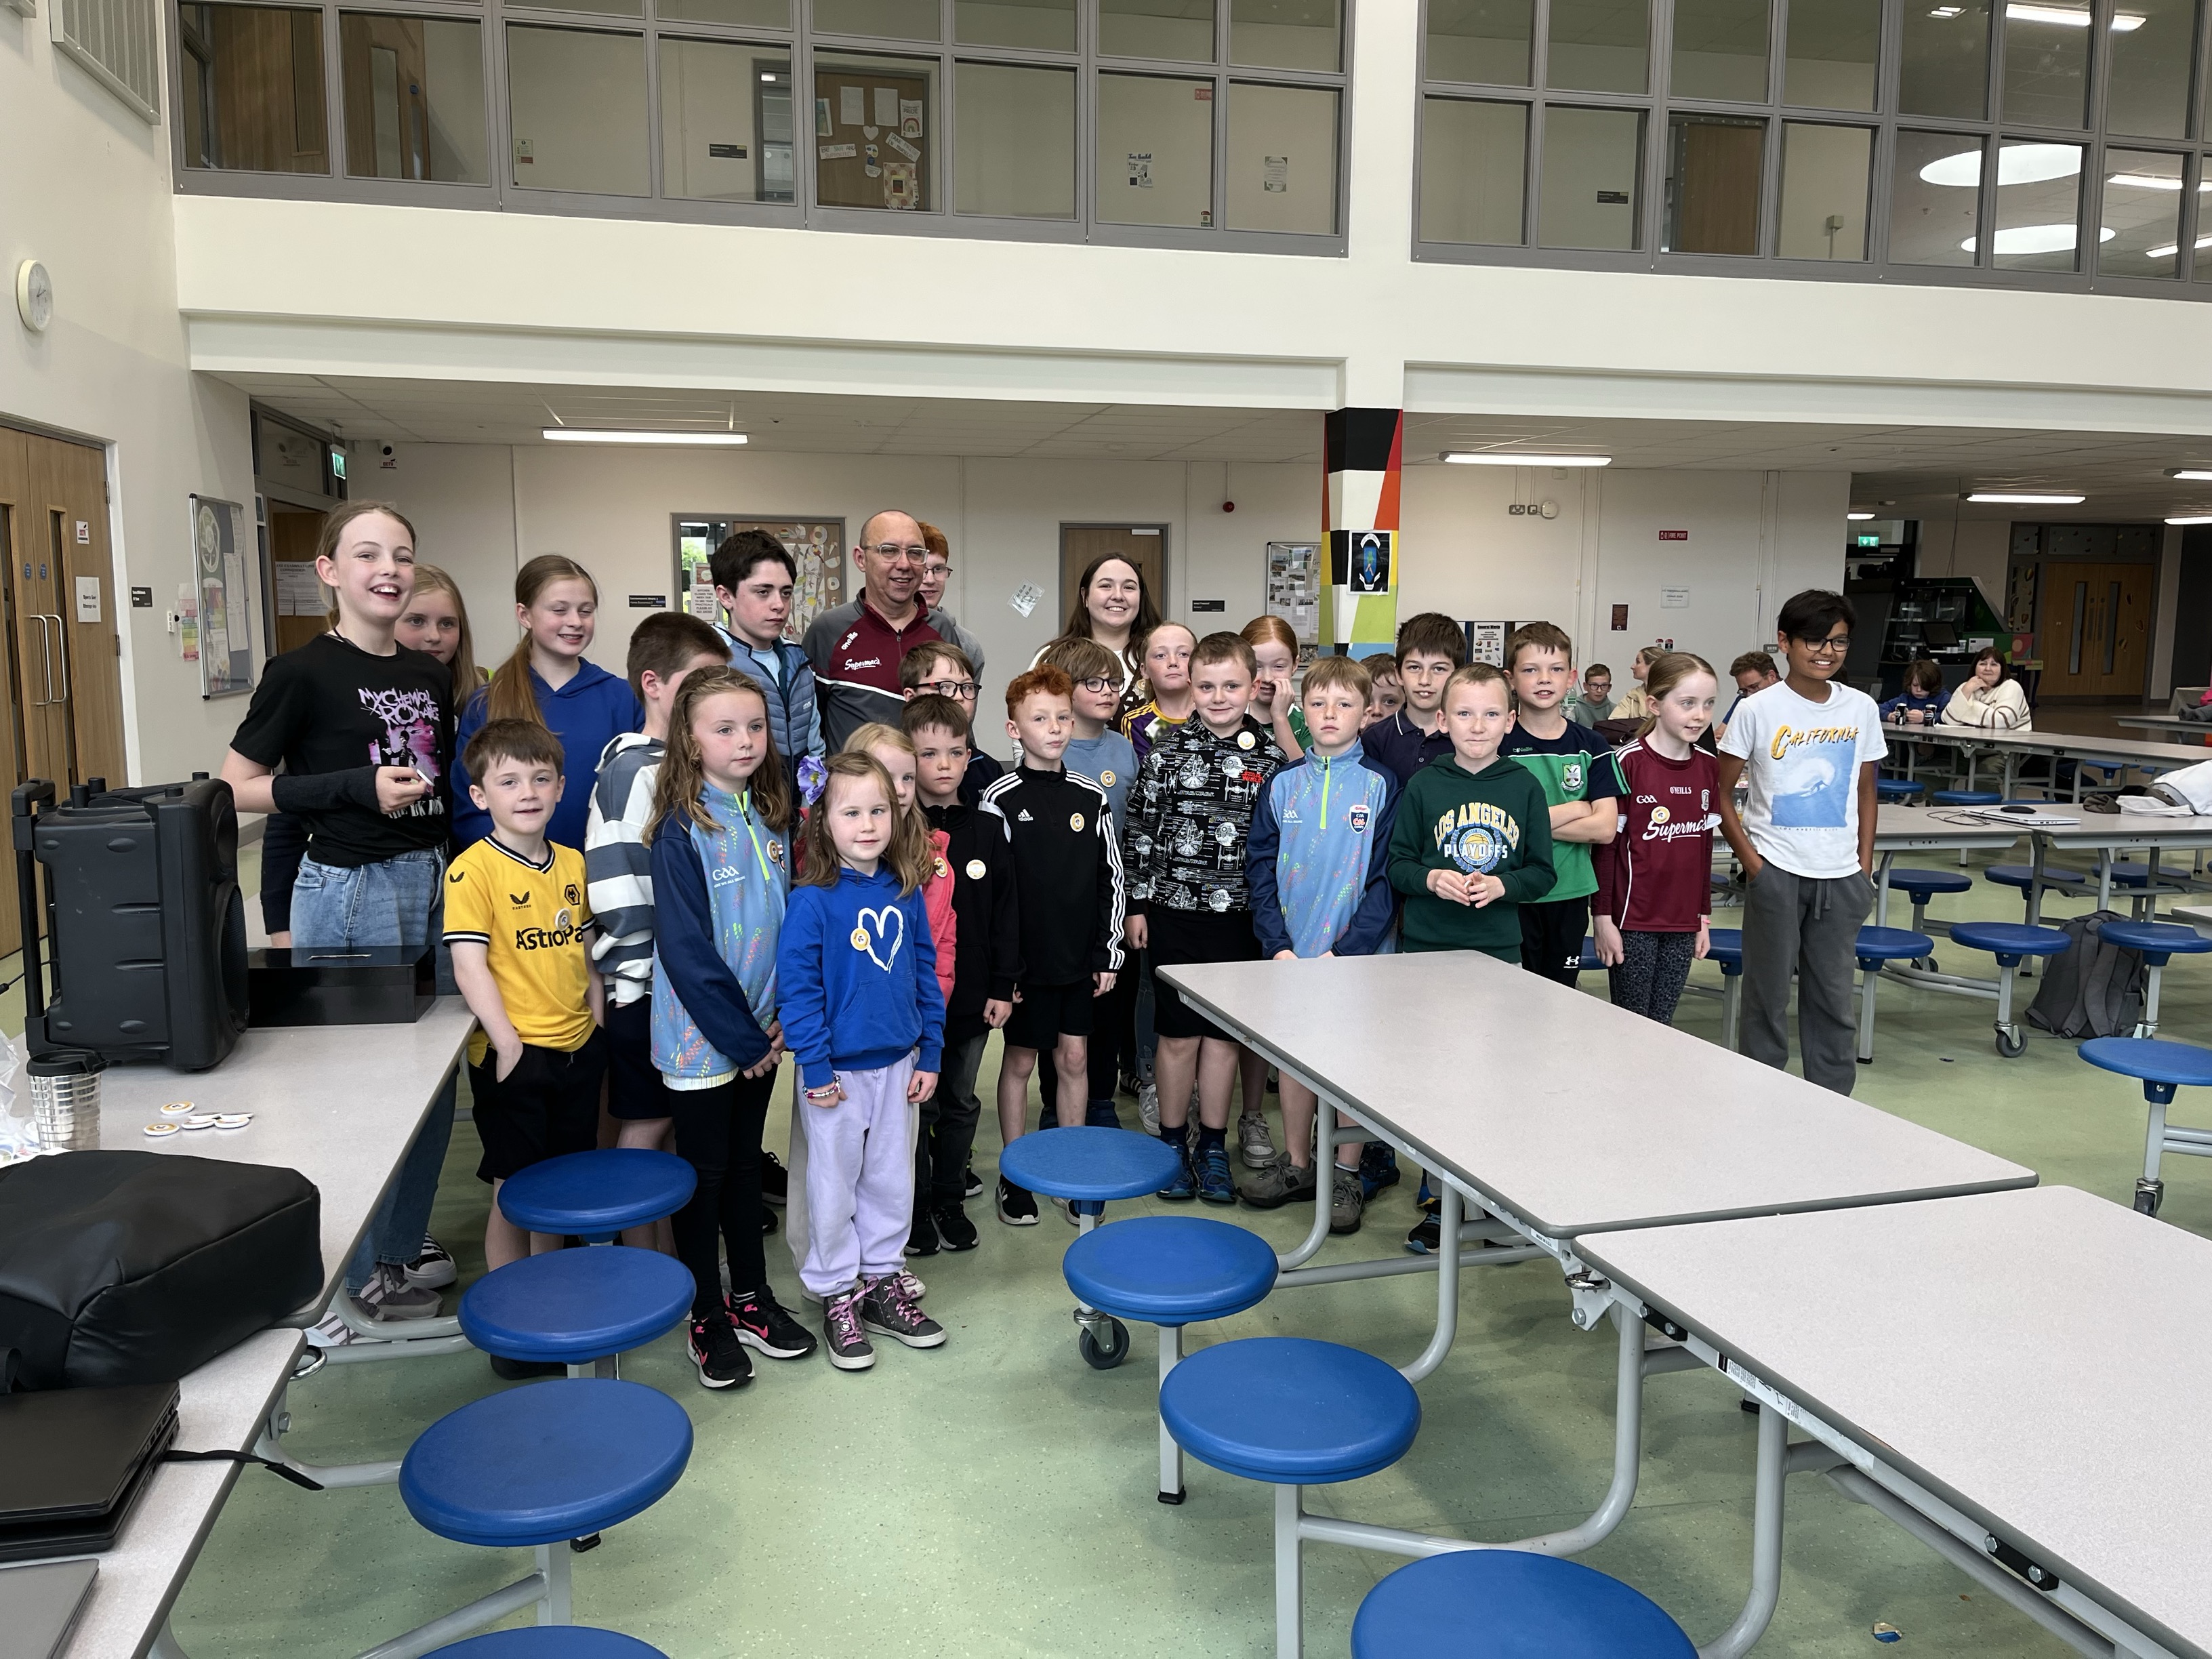
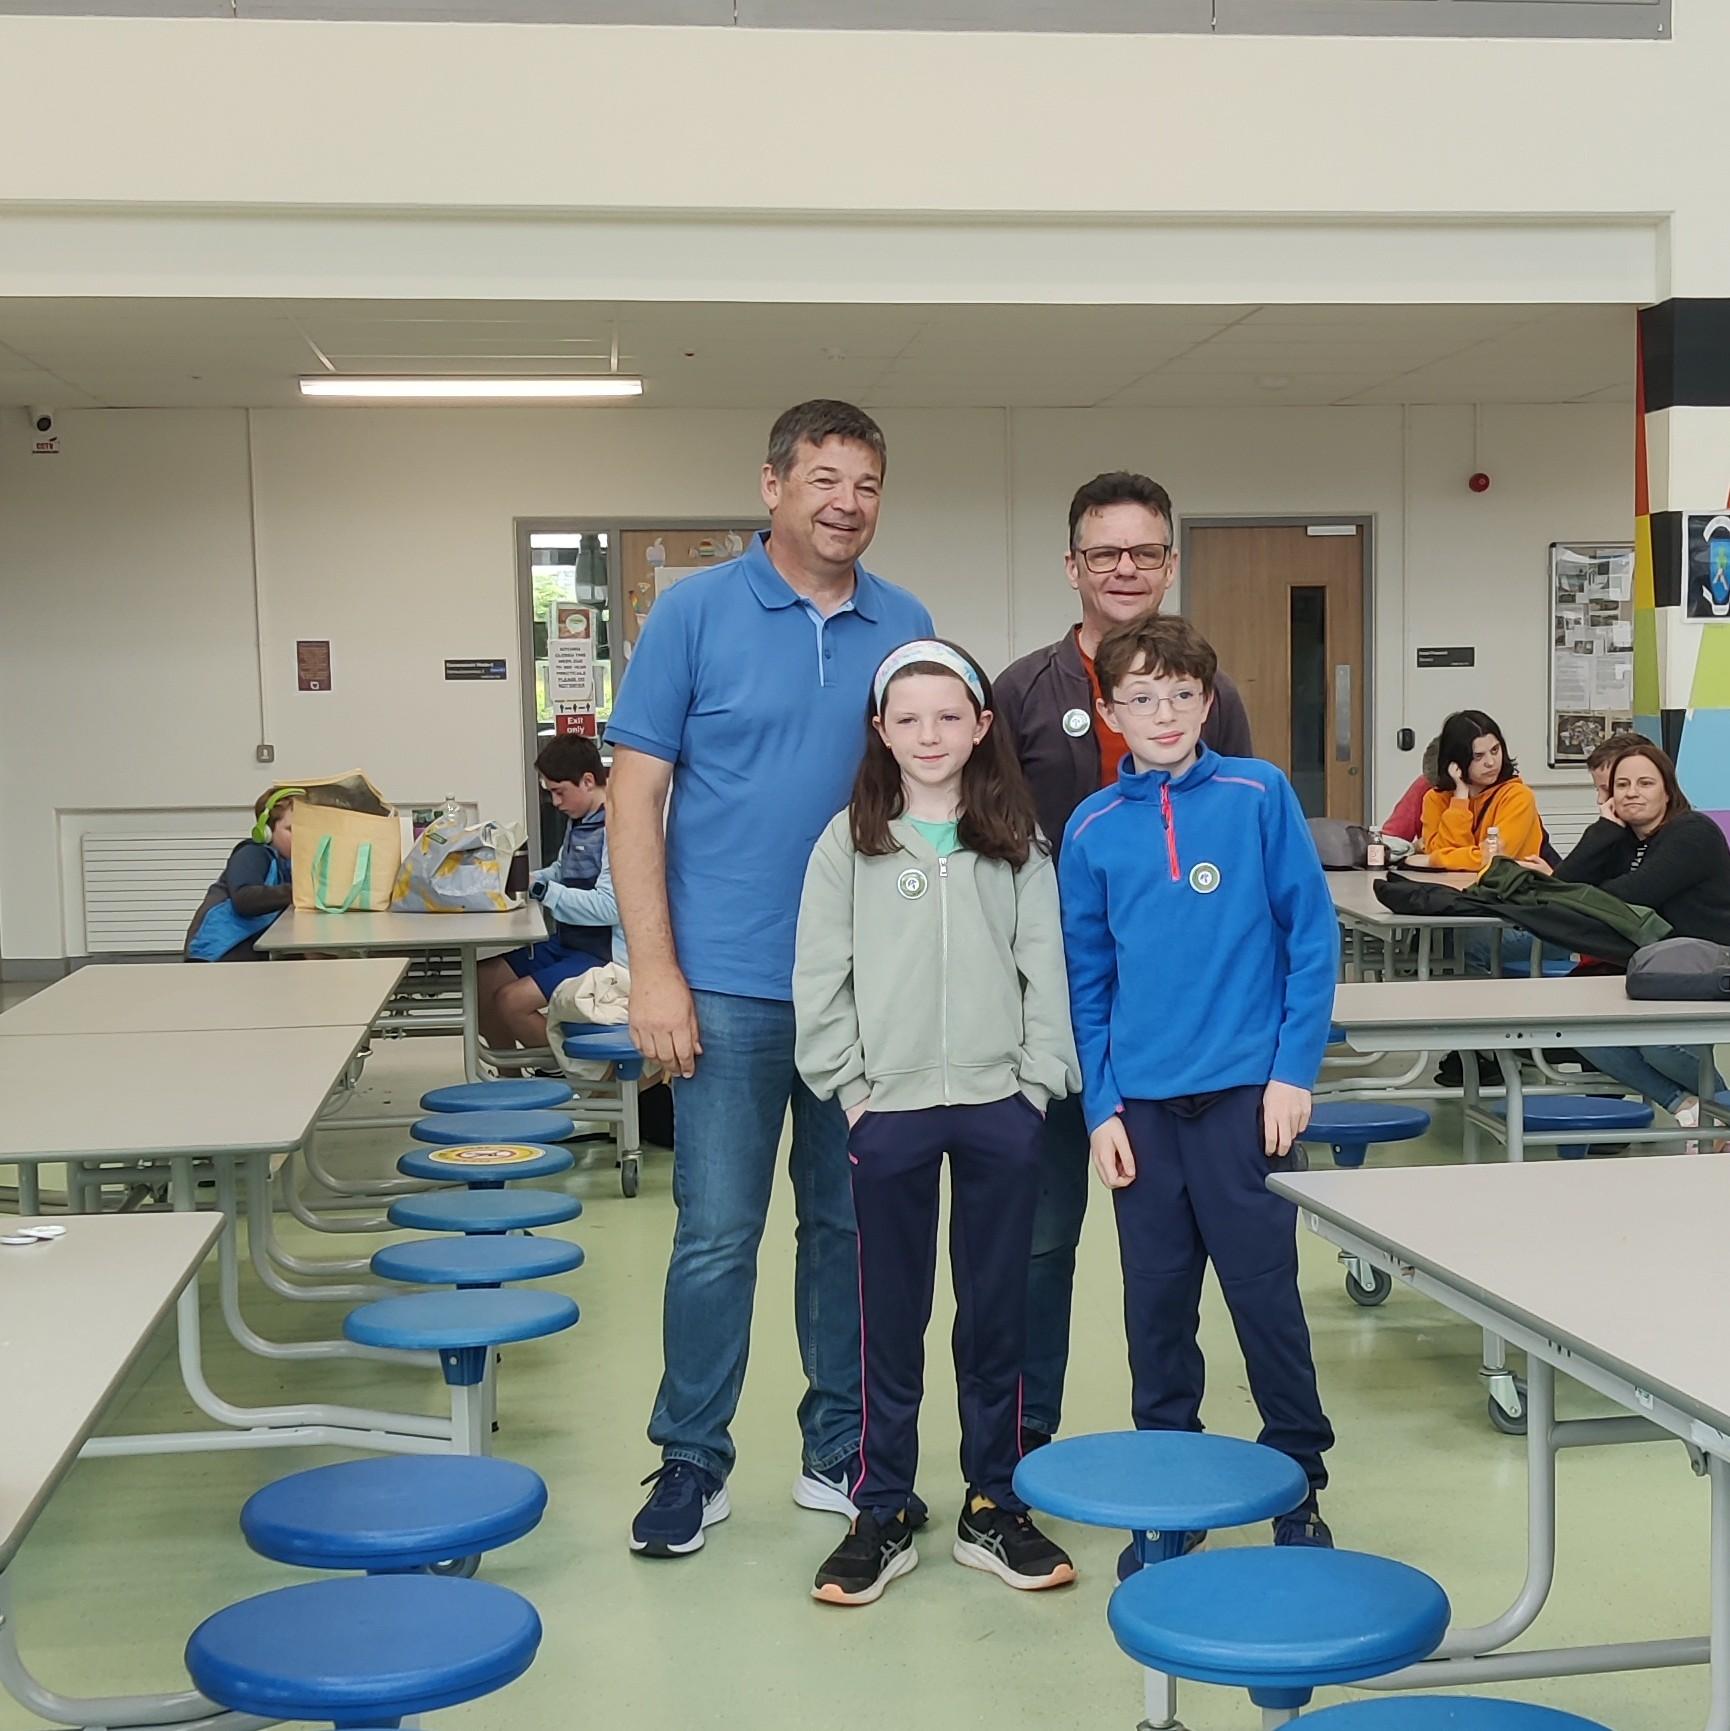
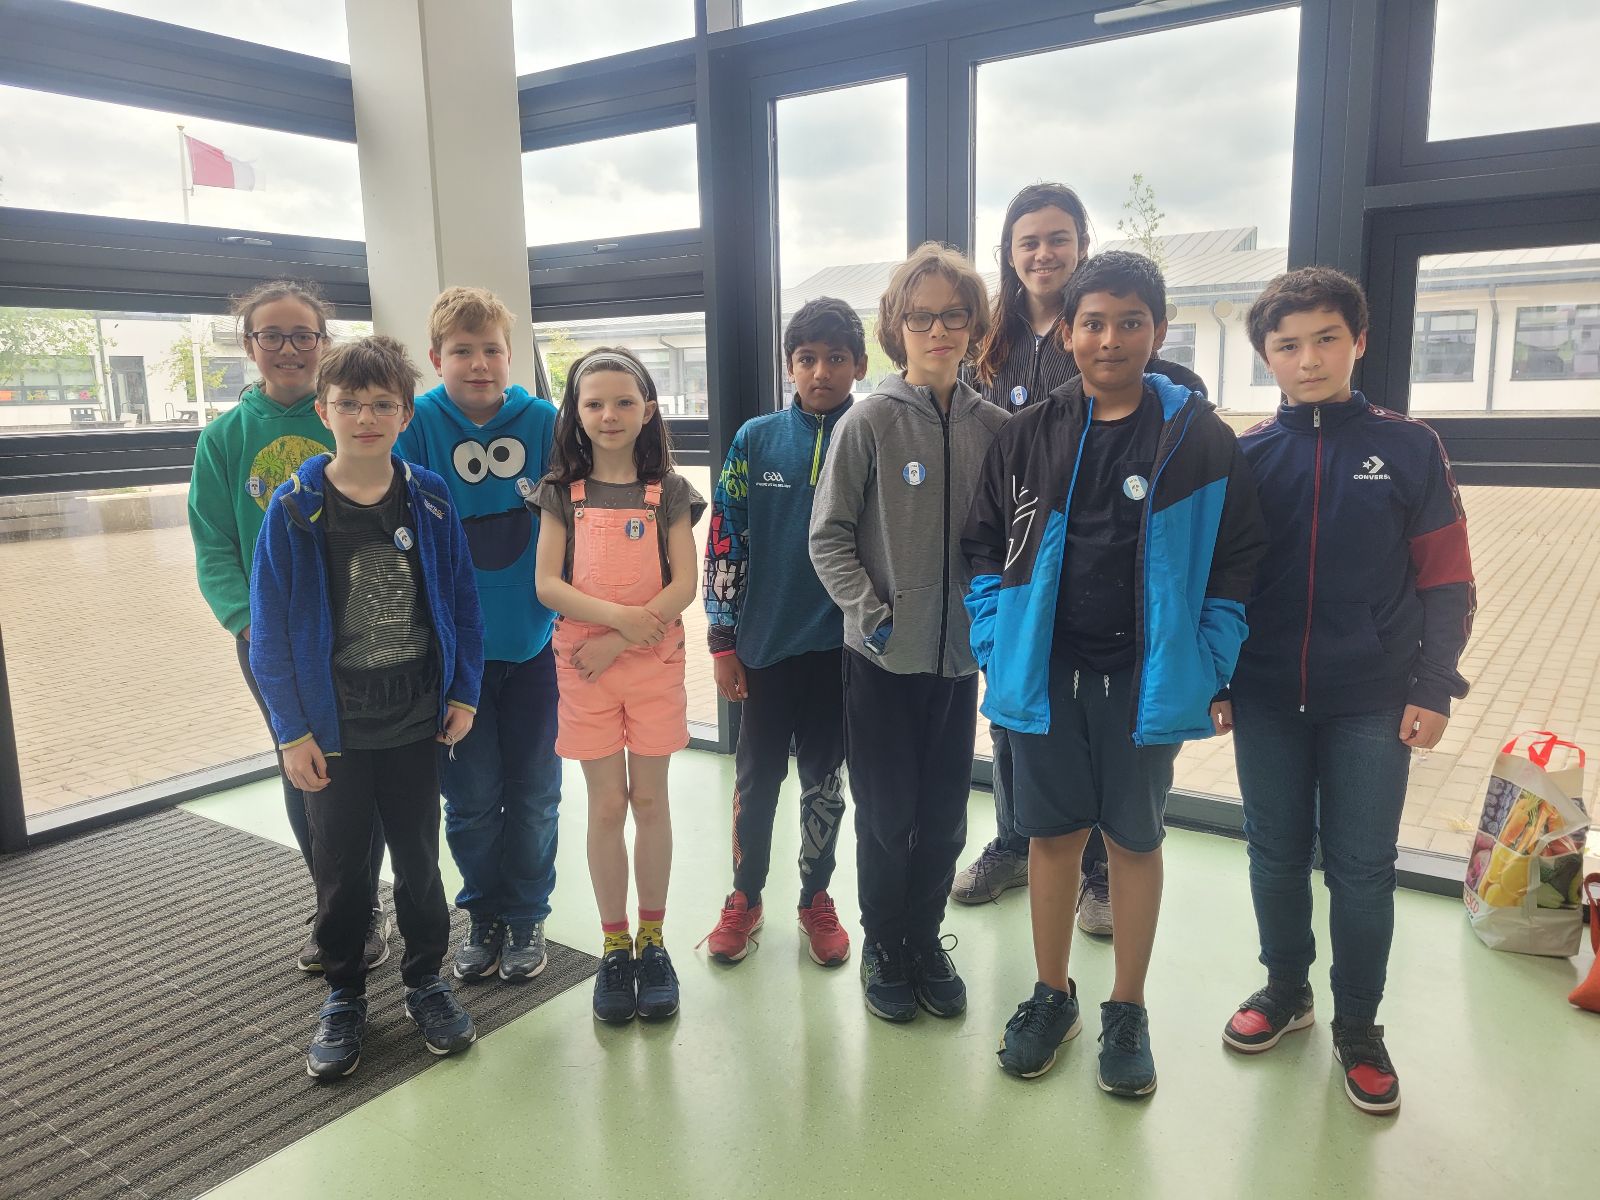
We had a great end-of-year party today. It’s our favourite tradition and a great way to celebrate our year’s achievements.
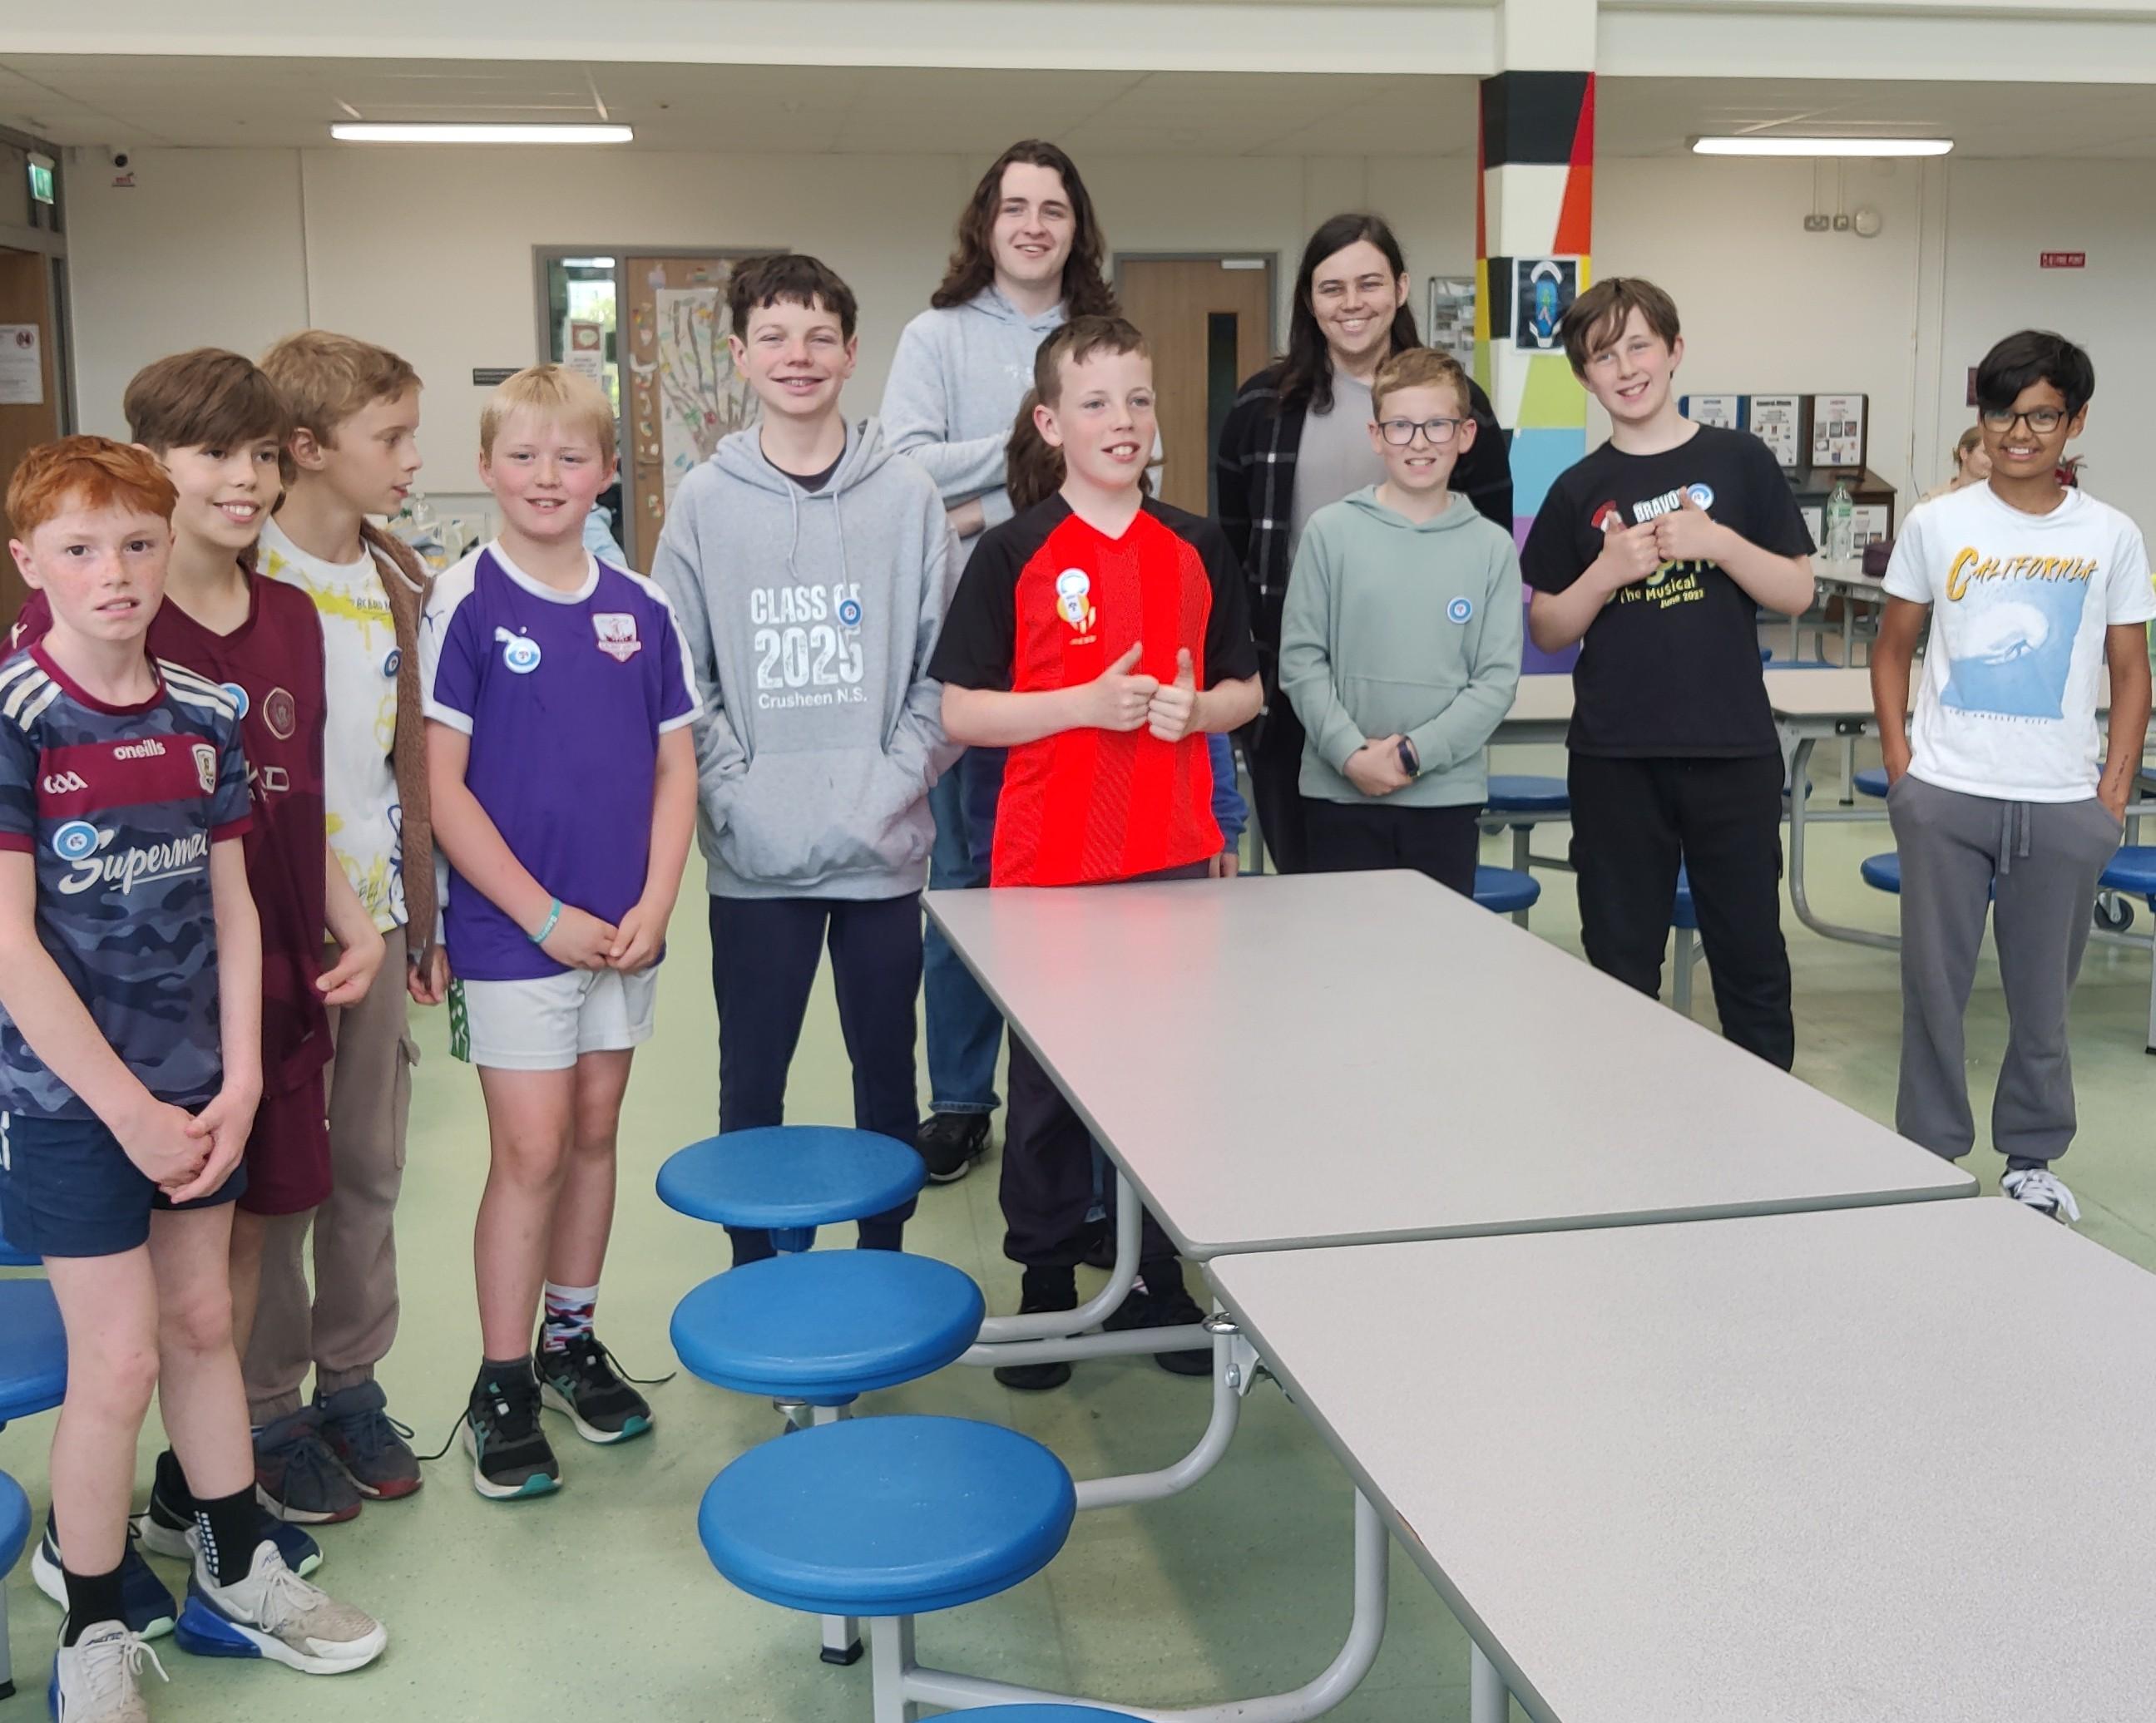
We demoed what each group had been working on, awarded badges and had a fun quiz. Then we feasted. Everyone’s favourite part is the food. Supermac’s & Papa John’s Athenry did a super job there, as they always do!
We invited donations today. We don’t like to do that too often, but everyone was incredibly generous. We received enough to completely cover the cost of the party and the badges with a little left over. Our most sincere thank you!
I’d like to acknowledge and thank others who have helped us this year. The acting-principle and staff of Clarin College ensure we have a venue, The University of Galway’s School of Computer Science provided us with much-needed financial grant. Medlife kindly donated two laptops which we can use in our laptop loaner program.
Finally, thank you to the hard-working and dedicated volunteer mentors who turn up week after week and keep this incredible organisation going.
We will be returning in the autumn. Dates will be announced in late-Aug/early-Sept, once we know them.
I wish everyone a fantastic summer!