This week we:
- Imported updated gem images
- Imported an asset pack containing our new Inventory UI and a prefab to serve as an inventory slot
- Worked on the code for the inventory slot
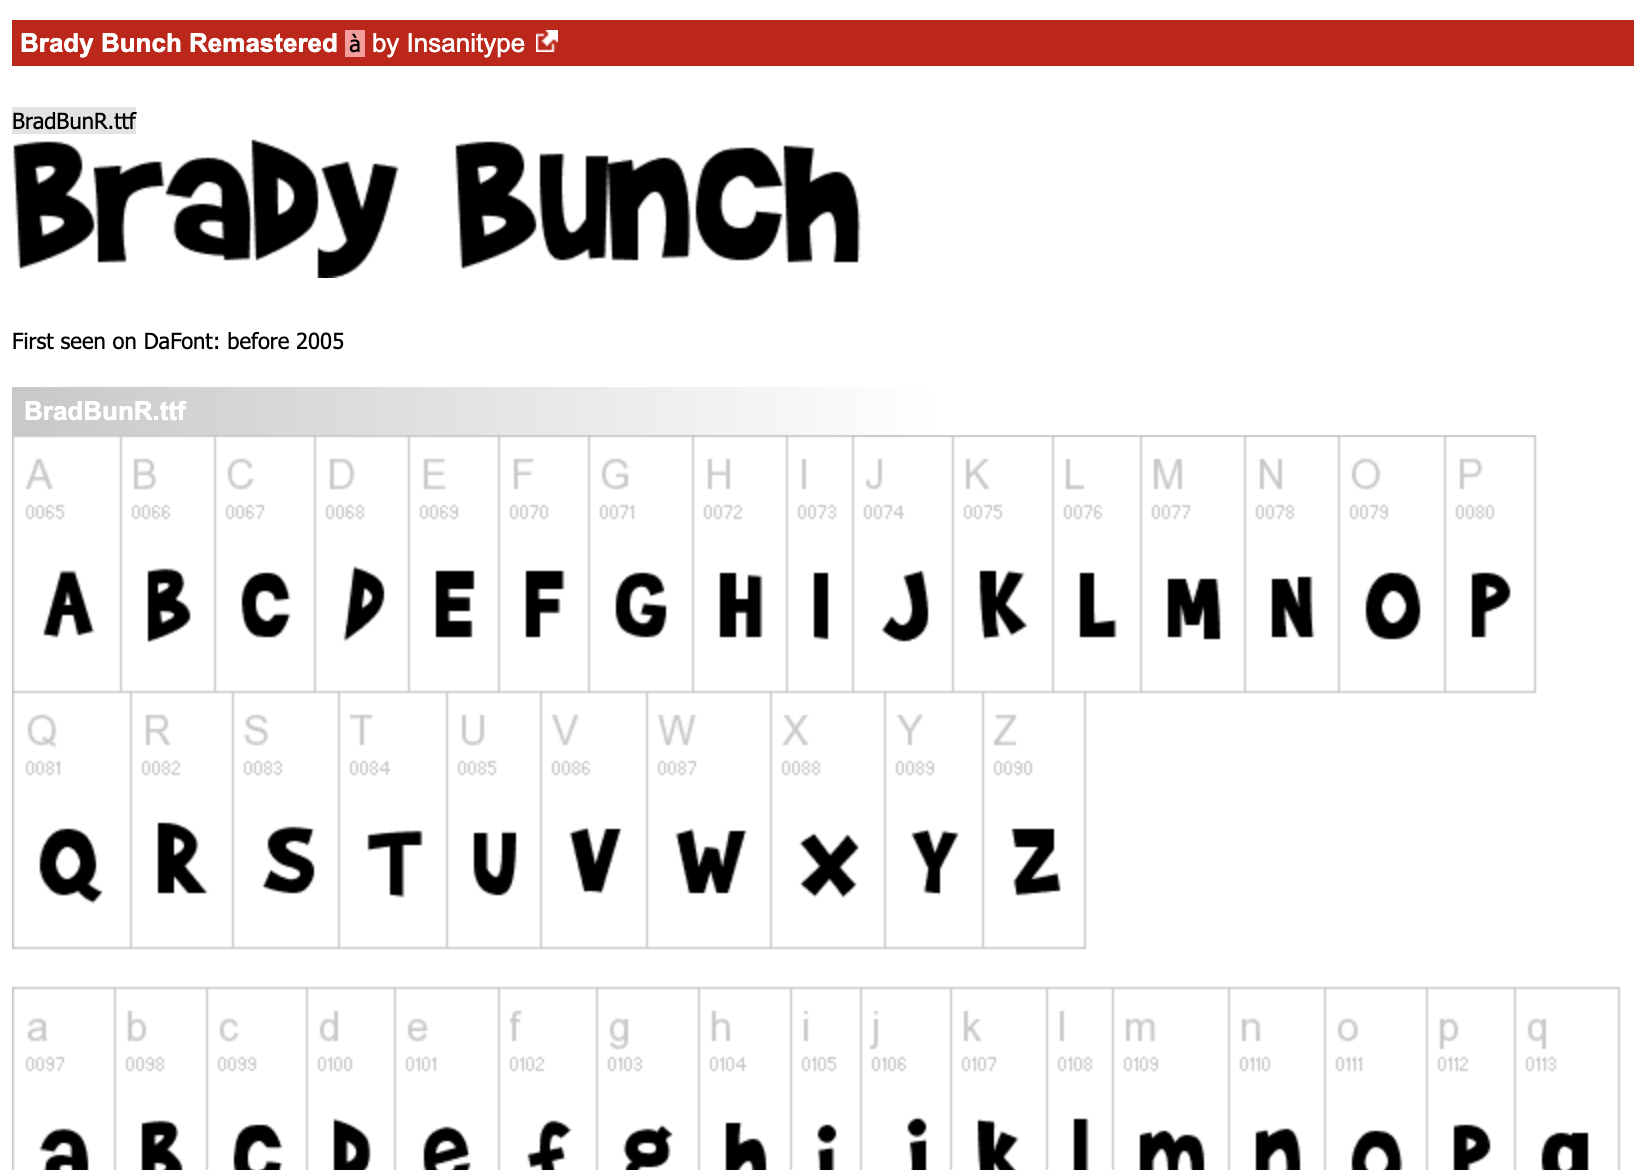
Updated Gem Images
We downloaded GemImages.zip from our Teams site. Importing these files directly into Unity wouldn’t work. Unity associates an identifier (which is a large random number) with assets in a project. This identifier is commonly called a GUID or Globally Unique Identifier. This allows us to rename and move things and any links we’ve established remain in place.
GUIDs aren’t absolutely guaranteed to be unique, but the chances of two being the same is 1 in 360 undecillion. What’s an undecillion? It’s a 1 followed by 36 zeros. Not just huge, but unbelievably vast.
If we import new assets, they’ll get new GUIDs. Anything we linked to the old versions will remained linked to the old versions. What can we do?
Well we can get around this by updating the files outside of Unity. If we replace the files in Windows Explorer or Mac Finder, then Unity sees they’ve updated, but considers them still the same asset they were before and all links remain good.
You can see, when looking in Windows Explorer or Mac Finder that for every file and folder in a Unity project there is also a file of the same name but with the additional ending .meta. This file stores all the asset properties from the Inspector window and, surprise surprise, the GUIDs as well.
New UI Asset
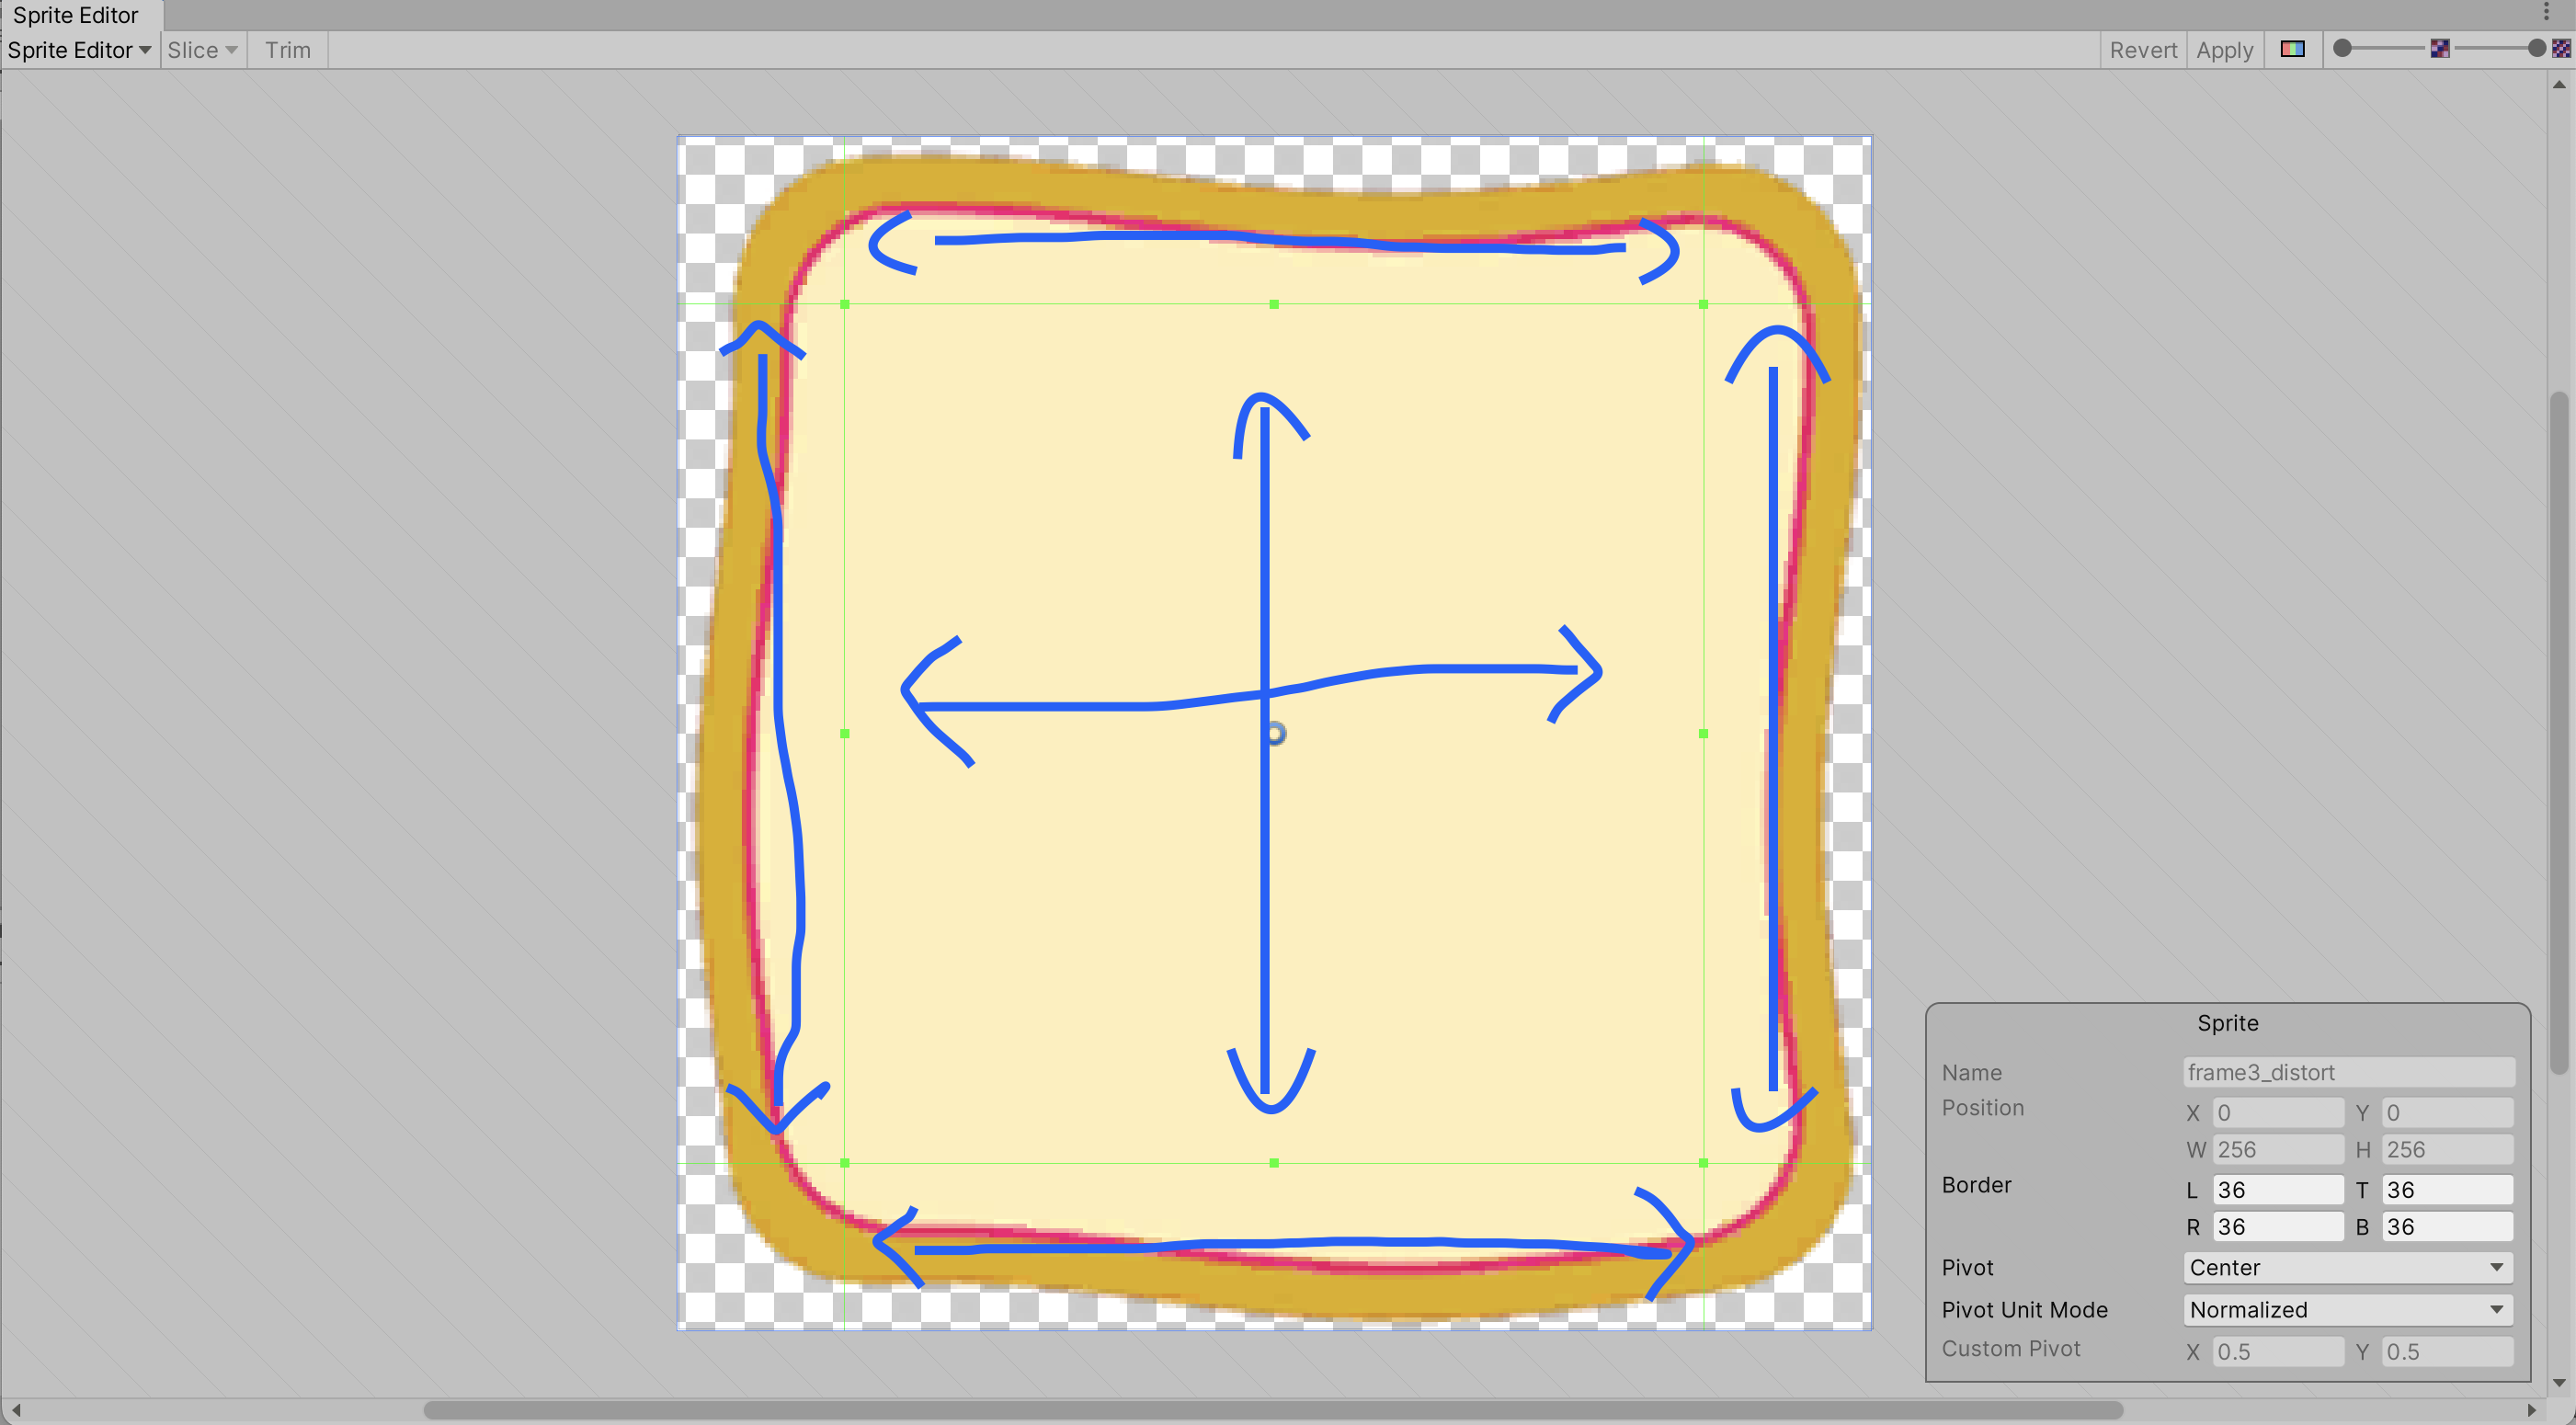
We downloaded the GemInventoryUI.assetpack from our Teams site and imported it into Unity. There were warned that we were going to overwrite existing assets and change their GUIDs. This happened because we’d previously imported frame3_distort.png and frame3_distort_hollow.png, which are in this asset pack as well. Every single one of us ended up with a different GUID for these assets.
When this happens you have two choices:
- Import these assets from the asset pack and break any links that exist in your project already
- Don’t import these assets from the asset pack and break any links with items within the asset pack
In this case, the choice is easy. We only used frame3_distort.png once in our project and we haven’t used frame3_distort_hollow.png yet at all. In the asset pack, in contrast, we’ve used these two assets several times. We choose the first option and we just have to edit our Gem Found prefab to fix the link to frame3_distort_hollow.png in the Panel control that’s now broken.
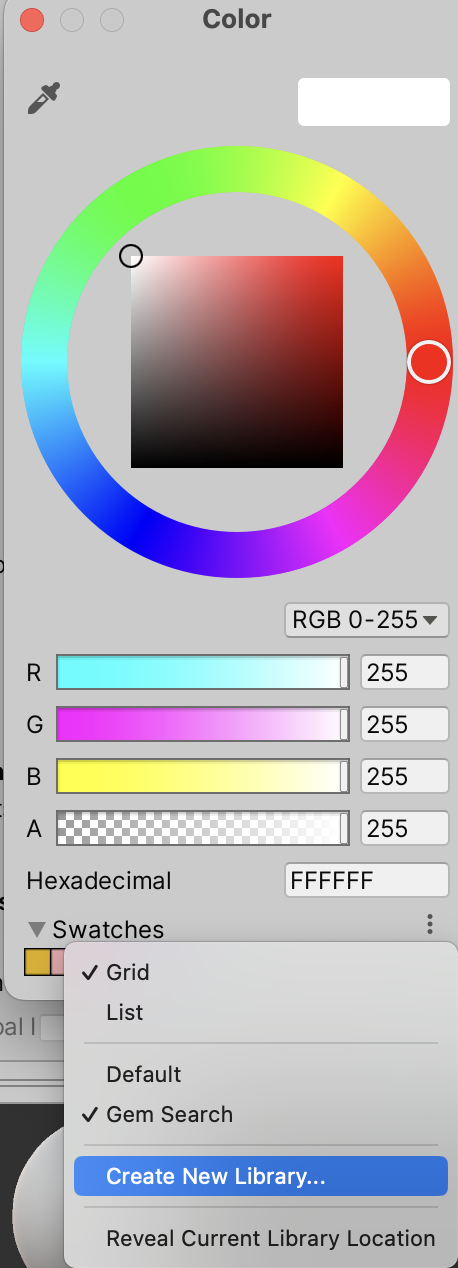
We also changed the colour of all the “Header” text in our new Inventory Canvas prefab from Palatinate Blue to Cherry Blossom Pink. This is a nicer balance of colour and retains the strong Palatinate Blue colour for the button, emphasising that it’s an action.
Finally, we dragged a copy of this Inventory Canvas prefab into our Main Scene. It can’t be used right now, because the First Person Controller has the mouse locked to itself to control the look direction, so we just disabled it for the time being.
Inventory Slot – Starting to Work on the Prefab
To work on the Inventory Slot we created a new scene called Inventory Slot Test. We set it up as follows:
- Added a Canvas
- Added a Panel to the canvas. It’s automatically set to stretch to it’s parent, filling the canvas.
- Set the Panel’s background to anything other than white and set it to opaque (A = 255)
- Add another Panel as a child of the Panel above. Call it “Slot Holder”
- Change Slot Holder’s background to white and opaque.
- Changed Slot Holder’s Anchor and Pivot: Click on the button in the Rect Transform component. While holding the SHIFT and ALT keys, select top-left.
- Now that the anchor’s changed, the size and position can be set. Set the size to 100×100 and move Slot Holder so it’s somewhere near the middle of the left-hand side of the screen.
- Duplicate Slot Holder and move the copy to the middle of the right-hand side of the screen.
- Drag a copy of the Inventory Slot component as a child of both Slot Holder and Slot Holder (1)
Your screen should look similar to this when done:

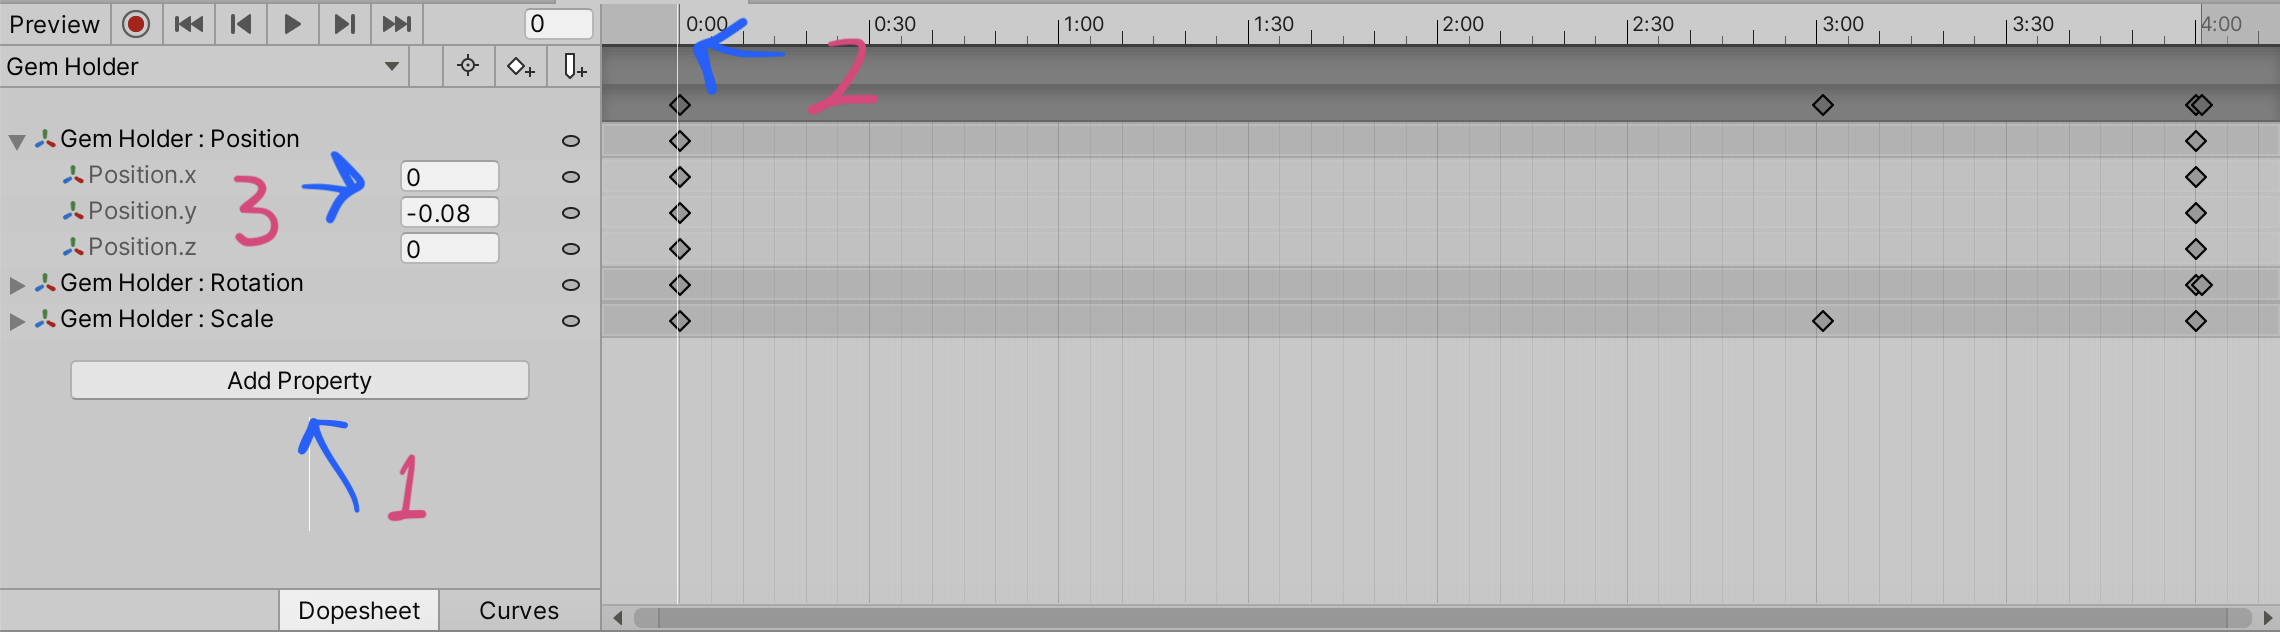
We create a new script called InventorySlot.cs in our Scripts folder. Edit the Inventory Slot prefab and add the script to the prefab.
Note that it’s easy to make these changes to the copy of the prefab in the scene, but that’s not what we want. We want to edit the prefab itself so that every copy of the prefab, including those in the Inventory Canvas, get the changes.
Updating GemDefinition.cs
We take a little detour here to update GemDefinition.cs. We need a Sprite so we can attach it to an image control, etc. Gem Definition has a Texture2D. Similar but not the same. We can make it so that Gem Definition makes a sprite from this Texture2D the first time we ask for it, and holds onto that Sprite anytime we ask for it again. Here’s the updated code:
[CreateAssetMenu(menuName = "Gem Search/Gem Definition")]
public class GemDefinition : ScriptableObject
{
    public int Level;
    public int Value;
    public GameObject Prefab;
    public Texture2D Icon;

    private Sprite _sprite;

    public Sprite Sprite
    {
        get
        {
            if (_sprite == null)
            {
                _sprite = Sprite.Create(Icon,  new Rect(0, 0, Icon.width, Icon.height), new Vector2(0.5f, 0.5f));
            }

            return _sprite;
        }
    }
}
The property Sprite is not like any we’ve seen before. It actually has code that runs when we access it under get. We could also have code that runs when it’s set (under set unsurprisingly). Since we’ve specified get here and not set this property is read-only; that’s often a useful thing.
Since this new-style property can’t actually store anything on it’s own, there’s a private property called _sprite that actually does the storing of the value. When someone asks for GemDefinition.Sprite, it checks to see if it’s been made before. If it has, it just returns it. If it hasn’t it makes it and then returns it.
Inventory Slot – Showing the Gem and the Count
Now that we have a Sprite we can use, let’s start plugging this together. Here’s the code for InventorySlot.cs:
using TMPro;
using UnityEngine;
using UnityEngine.UI;

public class InventorySlot : MonoBehaviour
{
  public GemDefinition GemDefinition;
  public int GemCount;

  public Image SlotImage;
  public GameObject CountTextBadge;
  public TMP_Text CountText;

  // Start is called before the first frame update
  void Start()
  {
  }

  // Update is called once per frame
  void Update()
  {
    if (GemDefinition == null || GemCount < 1)
    {
      SlotImage.sprite = null;
    }
    else
    {
      SlotImage.sprite = GemDefinition.Sprite;
    }

    CountTextBadge.SetActive(GemDefinition != null && GemCount > 1);
    CountText.text = GemCount.ToString();
  }
}
We edited the Inventory Slot prefab and assigned the SlotImage, CountTextBadge and CountText to the corresponding items in the prefab (Content Image, Item Count Badge and Count Text respectively).
We then ran our scene. We can see that when we assign GemDefinition to the slot and set the count to 1 or higher, the image and the count badge behave as expected.
Inventory Slot – Adding Interfaces for Drag and Drop
We need Unity to send messages to our InventorySlot component when dragging and dropping is occurring, but how to we do that? Well, if our component implements certain Interfaces then it says to Unity, I’m interested in Drag and Drop.
An Interface in C# is just a contract that a class will have certain properties and functions. To things outside the class it means they can now access the class through these properties and functions, confident that they exist. It’s up to the class itself to actually make sense out of the properties and functions so that something appropriate happens!
First we need to add a new using to InventorySlot.cs. This is where the Interfaces we’re interested in are defined:
using UnityEngine.EventSystems;
Now we update the class definition to include the Interfaces we want to support:
public class InventorySlot : MonoBehaviour, IBeginDragHandler, IEndDragHandler, IDragHandler, IDropHandler
If you are using Visual Studio, you should find that these Interfaces each have a wavy red underline because their contract is not fulfilled. You should be able to right-click on each one, choose “Quick Actions and Refactorings” and “Implement Interface” to get it to fill in the interfaces for you automatically. You will see four new functions, each with a throw line that makes an error happen if the function is called. This is to force you to put your own code in. Just delete these throw lines are you’re left with:
  public void OnBeginDrag(PointerEventData eventData)
  {
  }

  public void OnDrag(PointerEventData eventData)
  {
  }

  public void OnDrop(PointerEventData eventData)
  {
  }

  public void OnEndDrag(PointerEventData eventData)
  {
  }
Inventory Slot – Begin Dragging
To allow dragging, we want to create a new image on the canvas and move it with the mouse. First we add these two private properties to InventorySlot.cs:
  private Canvas _canvas;
  private GameObject _draggingIcon;
In Start() we then set _canvas by looking for one in our parents:
  void Start()
  {
    _canvas = GetComponentInParent<Canvas>();
  }
We update OnBeginDrag() and OnDrag() as follows:
public void OnBeginDrag(PointerEventData eventData)
  {
    if (GemDefinition == null || GemCount < 1)
      return;

    _draggingIcon = new GameObject("Icon");
    _draggingIcon.transform.SetParent(_canvas.transform, false);
    _draggingIcon.transform.SetAsLastSibling();

    var image = _draggingIcon.AddComponent<Image>();
    image.sprite = GemDefinition.Sprite;

    OnDrag(eventData);
  }

  public void OnDrag(PointerEventData eventData)
  {
    if (_draggingIcon == null)
      return;

    RectTransform iconRt = _draggingIcon.GetComponent<RectTransform>();
    RectTransform canvasRt = _canvas.GetComponent<RectTransform>();

    Vector3 globalMousePos;
    if (RectTransformUtility.ScreenPointToWorldPointInRectangle(canvasRt,
                                                                eventData.position,
                                                                eventData.pressEventCamera,
                                                                out globalMousePos))
    {
      iconRt.position = globalMousePos;
    }
  }
Now when we run and set a GemDefinition and Count of one or higher on our slot, if we drag from that slot with the mouse, we get an icon that shows the gem and moves with the mouse. Once we stop dragging it remains in place.
This is most of drag and drop done; we just need to make a few tweaks next session: control the size of the drag icon, make it semi transparent and make sure it doesn’t block the mouse interactions and remove it up when we stop dragging.
Code Download
The code for this week’s project is on our GitHub, as always.