Waqar from the University of Galway will bring his pet called “Scratch” to Coder Dojo tomorrow, March 7th.
We believe the children will enjoy meeting Scratch. Be sure to come along/
Waqar from the University of Galway will bring his pet called “Scratch” to Coder Dojo tomorrow, March 7th.
We believe the children will enjoy meeting Scratch. Be sure to come along/
CoderDojo is back Saturday 7th of Feb at 12:00 noon in Clarin College.
Just a reminder that there is no CoderDojo this weekend (Saturday 24th) and next weekend (Saturday 31st).
Hi all,
CoderDojo runs as normal Saturday 17th January.
However, we are off on the 24th and 31st of January. Clarin College will be closed for maintenance on January 24th and closed for on the 31st due to Bridgit’s Day.
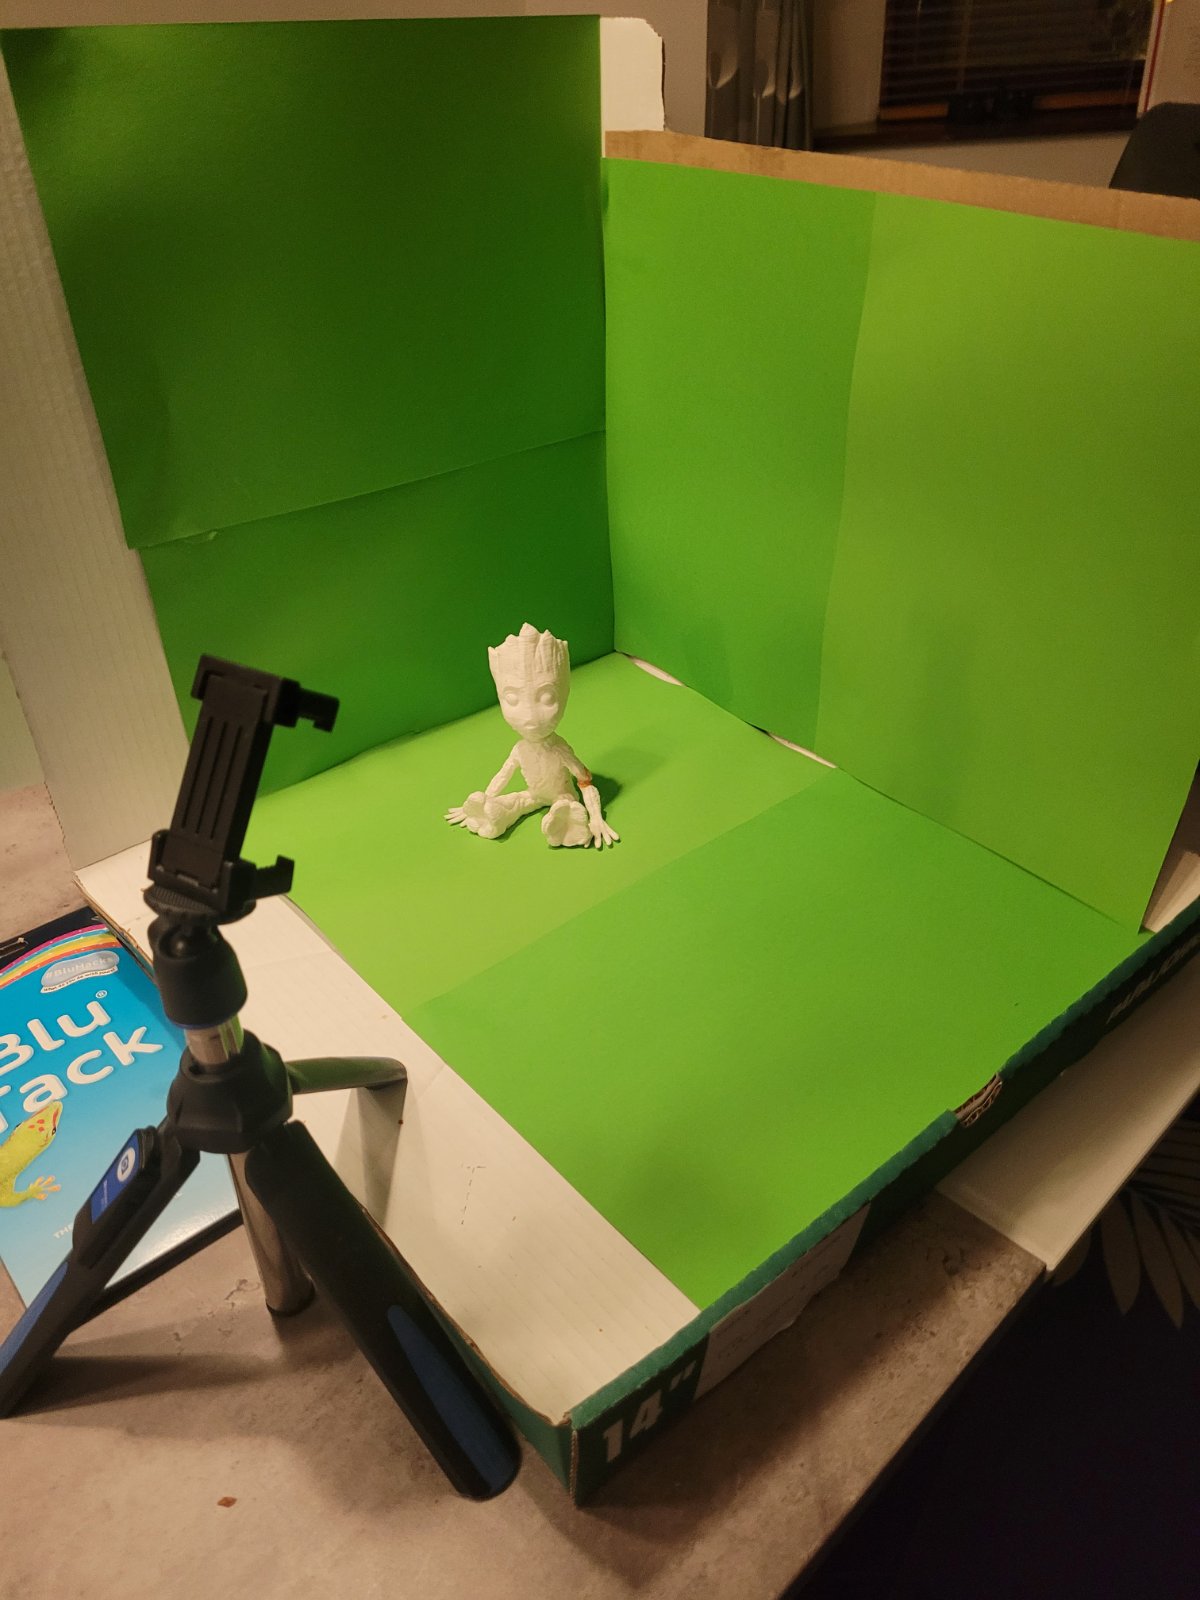
If you are coming to Explorers tomorrow, please remember we are doing some Stop Motion Animation. So please bring a doll or figurine and maybe a USB cable to connect your phone to your laptop.
CoderDojo resumes tomorrow Saturday 10th at 12:00 noon in Clarin College
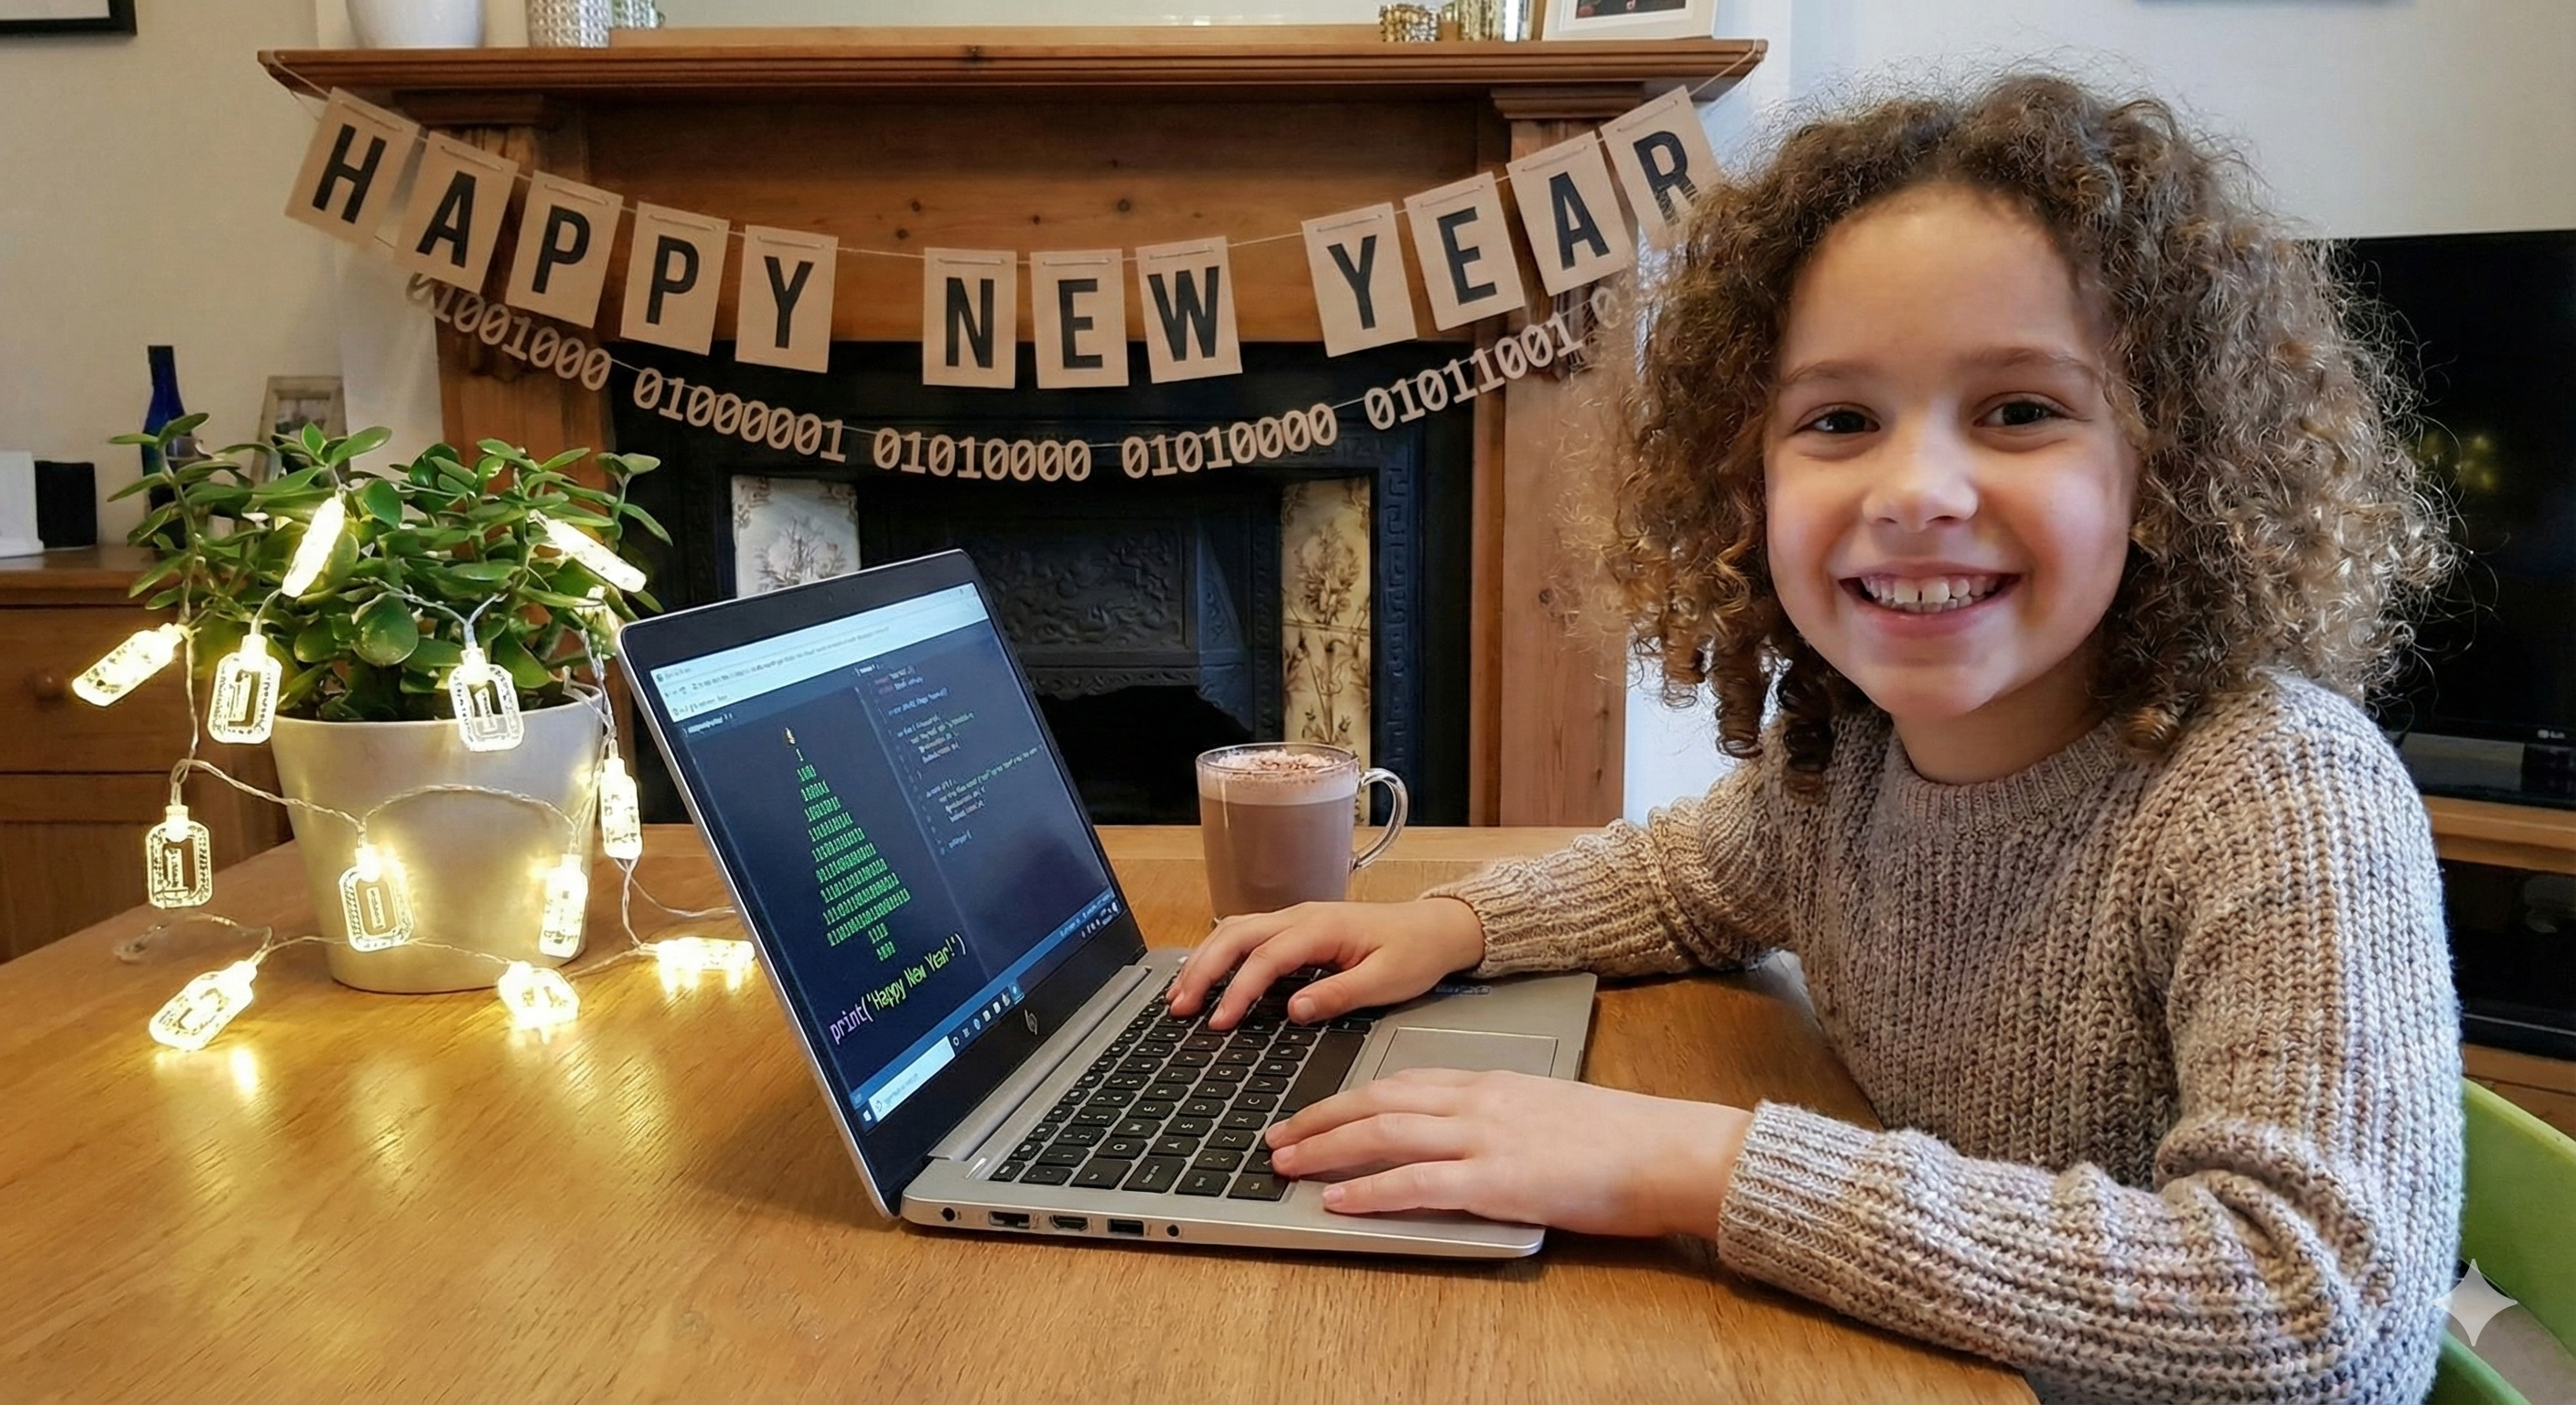
Happy new year everyone! Hope you had a great break. CoderDojo will restart Saturday 10th of January.
Looking forward to seeing you and building new awesomeness in 2026!
We have come to the end of the CoderDojo year 2025.
We look forward to seeing you tomorrow Saturday 6th Dec 2025 at CoderDojo Athenry for our last session before we break for Christmas, also known as our Pizza Party.
You can leave your laptops and tablets at home, but please bring drinks for your own children, as different families have different preferences. We will serve pizza, chips and chicken nuggets. We ask you to consider making a small donation to help cover our costs. Cash preferred but Kieran will also accept Revolut.
Christmas jumpers are encouraged!
Following our winter break, we will return on the 10th Jan 2026.
Hello Witches, Wizards, Mummies and Vampires!
CoderDojo takes a Halloween holiday. There will be no CoderDojo on Saturday 18th of October and Saturday 25th of October.
If you want to refer to the schedule, you can find it here:
You can even add the schedule to your own Google Calendar by scrolling down the schedule page and clicking the small “+” icon.
Happy Halloween
Hi folks, here are some notes for Week 3. We completed our lighthouse and sculpted an island.
