Hi all,
CoderDojo runs as normal Saturday 17th January.
However, we are off on the 24th and 31st of January. Clarin College will be closed for maintenance on January 24th and closed for on the 31st due to Bridgit’s Day.
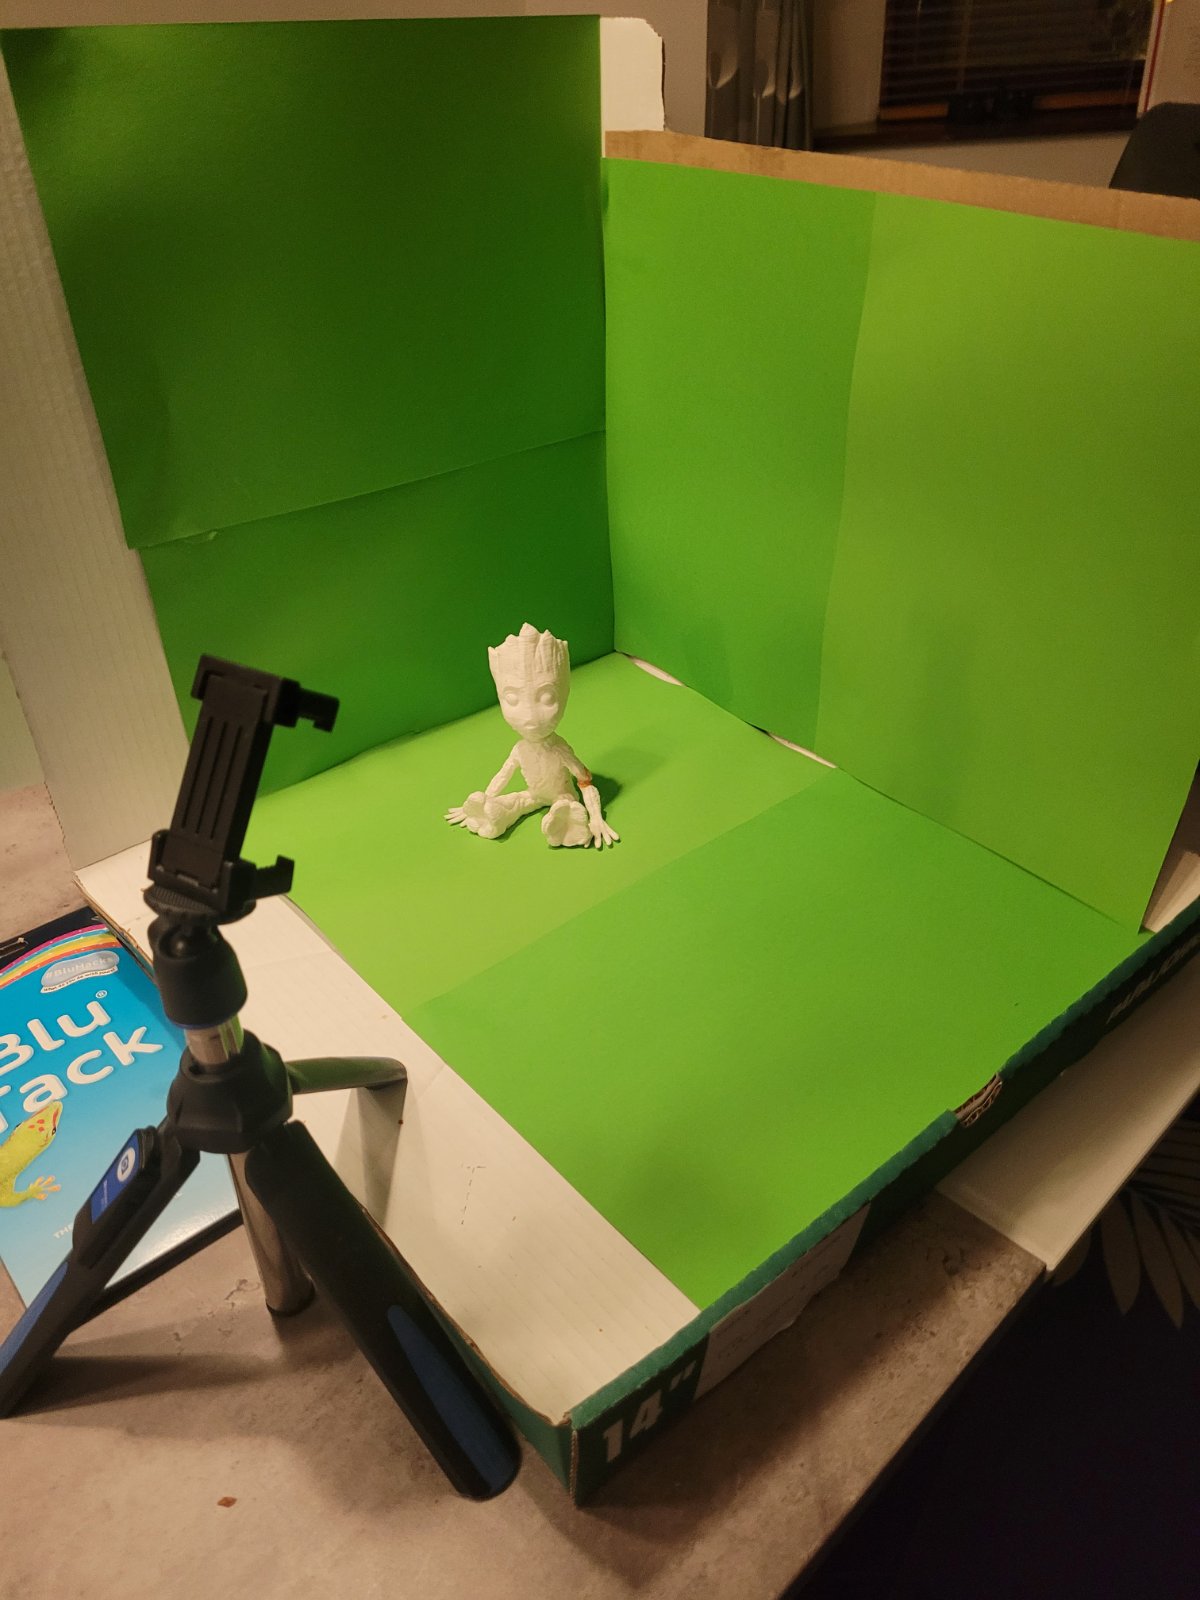
If you are coming to Explorers tomorrow, please remember we are doing some Stop Motion Animation. So please bring a doll or figurine and maybe a USB cable to connect your phone to your laptop.