This week we looked at adding obstacles to our game and detecting collisions.
Obstacles
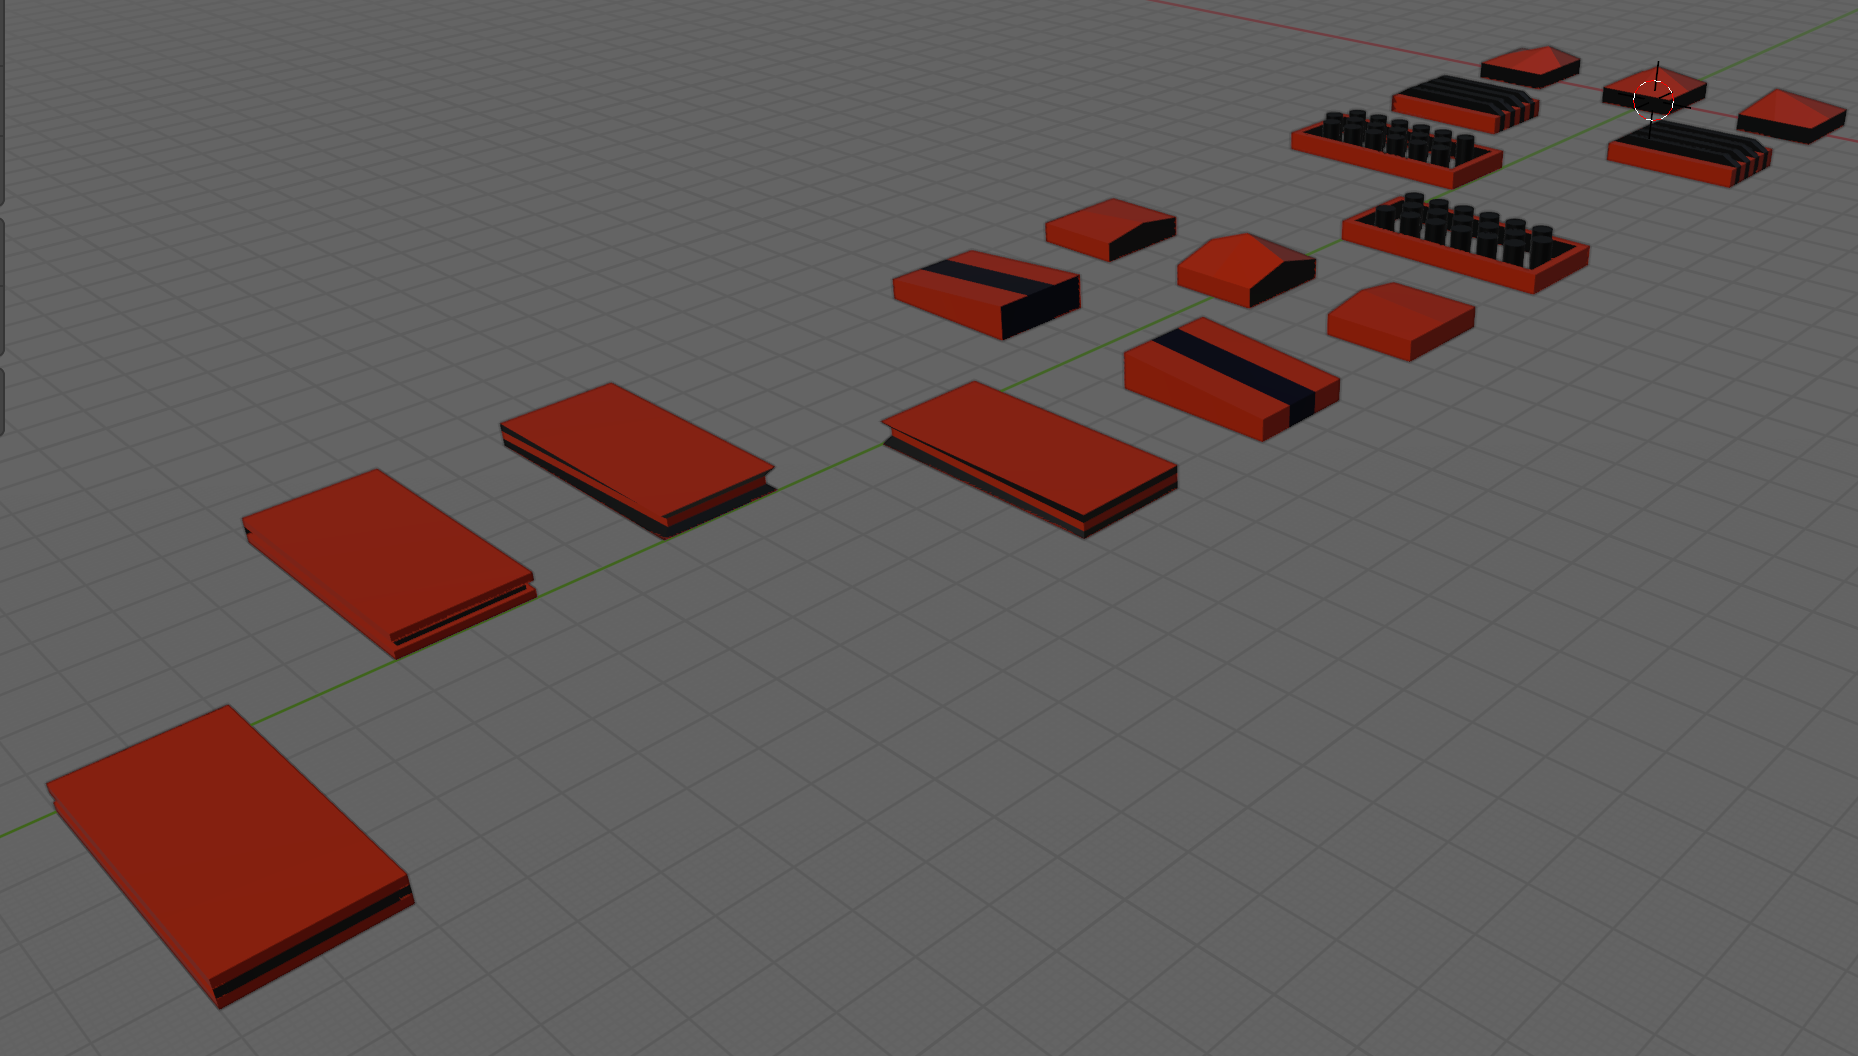
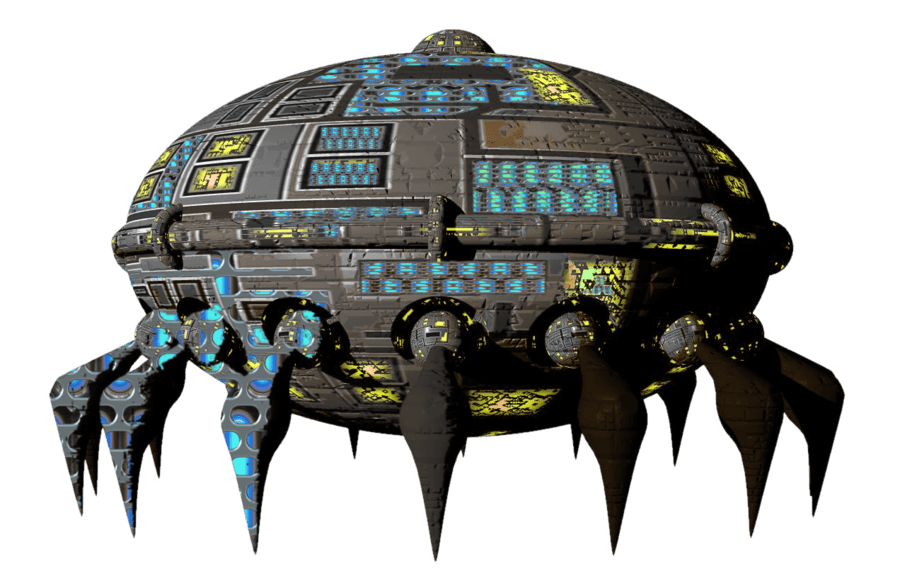
The obstacles were created in Blender and provided as an FBX file. To process them we:
- Imported the FBX
- Added it to the scene temporarly
- Used the Prefab | Unpack context menu option to allow editing of the individual items
- Edit each obstacle in turn, adding one or more Box Colliders to cover each part of the shape
- Made sure each Box Collider was marked as “Is Trigger”
- Dragged each one individually into the Prefabs folder to make it a prefab
- Deleted the model from the scene
Collisions in Unity
Generally speaking, Unity tracks collisions between objects as long as:
- One has a RigidBody component attached
- Both have collider components attached
Unity draws a distinction between RigidBody components depending on the setting of “Is Kinematic”. If “Is Kinematic” is false, Unity takes responsibility for moving the object according to physics rules. If “Is Kinematic” is true, we’re responsible for moving the object, but Unity will still track if for collisions, etc. The latter is appropriate for our game.
When Unity detects collision it looks for functions OnTriggerEnter() or OnCollisionEnter() to call, depending on whether the RigidBody is kinematic or not. Ours isn’t so we’ll be implementing OnTriggerEnter() when it’s time to do so.
Generating Obstacles
We added two new public properties to EnvController.cs, one to determine how likely that a piece of environment contains an obstacle and another to hold the prefabs for the obstacles:
  public float ChanceOfObstacle = 0.2f;
  public GameObject[] ObstaclePrefabs;
We then added a new function GenerateObstacles() to EnvController.cs:
  private void CreateObstacle(Vector3 position, Transform transform)
  {
    // Pick a random prefab
    int numPrefabs = ObstaclePrefabs.Length;
    GameObject prefab = ObstaclePrefabs[Random.Range(0, numPrefabs)];

    // Create an instance of it
    Quaternion rotation = Quaternion.Euler(0, -90, 0);
    GameObject go = Instantiate(prefab, position,
                                rotation, transform);

  }
and called it from just before the last line of CreatePrefab():
    // Create obstacle?
    if (Random.value <= ChanceOfObstacle)
    {
      // Create an obstacle as a child of this piece of env
      CreateObstacle(position, go.transform);
    }
Preventing Obstacles at Start
We don’t want obstacles at the start because they can lie on top of our ship. Adding a second argument to CreatePrefabs() allows us to control this:
private GameObject CreatePrefab(Vector3 position, bool createObstacles = true)
  {
Because this argument has a default value (= true) and is at the end of the argument list, this makes it optional. If we don’t use it, it’s assumed that we want obstacles.
We can check this value were we create obstacles:
    // Create obstacle?
    if (createObstacles && Random.value <= ChanceOfObstacle)
    {
      // Create an obstacle as a child of this piece of env
      CreateObstacle(position, go.transform);
    }
The double-ampersand (&&) means “and”. Both things have to be true or no obstacles are created.
Finally we modify Preload() so that obstacles are not created when it’s generating the first few environment pieces:
  private void Preload()
  {
    for (int i = 0; i < Count; i++)
    {
      Vector3 pos = Vector3.right * i * Spacing;
      _lastGo = CreatePrefab(pos, false);
    }
  }
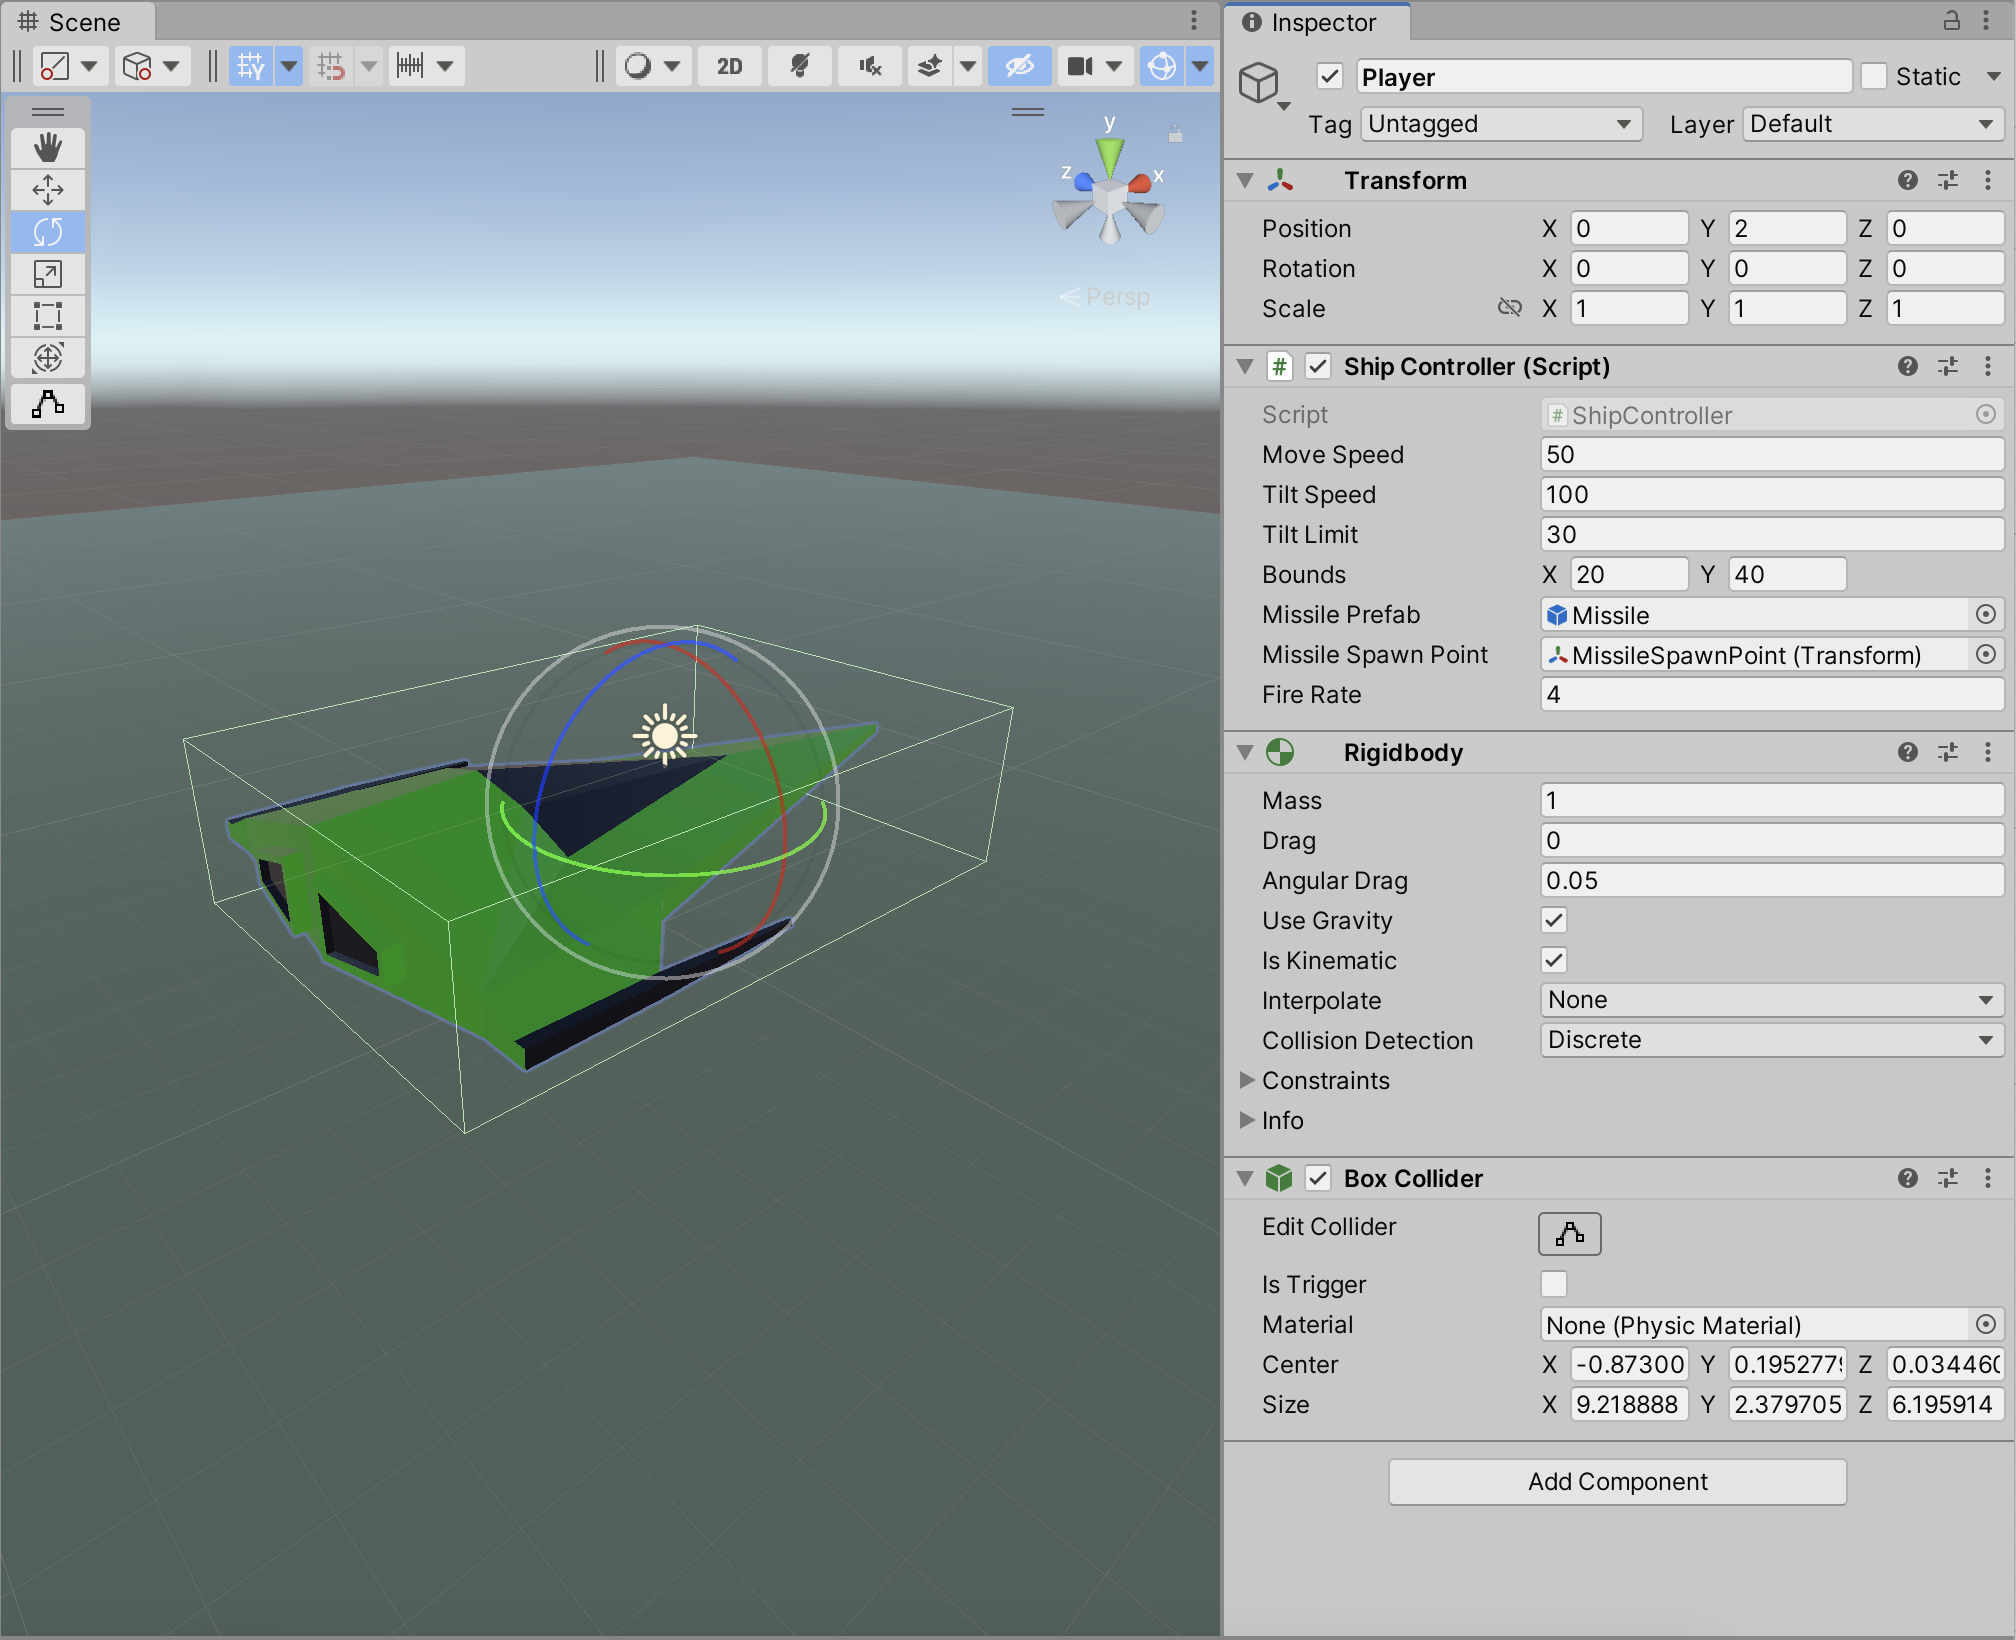
Setting Up the Player
To set up the player for collisions, we need to:
- Add kinematic RigidBody
- Add and size a BoxCollider
- Add OnTriggerEnter() to ShipController.cs
With our simple OnTrigger() we can see when collisions are being detected:
  private void OnTriggerEnter(Collider other)
  {
    Debug.Log("I hit something");
  }
Getting the Code
All the code we’re made this year is on our GitHub. It can be found here. If you don’t have the latest version of our code before any session, use the green Code button on that page to get the “Download ZIP” option which will give you a full copy of all code we’ll be writing this year.