Notes for Week 7:
Final video:
Copies of files can be found on our Github.
Hi folks,
Below are links to some resources we’re going to use today:
Hi folks, here are the notes for Modelers Week 4, we completed our island scene with materials, lighting and effects.
Copies of files can be found on our Github.
Hello Witches, Wizards, Mummies and Vampires!
CoderDojo takes a Halloween holiday. There will be no CoderDojo on Saturday 18th of October and Saturday 25th of October.
If you want to refer to the schedule, you can find it here:
You can even add the schedule to your own Google Calendar by scrolling down the schedule page and clicking the small “+” icon.
Happy Halloween
Hi folks, here are some notes for Week 3. We completed our lighthouse and sculpted an island.
Hi folks, here are some video notes for Weeks 1 & 2 for those who’d like to review what we did, or missed our sessions.
Download and install Blender from here: https://www.blender.org/download/
Thanks so much to the large crowd who turned up for our intro session last Saturday.
We had presentations from
Eoin on Explorers,
Kieran on Modellers,
Adam on Advancers
and Kevin on the possibility of running Hackers.
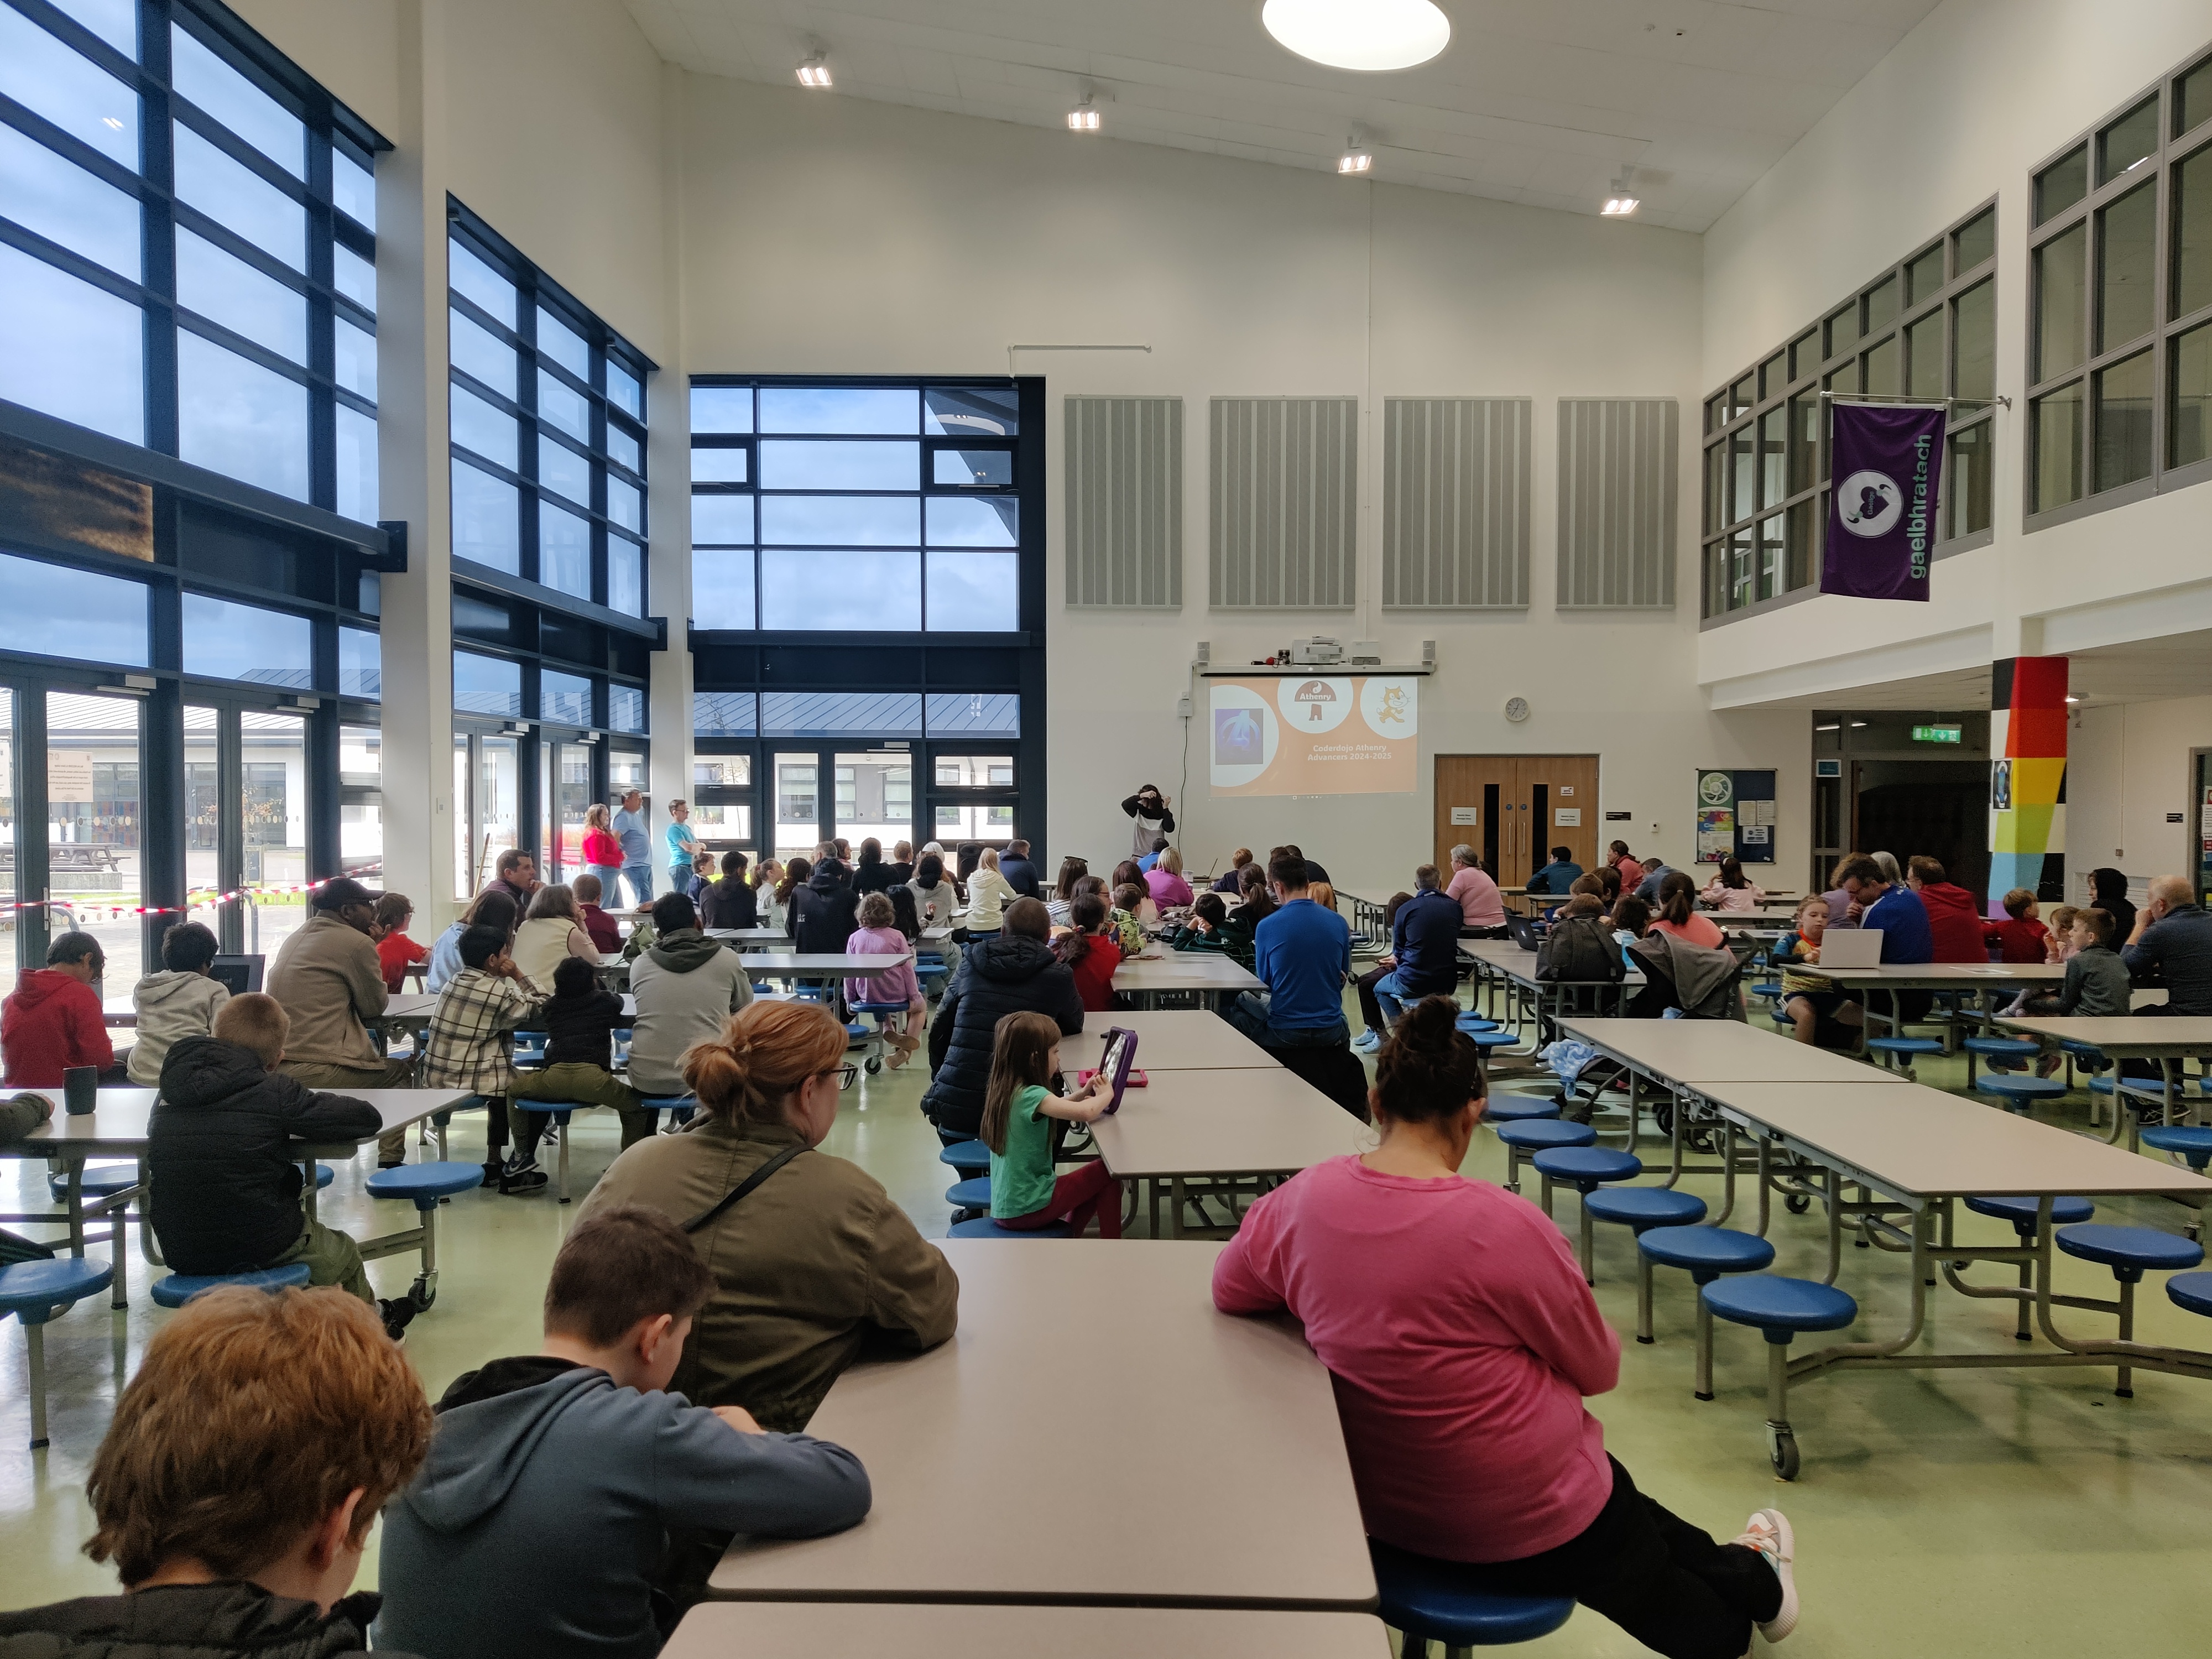
Remember our first classes will Saturday 27th! Ninjas assemble!
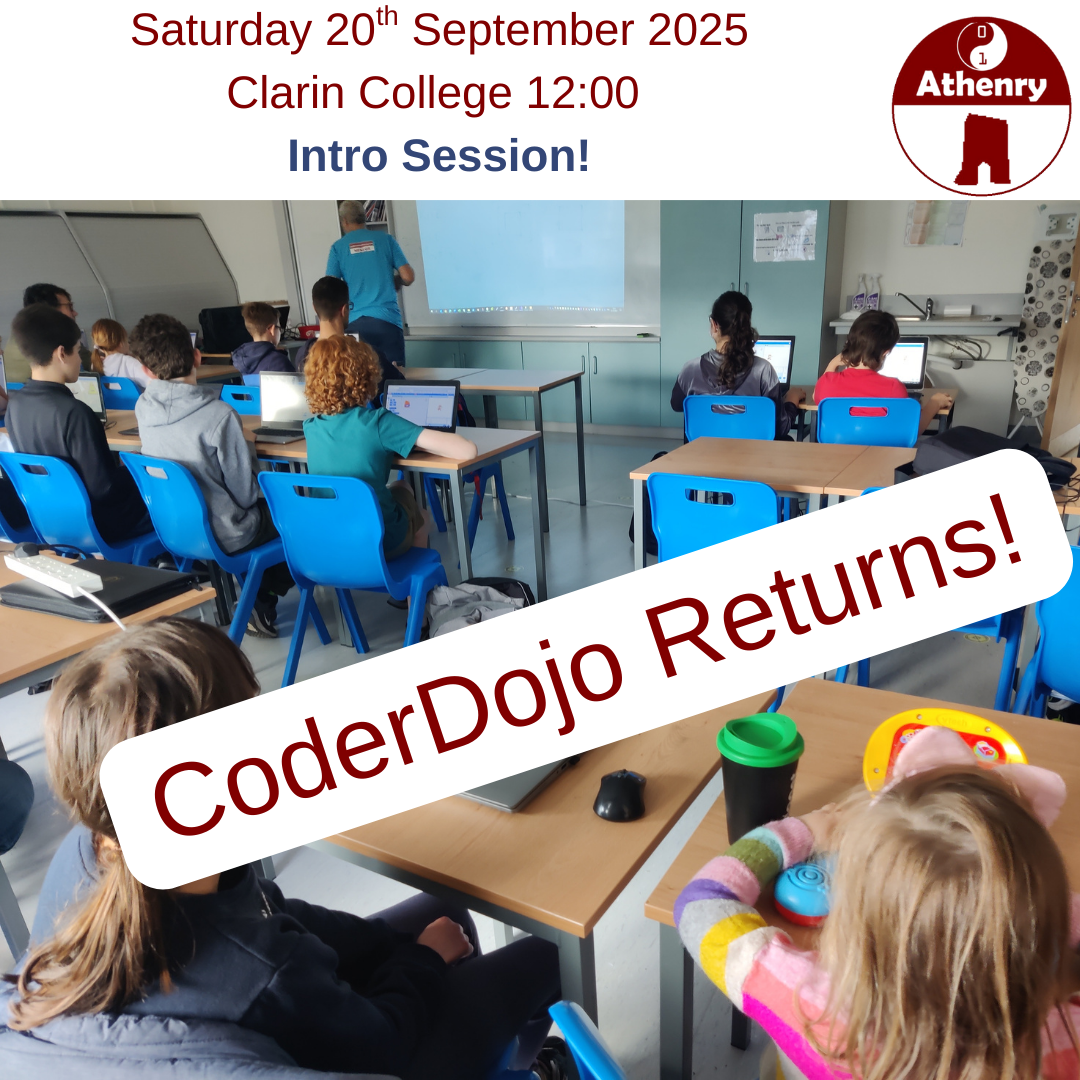
Infroductary Session today (Saturday September 20th 2025) at 12:00 noon in Clarin College.