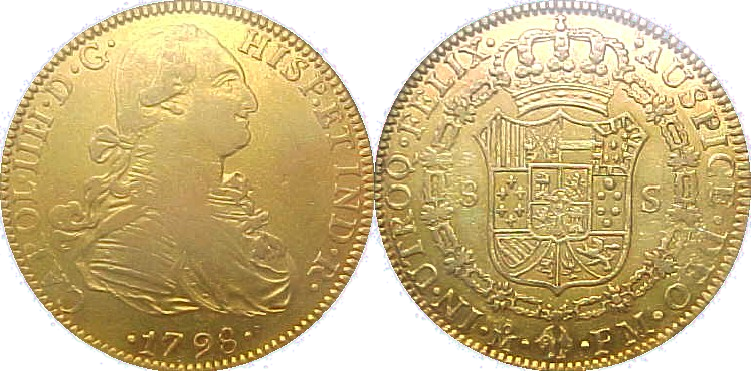
This week we finished our animation by texturing the plane to look like a tabletop and adding a background image of a desert island.
We also saw how to add an add-on to Blender, namely Lily Surface Scraper.
Here are the video instructions:
Here’s a link to the finished animation:
Here’s a link to the folder where we store all our files . You’ll find a new file in there called dubloon_wip3.blend, containing everything we did this week.
This week we took the coin that we created last week and turned it into a pile of a couple of hundred coins.
Here’s a link to the folder where we store all our files . You’ll find a new file in there called dubloon_wip2.blend, containing everything we did this week.
Hi folks, it’s good to be back. This week we created a coin which will ultimately be part of a coin pile. Here are the video instructions:
Here’s a link to the folder where we store all our files . You’ll find a new file in there called dubloon_wip.blend, containing everything we did this week.
For the final week we are going to convert the Christmas Card into a Christmas Game.
We will be starting with the Christmas Card that we made last week, if you weren’t there or want to start with the same one that I will be using, have a look at the bottom of this document, I have added instructions on how to get it.
The Plan for this week.
We will be adding some additional Sprites. We will be using Scratch Sprites rather than drawing our own to save time.
A sprite for Santa’s sleigh
This will move backwards and forward across the top of the screen
A sprite for the Presents
This will fall from Santa’s sleigh to the bottom of the screen, not directly down though.
This sprite will have many costumes.
As sprite for you
You will be able to move Left and Right across the bottom of the screen to try and catch the falling presents.
The Sleigh Sprite
Scratch does not have a sleigh sprite, so I used the reindeer.
He needs to start on the top left of the screen and move all the way to the top right of the screen and then turn around and go back to the top left, he will just keep doing this.
The code might look something like this:
The Present Sprite
We might have to draw this one.
The present Sprite will start from wherever the Sleigh Sprite is glide down to a random place at the bottom of the Screen, you can make the Present a random size as well to make it more interesting.
The is a Scratch block to put one Sprite in the same place as another Sprite So the code to move down the screen will look something like this:
There will also be code to count the number of presents caught. So, if the Present Sprite touches you, it will count as being caught, so you can increase your score.
When the present is caught you can change to a random costume to display the unwrapped present.
I’ll let you figure out this code as a little challenge (I haven’t done it yet 😊 )
You Sprite
This is the one that catches the presents. I used the Scratch cat, finally.
Not much code for this one, he just needs to move left or right using the left or right keys on the keyboard. So, something like this:
A nice background with Snow, Christmas Trees, a house.
We might use different Sprites for the Trees.
Flashing lights on the House and the Tree.
Falling snow.
Snow building up on the ground.
An animated Snowman.
Snowflakes
To make it even more interesting, we are going to make the snowflakes different sizes and fall at different rates depending on how big they are.
We will use the clone functionality to make the snowflakes.
Each clone will pick a random size and will glide to the bottom of the screen, how fast if glides will be related to how big or small it is.
The snowflake is going to be quite hard to draw as it will be a small white dot on a white background, so we will be careful.
The building up on the ground part, is quite easy, we just pick a random Y value to stop at, as long as it is close to the bottom of the screen we should be ok.
Flashing Lights or Tree Sprites
Again, these might be quite difficult to draw as we have to draw them over the background and get them to be over the Trees?
If we draw the complete Tree in the Sprite I think it is going to be a lot easier.
Hi folks, thanks again for another fun session today. We continued working on our game controller, moving the thumbsticks into place and creating a D-pad and template button. Here are my video notes:
Here’s a link to the folder where all our files. You’ll find a new file in there called controller_2.blend, containing everything we did this week.
Hi everyone,
We completed our Mario game this week. We coded Mario so that he always floated down on to the wall. We added a fraction of a second of a wait so that it appears that he floats as he comes down. This also allows time for you to navigate left or right as needed.
We also introduced a more advanced concept, the Parallax effect, whereby objects further away appear to move slower than objects nearer. We coded mountains and a Sun to demonstrate this.