It was time this week to finish up Roll-A-Ball. After the session, I did some additional tweaking. There are changes to the materials and camera position. I also added a splash screen, background sound, a font resource and a sound effect when a pickup is collected. Each level has an associated target time and you advance to the next level depending on whether you beat that time. There are four levels in total. At the end, depending on how you did, you get “You won” or “Game over” message and the option to restart. Here it is in action:
Collision
Although the pickups were technically just over the ground, and not intersecting it, we found previously that for many of us, when we ran, several of the pickups detected contact with the ground and deleted it. We “fixed” that by temporarily lifting the CollisionShape3D in the pickup up by 0.01m, but we returned to this to correct it.
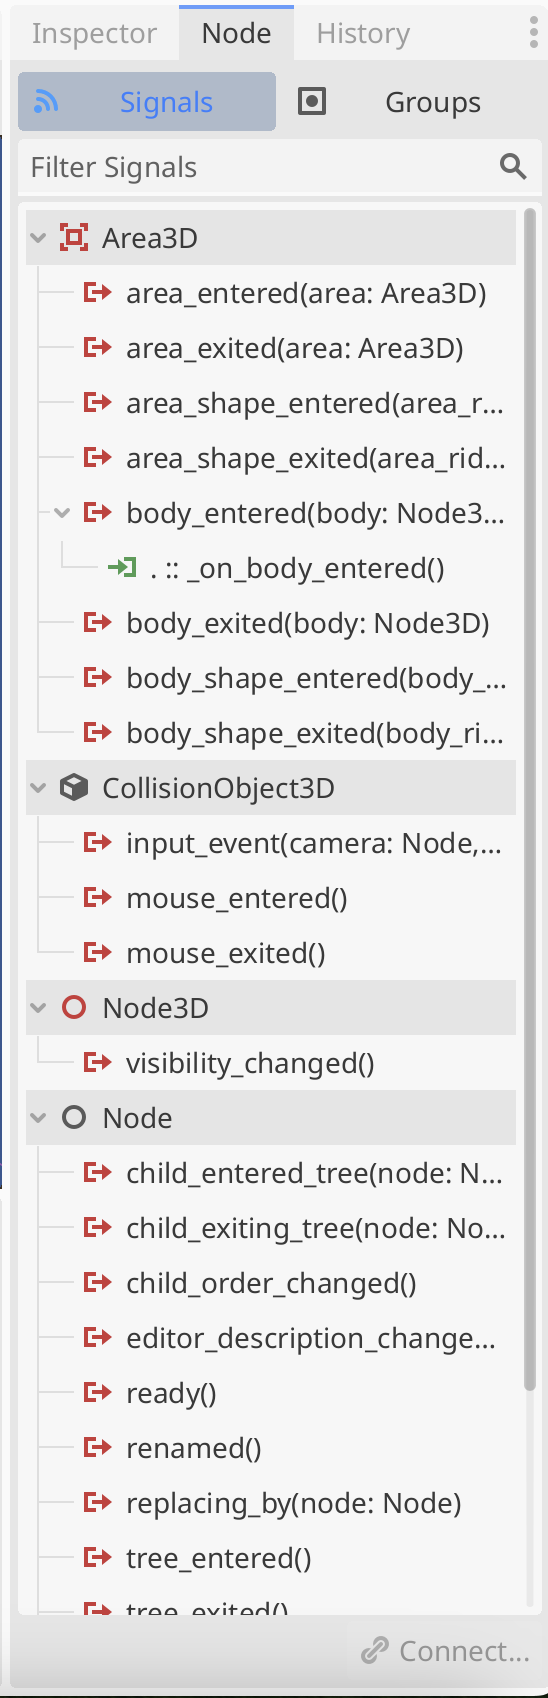
Every node that collides with another, in our specific case Area3D and RigidBody3D, derives from the CollisionObject3D node and has a Layer and Mask property:

Layer is the collision layer that this node is in. Note that something can be in more than one layer.
Mask is the collision layer that we watch for collisions with. Anything not in these nominated layers will be ignored.
All we had to do to fix this, was to set the Mask for the Pickup to 2, and the Layer for the Player to 2. Now the pickup ignores all collisions except with the player (everything else, including the ground, being in Layer 1 by default).
Dynamic Level Loading
We wanted the GameManager to be able to load levels automatically. First we created our level, by adding a Node3D called “Level 1” to our Main scene and dragging all pickups into it. We then right-clicked and chose “Save Branch as Scene…” to make it a scene of its own. We then deleted the instance of the level from the scene, since we were going to have the Game Manager create it.
We added a new variable to Game Manager:
@export var level : PackedScene
PackedScene is the type used for a scene saved to disk. We were then able to assign our level scene to this variable in the inspector.
Next we had to add some code to get this level created. We added these lines at the bottom of the GameManager’s _ready() function:
var current_level = level.instantiate()
add_child(current_level)
This takes the level from the disk and actually creates nodes from it (instantiate()). We save that to a variable current_level and the use add_child() to actually add this to the current scene. When we ran, all was as normal, but looking at the remote tree, we could see that Level 1 was now a child of Game Manager.
We then created a few extra levels and tried loading them instead, by selecting them in the inspector.
Handing Multiple Levels Automatically
We then went back and decided to add support for multiple levels, having the game change to the next level automatically. We added these variables to the game_manager.gd script:
@export var levels : Array[PackedScene]

var current_level : Node3D
var current_level_index : int = -1
An Array, as you might remember from the first few weeks, is a variable that can store multiple values like a list. We then removed the last two lines from _ready() and created this function instead:
func load_next_level() -> void:
	if (current_level != null):
		current_level.queue_free()

	current_level_index += 1
	current_level = level[current_level_index].instantiate() as Level
	add_child(current_level)
This function:
- Removes the current level, if there’s one loaded
- Increments the level counter
- Loads the next level and adds it to the scene
Note that it doesn’t know when to stop yet and will keep trying to load even when there’s no levels left.
Finally we had to call this function from somewhere. All that was needed was to edit _process() as follows:
func _process(delta: float) -> void:
	pickups_count_label.text = "Remaining Pickups: " + str(pickup_count)

	if (pickup_count == 0):
		load_next_level()
If we’re at the start of the game, when the pickup_count is also zero, or we’ve just collected all the pickups i a level, the game will call load_next_level() and load a level.
We tested this and it worked.
Reseting the Player
We wanted to reset the player. This means returning it to its starting position and clearing any linear and angular velocity from the RigidBody3D. For a RigidBody3D, all changes to physics variables should happen in _physics_process().
To make this work, we first added three variables to player.gd:
var initial_pos : Vector3
var initial_rot : Vector3

var reset_requested : bool = false
The first two are to remember the initial position and rotation of the player and the third is a switch we can toggle to true when we want to trigger a reset.
To remember the initial position and rotation, we just needed to add these two lines to _ready():
	initial_pos = position
	initial_rot = rotation
Then in _physics_process() we change it to read as follows:
func _physics_process(delta : float) -> void:
	if (reset_requested):
		position = initial_pos
		rotation = initial_rot
		linear_velocity = Vector3.ZERO
		angular_velocity = Vector3.ZERO
		reset_requested = false
	else:
		var input = Input.get_vector("Up", "Down", "Left", "Right")
		apply_torque(power * delta * Vector3(input.x, 0, -input.y))
If reset_required is true, then we put the ball position and rotation back to their original values and set both linear_velocity and angular_velocity to zero. Finally we set reset_requested back to false so that we won’t run this code again until it’s needed.
To actually trigger this, in game_manager.gd, we added a variable for the player:
@onready var player: RigidBody3D = $"../Player"
And we updated _process() to also reset the player:
func _process(delta: float) -> void:
	pickups_count_label.text = "Remaining Pickups: " + str(pickup_count)

	if (pickup_count == 0):
		load_next_level()
		player.reset_requested = true
Handing Running out of Levels
To handle running out of levels, we updated our load_next_level() function in game_manager.gd to check that there actually was another level to load and to return false if there wasn’t. We changed the return type to -> bool first:
func load_next_level() -> bool:
	if (current_level != null):
		current_level.queue_free()

	current_level_index += 1
	if (current_level_index >= len(level)):
		return false

	current_level = level[current_level_index].instantiate() as Level
	time_remaining = current_level.target_seconds
	add_child(current_level)

	return true
This uses the len() function to check the size of the level array and if there isn’t another level to load return false.
Now the game doesn’t crash when it runs out of levels. Finally we added this logic to game_manager.gd’s _process() to hide the player once we run out of levels:
func _process(delta: float) -> void:
	pickups_count_label.text = "Remaining Pickups: " + str(pickup_count)

	if (pickup_count == 0):
		if (load_next_level() == false):
			player.hide()
Getting the Code
All our code for this year is available on our GitHub.