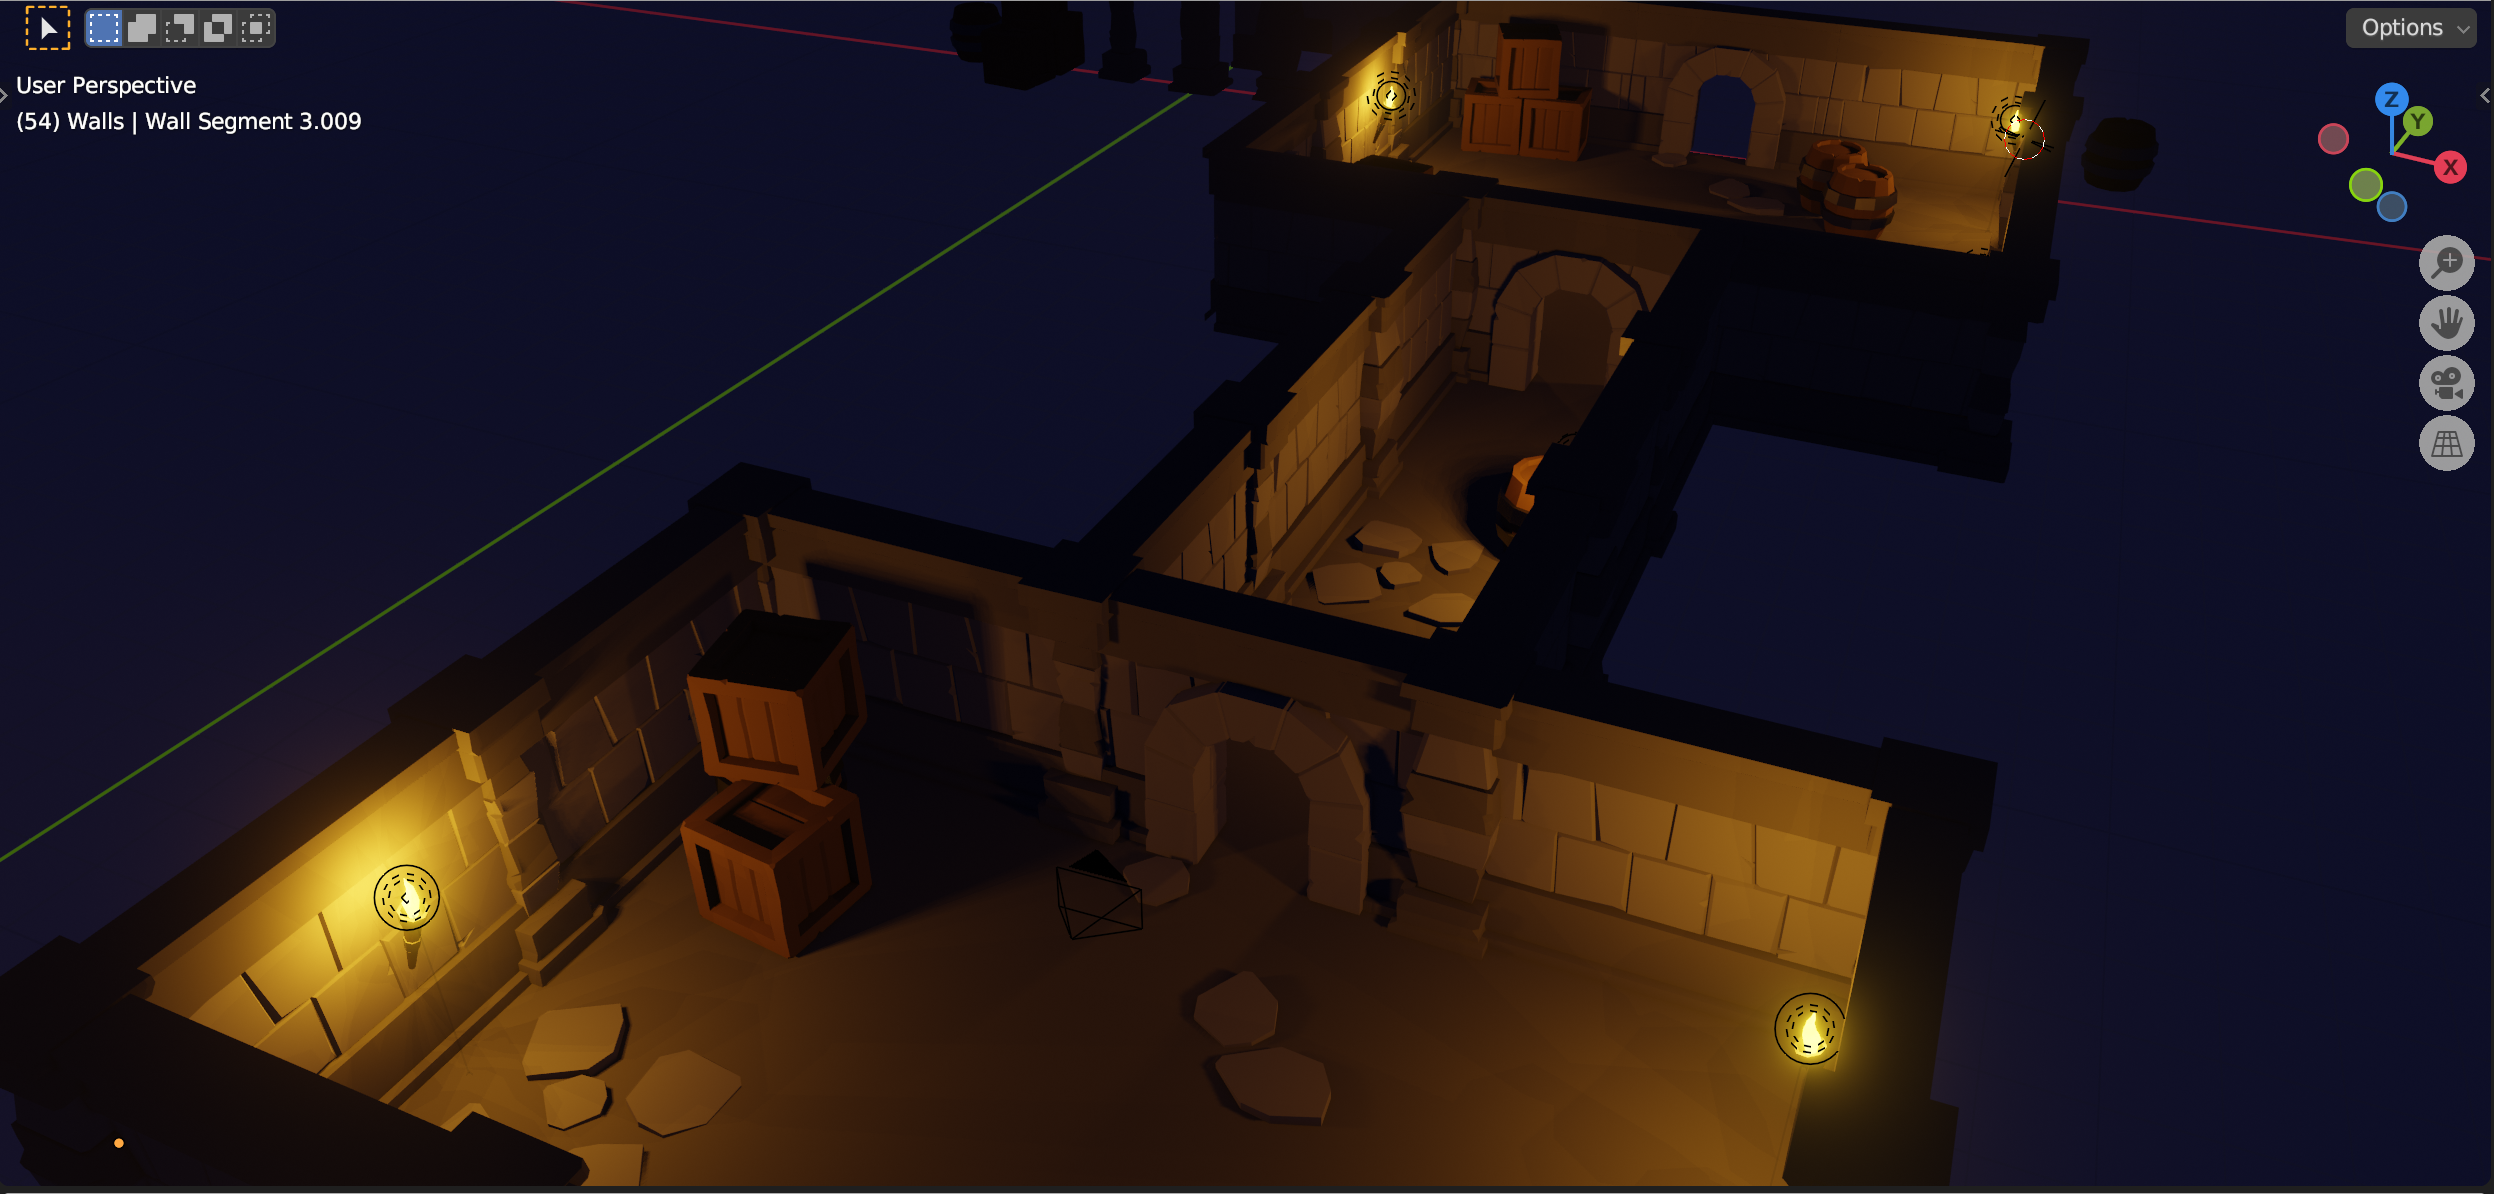
This week we saw where we were going with the dungeon:
The screenshot shows a completed dungeon, made from the modular parts that we are currently building.
We finished off the two pillar designs, shaping one straight-sided and the other rounded and we worked on a wall section. For the wall section, we used a mirror modifier to make it two sided while only having to work on a single side.
This week we attempted to recreate the old Nokia game of Snake.
We created:
The Snake – This could move around the screen and across the screen edges. The Tail – This followed the Snake around the screen, wherever the Snake went, the tail would follow. An Eraser – This followed the Tail rubbing it out, so it stayed the same length all the time.
We still need to complete the following:
The Bug – This will appear on the screen randomly for the Snake to eat. Eating the Bug will increase the length of the Tail. Score – A simple scoring variable to keep track of how many Bugs we eat. Music – Some annoying music to play during the Game, it has to be annoying!
I have uploaded 2 versions of the Game to the Scratch Web Site: ClassVersion-Incomplete – This is from Saturday where we didn’t quite finish everything ClassVersion-Complete – This is a complete version which has The Bug, The Score and annoying Music.
If you need to log in, use the following details: Username : athenryadvancers Password : Advancers (don’t forget the uppercase “A”) This is an image from the completed version.
This used many of the same techniques as the barrel last week.
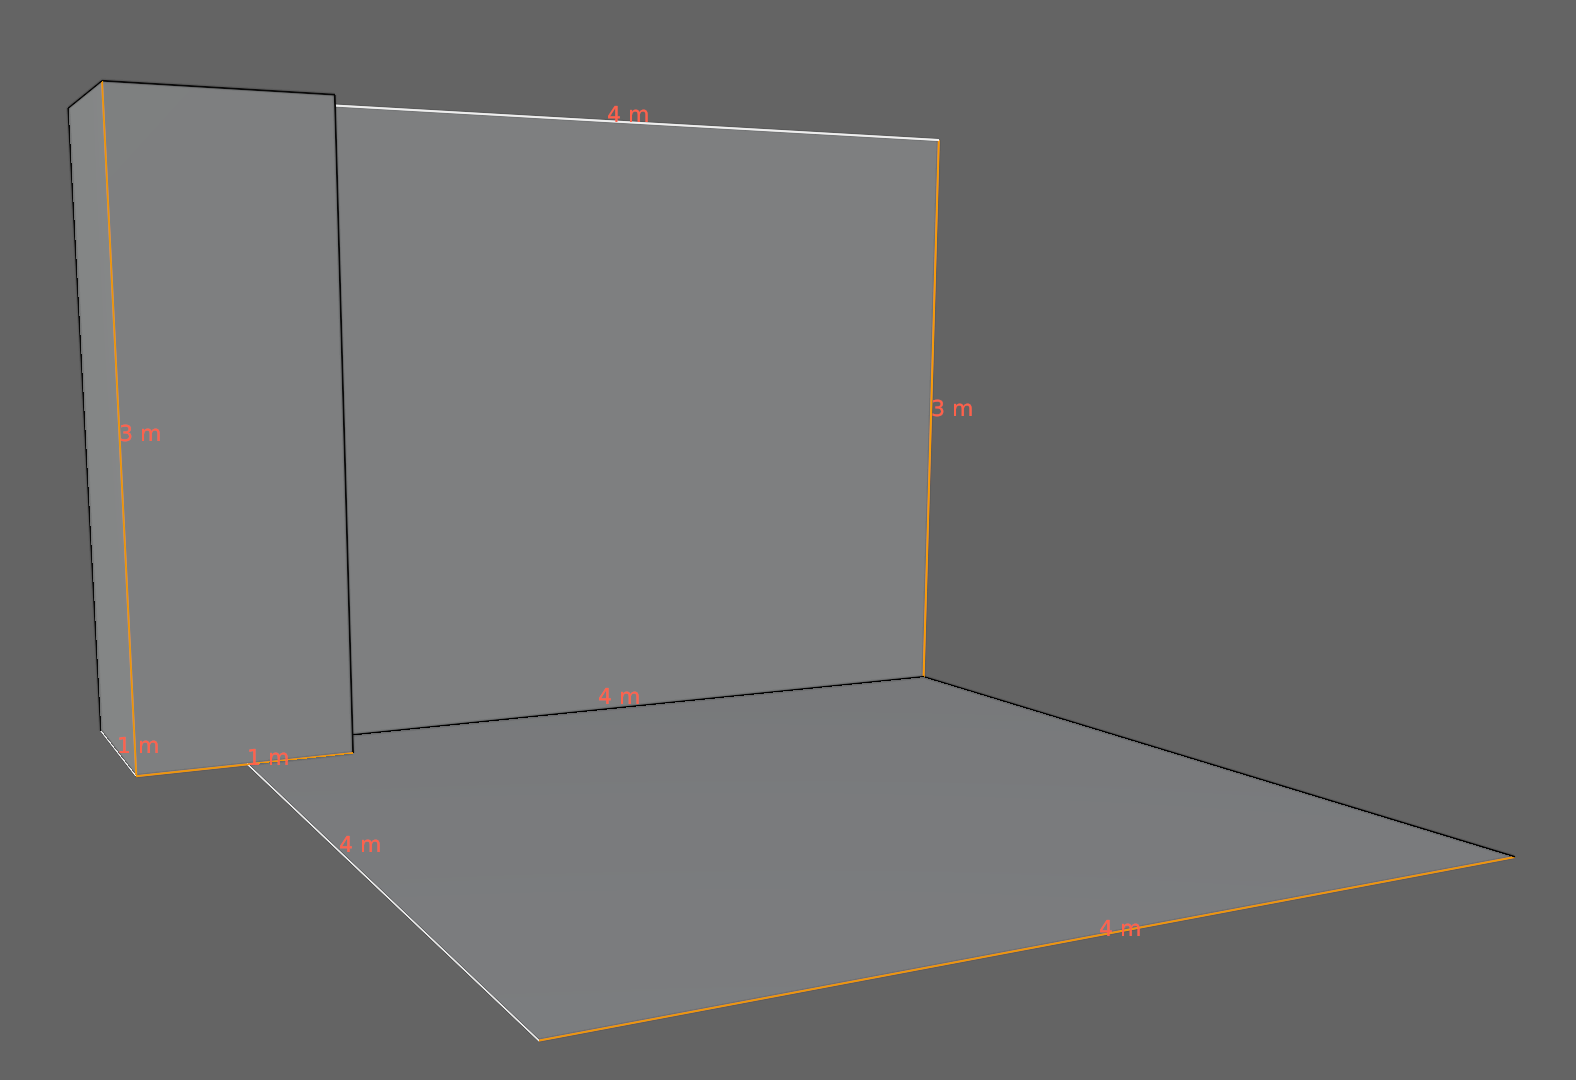
We then started with a plan for our dungeon pieces. As long we we stick to these generic dimensions for floor, pillar and wall pieces, we can mix and match and everything will slot together easily:
This week we started Blender in earnest and created our first model, a wooden barrel with metal rings. The file is available here. You need to be a member of the Creators’ Teams group to download it, so let me know next week if you aren’t yet a member and I can get you added.
This week we looked some game designs from our ninjas. We ended with four:
Duty to Defend – A tank-based flag-defence game played in first-person.
Monster POV – Play as a monster defending a dungeon against hero characters. Isometric viewpoint.
Red Panda’s Shopping – An exploration and collection game with puzzle elements.
Gardening Simulator – Grow and harvest plants in a top-down game to earn money and unlock new seeds and areas
A vote was held and the winner was Monster POV!
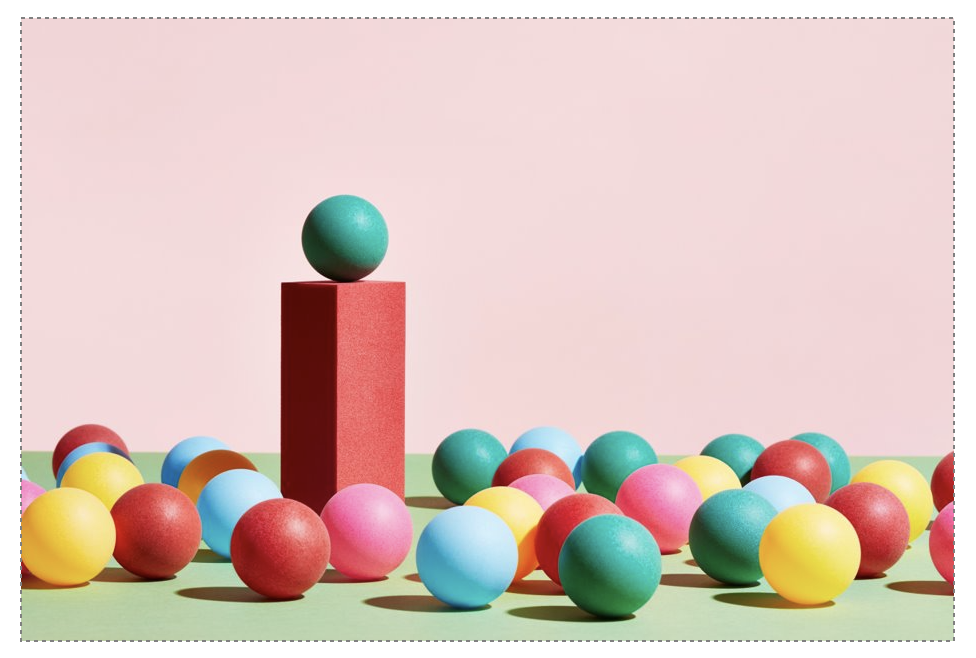
We’ve asked ninjas this week to find some visual references for the look-and-feel of the game (given that it’ll be low-poly) and also to consider some lore or story that would enhance the game and inform the creation process.
We started off this year with the Spirals Project.
We could specify how many lines the code should draw, how many sides the Spiral should have and then finally how many extra degrees we should turn before drawing the next line.
I have uploaded 2 versions of this project to the Scratch Website, you can get all the code and also play with them online.
ClassVersion-Spirals – This is the one we ended up with where it creates the early universe. ClassVersion-SingleSpiral – This is the one that we started with, where you can choose the different values.
to document your game idea. Remember that we don’t need a timeline, just the game concept. These files are just templates, so feel free to add anything you thinks is important and to ignore or delete anything you don’t think is important.
You will need to be connected to Microsoft Teams to download these files. Once you’re successfully connected to Teams, remember to say “Hello” in the 2023 Say Hello channel.
Also try to have Blender installed before next weeks session. This will avoid problems with passwords/IT locks/etc. Blender can be downloaded here.
See you next week!
Hi everyone,
We completed our Mario game this week. We coded Mario so that he always floated down on to the wall. We added a fraction of a second of a wait so that it appears that he floats as he comes down. This also allows time for you to navigate left or right as needed.
We also introduced a more advanced concept, the Parallax effect, whereby objects further away appear to move slower than objects nearer. We coded mountains and a Sun to demonstrate this.