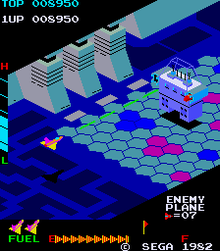
I decided, since we weren’t making a lot of progress with our Dungeon game, that we might need to switch to something simpler. We are going instead to make a game in the style of an isometric side-scrolling arcade shooter. This style of game first appeared back in 1982 with Sega’s Zaxxon (pictured below) but there have been many examples since.
We decided to call our game “Speedy Spaceship”.
To start with the game we opened a new Unity project and used the Package Manager to install the new Unity Input Manager package. This is the preferred way to define user inputs in Unity these days as it’s far more flexible when you want to add alternative control schemes (gamepad instead of keyboard, for example).
We first created a folder called Input and in there we made a new “Input Actions” asset and called it “ShipControls”. Opening this, we defined a simple control scheme, for keyboard and mouse, as follows:
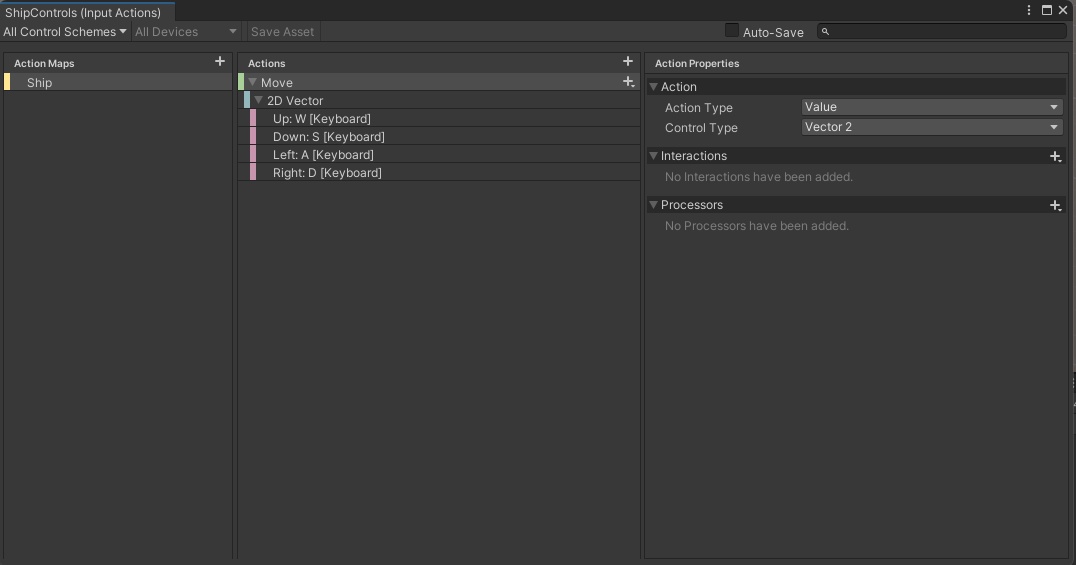
At the moment it only contains one action “Move” but we’ll be adding at least one more action later to enable shooting. Movement is bound to the WASD keys on the keyboard.
Once we’d done that, with this Input Actions asset still selected in the Project view, we selected the “Generate C# Class” option in the Inspector and pressed the “Apply” button. This made a script file called “ShipControls.cs” next to our Input Actions asset in the inputs folder. This file contains a lot of code for handling the interactions, but we don’t need to worry about it’s contents; it’s easy for us to make use of it.
We then added a plane, which we added a material to, and a cube positioned just above the plane, to our current scene. With the cube selected, we positioned ourselves in the Scene View such that the cube’s X-axis (red) was pointing right and away from us and the cube’s Z-axis (blue) was pointing left and away from us.
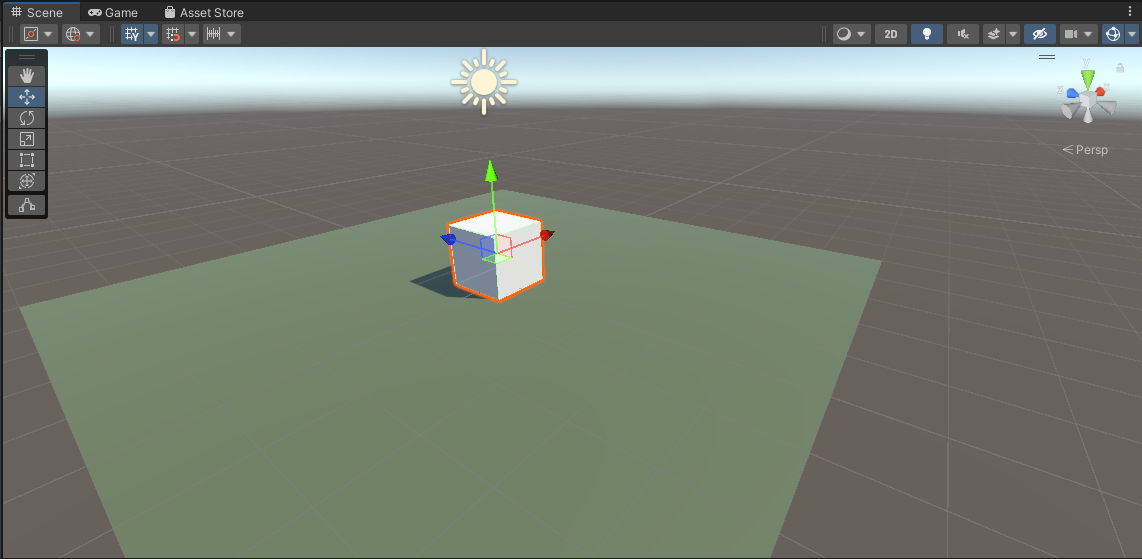
We then selected “Main Camera” in the scene and used the GameObject|Align with View menu command to set the camera to the same angle as the Scene View. Toggling between Scene View and Game View now show the exact same angle, at least until we move in the scene view again.
We create a Scripts folder and made a new C# script inside called “ShipController”. We dragged and dropped this script over the cube in the scene view to assign it.
The first thing we needed to do was to attach the ShipControls to the ShipController (similar names, but two different things). We made a new private property in ShipController to hold a reference to a ShipControls instance, added the Awake() function where we created a new ShipControls object and then used the OnEnable() and OnDisable() functions to enable and disable the ShipControls when the ShipController was itself enabled or disabled. This is what that code looks like:
using System.Collections;
using System.Collections.Generic;
using UnityEngine;

public class ShipController : MonoBehaviour
{
  private ShipControls _controls;

  private void Awake()
  {
    _controls = new ShipControls();
  }

  // Start is called before the first frame update
  void Start()
  {

  }

  private void OnEnable()
  {
    _controls.Enable();
  }

  private void OnDisable()
  {
    _controls.Disable();
  }
}
For movement we then just need to find out what the value of our input is at every frame and move appropriately. First though, we need some control over the speed we’re going to move. We add a new public property for MoveSpeed:
public class ShipController : MonoBehaviour
{
  public float MoveSpeed = 10.0f;
Now we can add code to Update(), the function that Unity calls every time that a frame is drawn, to move the cube around in response to player input.
If we have a speed and a time, we just need to multiply them together to see how far we’ve gone. This is a simple mathematical way of expressing it:
speed * time = distance
If, for example, I’m travelling 100kph and I drive for two hours then the distance I’ve gone is 200km.
100km/h * 2h = 200kmThe time between frames in Unity is stored in a special variable Time.deltaTime. This value for time is dependent on our framerate. As long as we use this value when we’re calculating distance moved in a single frame, the answer will be correct no matter if our computer is generating 20FPS or 200FPS.
Let’s see the final Update() function code:
  void Update()
  {
    Vector2 moveInput = _controls.Ship.Move.ReadValue<Vector2>();

    transform.position = transform.position +
                         new Vector3(moveInput.y * MoveSpeed * Time.deltaTime,
                                     0,
                                     -moveInput.x * MoveSpeed * Time.deltaTime);
  }
The first thing is that we ask for the value of the moveInput. This is defined as Vector2 value so it has an x and a y part (representing the horizontal and vertical axes respectively). The y component will be +1 when we’re pushing W (Up) and -1 when we’re pushing S (Down). Similarly the x component will be +1 when we’re pushing A (Left) and negative when we’re pushing D (Right).
We take transform.position, which controls the position of the cube and we set it to a new value which is it’s current position plus an new Vector3 which represents the change in position this frame. The x and z portions, which represent horizontal movement, are both calculated from the input. The y portion, representing vertical movement, is always zero. The other two are of the form:
distance = input * speed * timeDistance being speed multiplied by time we’ve seen, but what’s input doing in there? Well input is like a switch. When you’re not providing input, it’s zero. Anything multiplied by zero is zero, so distance must be zero when we’re not actively providing input. When you’ve providing input it’s either 1 or -1 which means we’ll move forward or backwards depending on what the input is.
Next week we’re going to make our ship a little more ship-like in proportion and make it bank when it goes sideways. We’ll also be creating a simple ship model in Blender.
All the code we’re made this year is on our GitHub. It can be found here. If you don’t have the latest version of our code before any session, use the green Code button on that page to get the “Download ZIP” option which will give you a full copy of all code we’ll be writing this year.