Notes for Weeks 5 and 6:
Copies of files can be found on our Github.
Hi folks,
Below are links to some resources we’re going to use today:
Hi folks, here are the notes for Modelers Week 4, we completed our island scene with materials, lighting and effects.
Copies of files can be found on our Github.
Hello Witches, Wizards, Mummies and Vampires!
CoderDojo takes a Halloween holiday. There will be no CoderDojo on Saturday 18th of October and Saturday 25th of October.
If you want to refer to the schedule, you can find it here:
You can even add the schedule to your own Google Calendar by scrolling down the schedule page and clicking the small “+” icon.
Happy Halloween
Hi folks, here are some notes for Week 3. We completed our lighthouse and sculpted an island.
Hi folks, here are some video notes for Weeks 1 & 2 for those who’d like to review what we did, or missed our sessions.
Download and install Blender from here: https://www.blender.org/download/
Thanks so much to the large crowd who turned up for our intro session last Saturday.
We had presentations from
Eoin on Explorers,
Kieran on Modellers,
Adam on Advancers
and Kevin on the possibility of running Hackers.
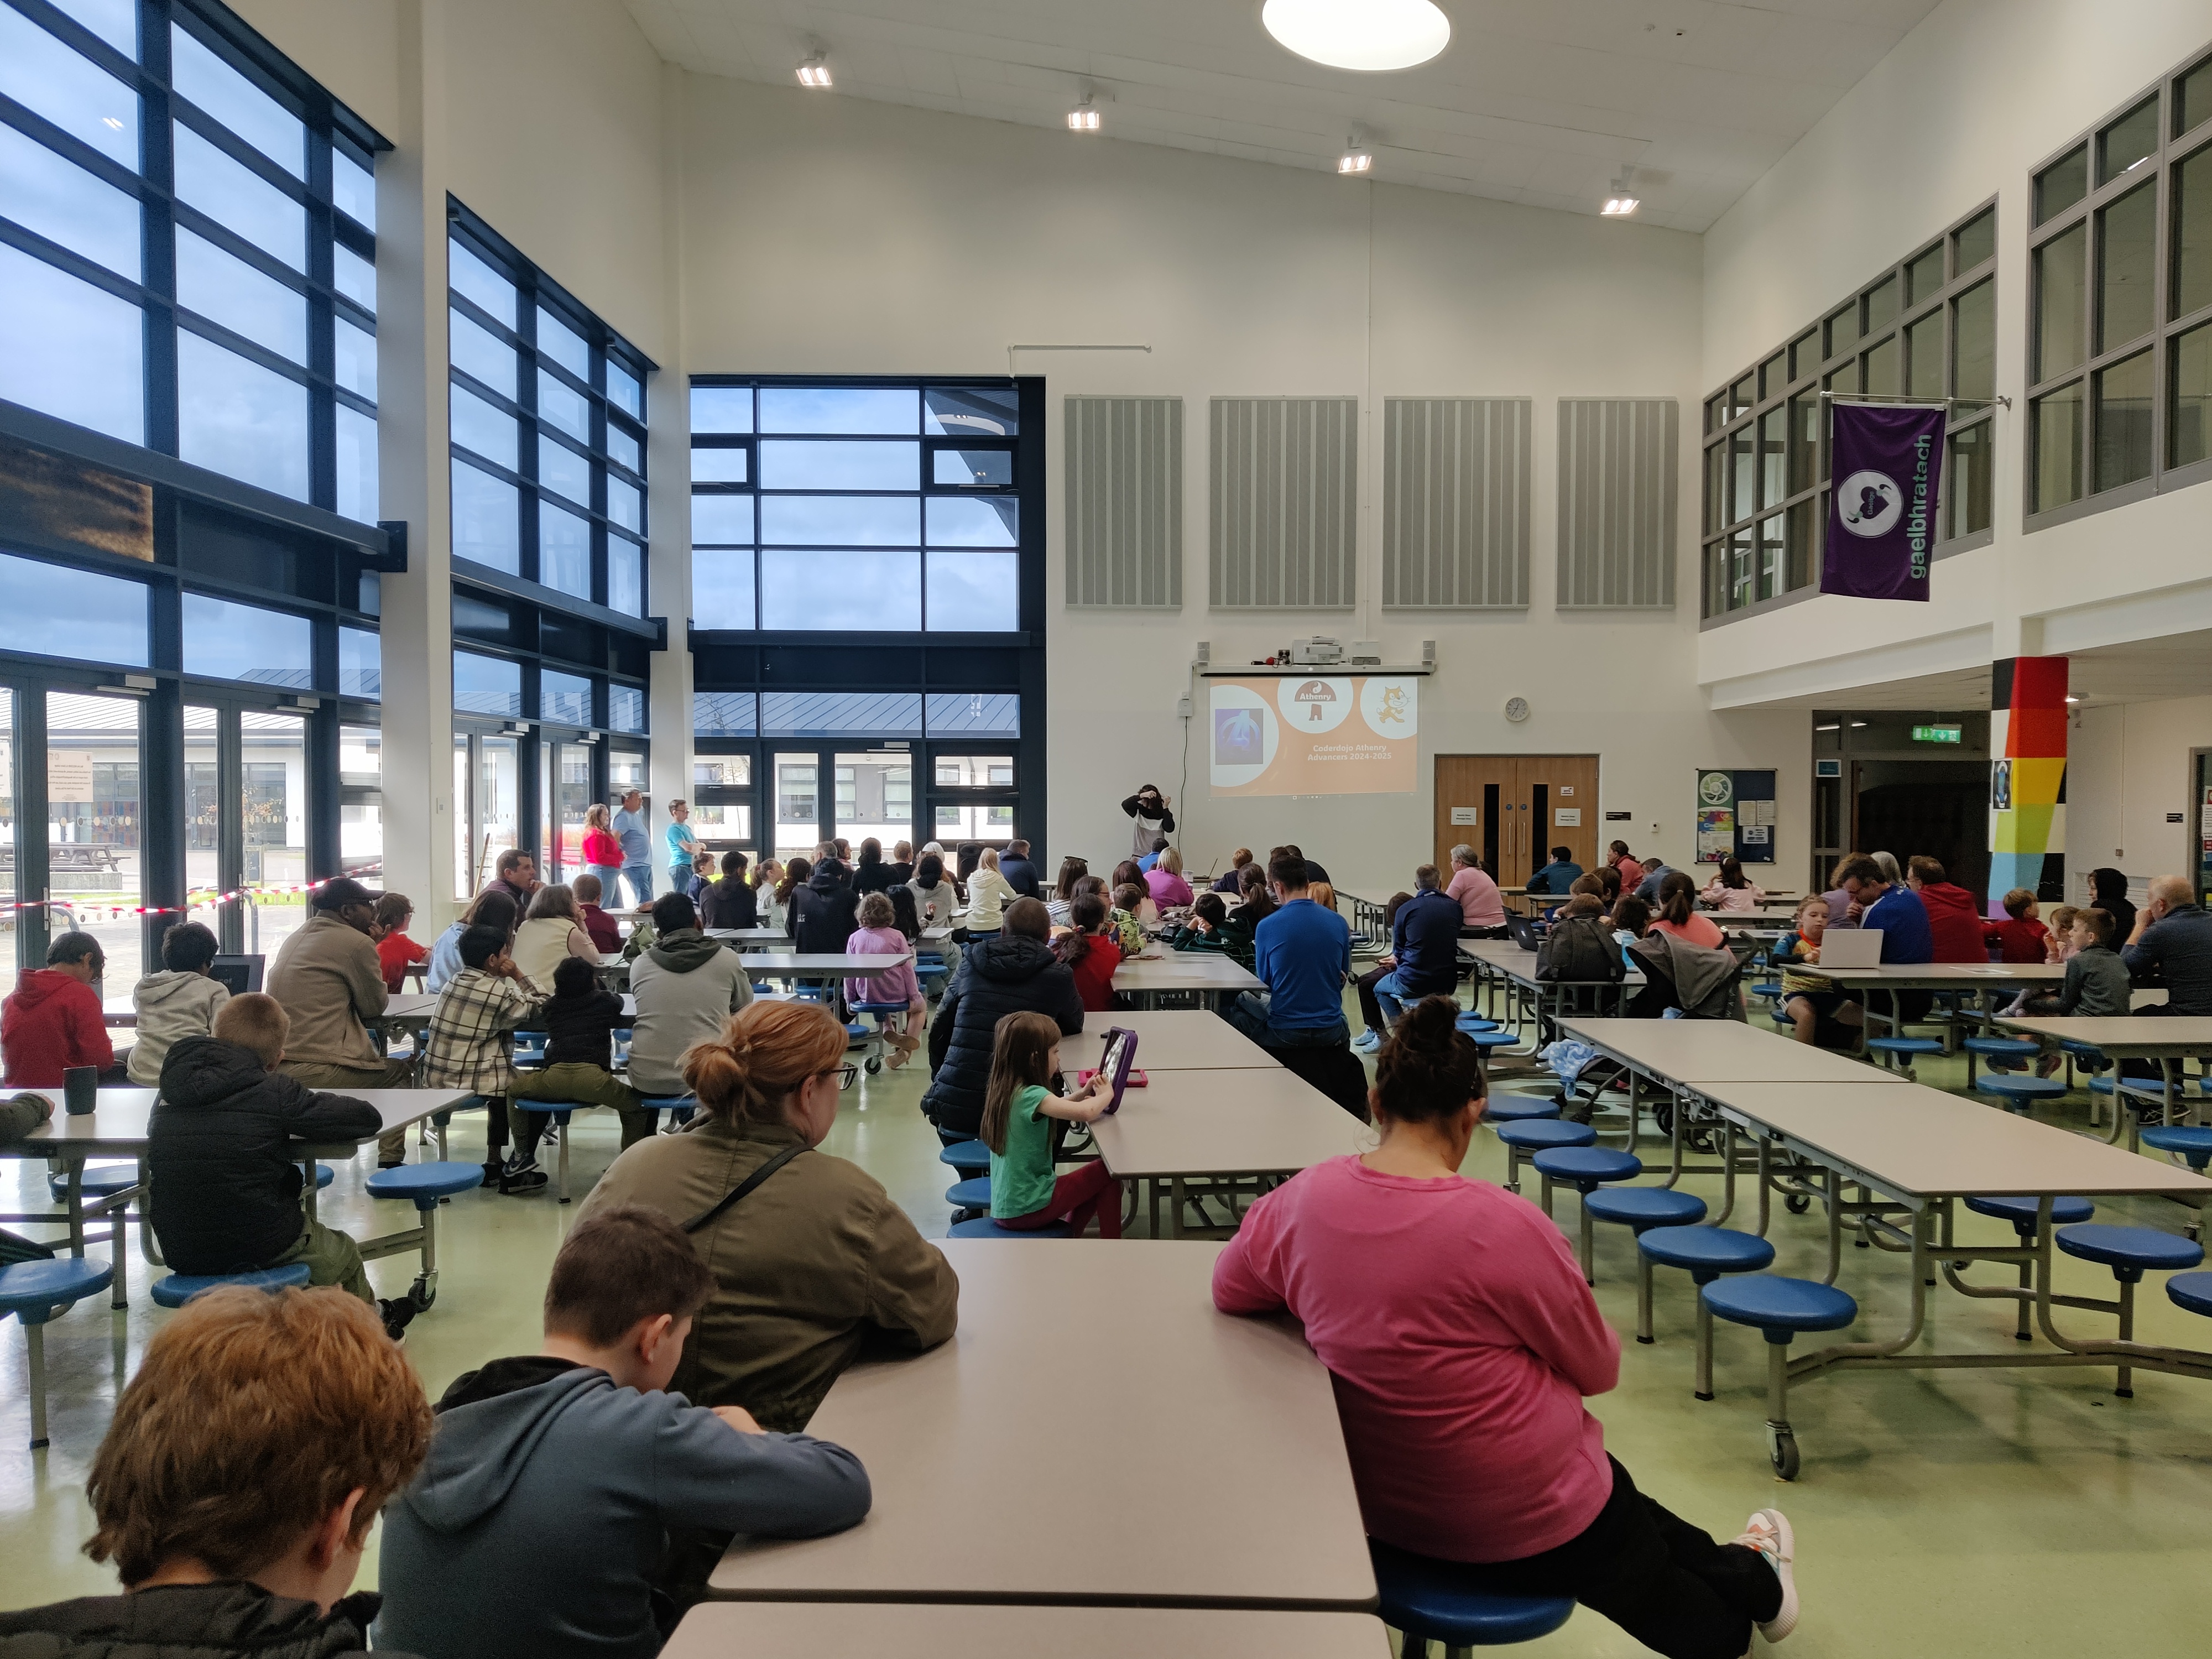
Remember our first classes will Saturday 27th! Ninjas assemble!
Infroductary Session today (Saturday September 20th 2025) at 12:00 noon in Clarin College.
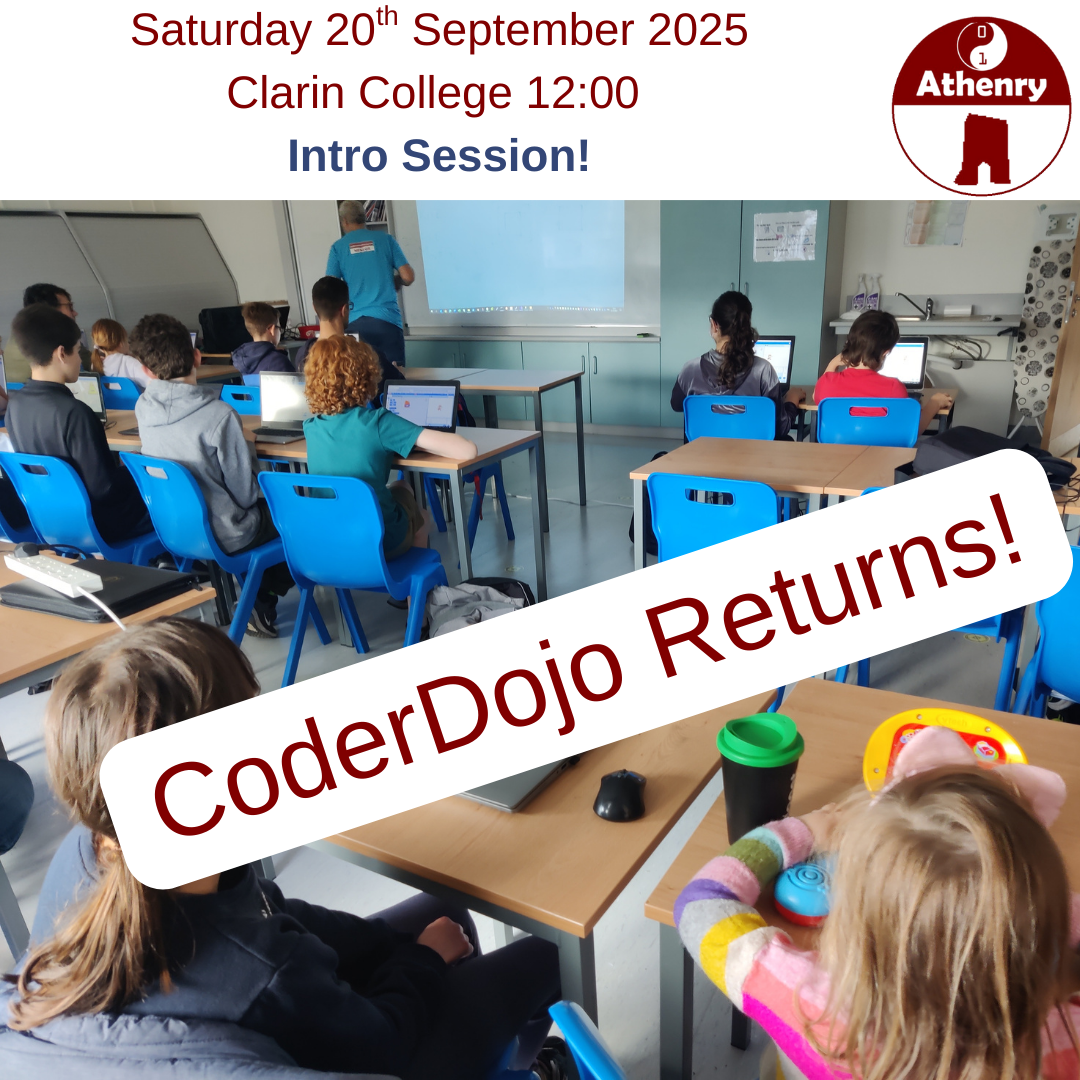
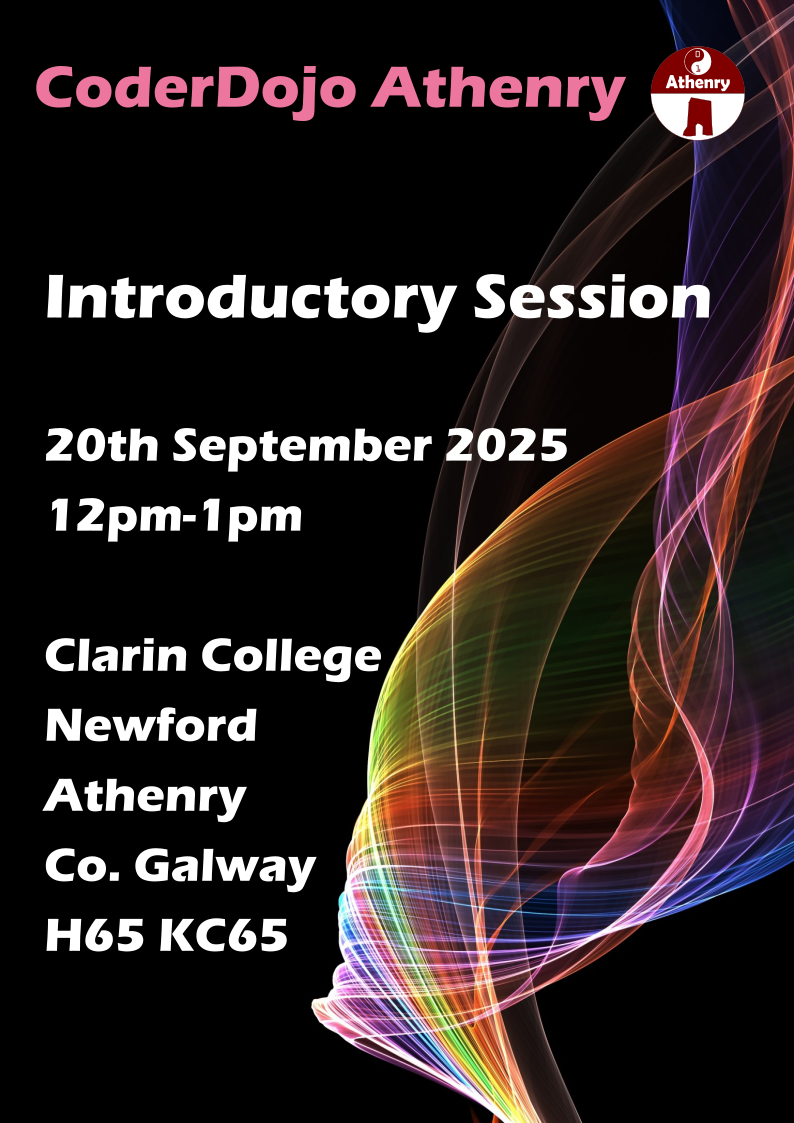
We’re kicking off the 2025-2026 year with an introductory session on Saturday 20th Sept 2025 at 12pm in Clarin College, Athenry.
Come along if this is your first time attending CoderDojo Athenry, if you’re wondering which group to join, or you just have some questions. Those who have been at CoderDojo Athenry before need not attend.
We will resume with our first normal session from 12pm-2pm on Saturday 27th 2025, again at Clarin College. Our full schedule can be found here.
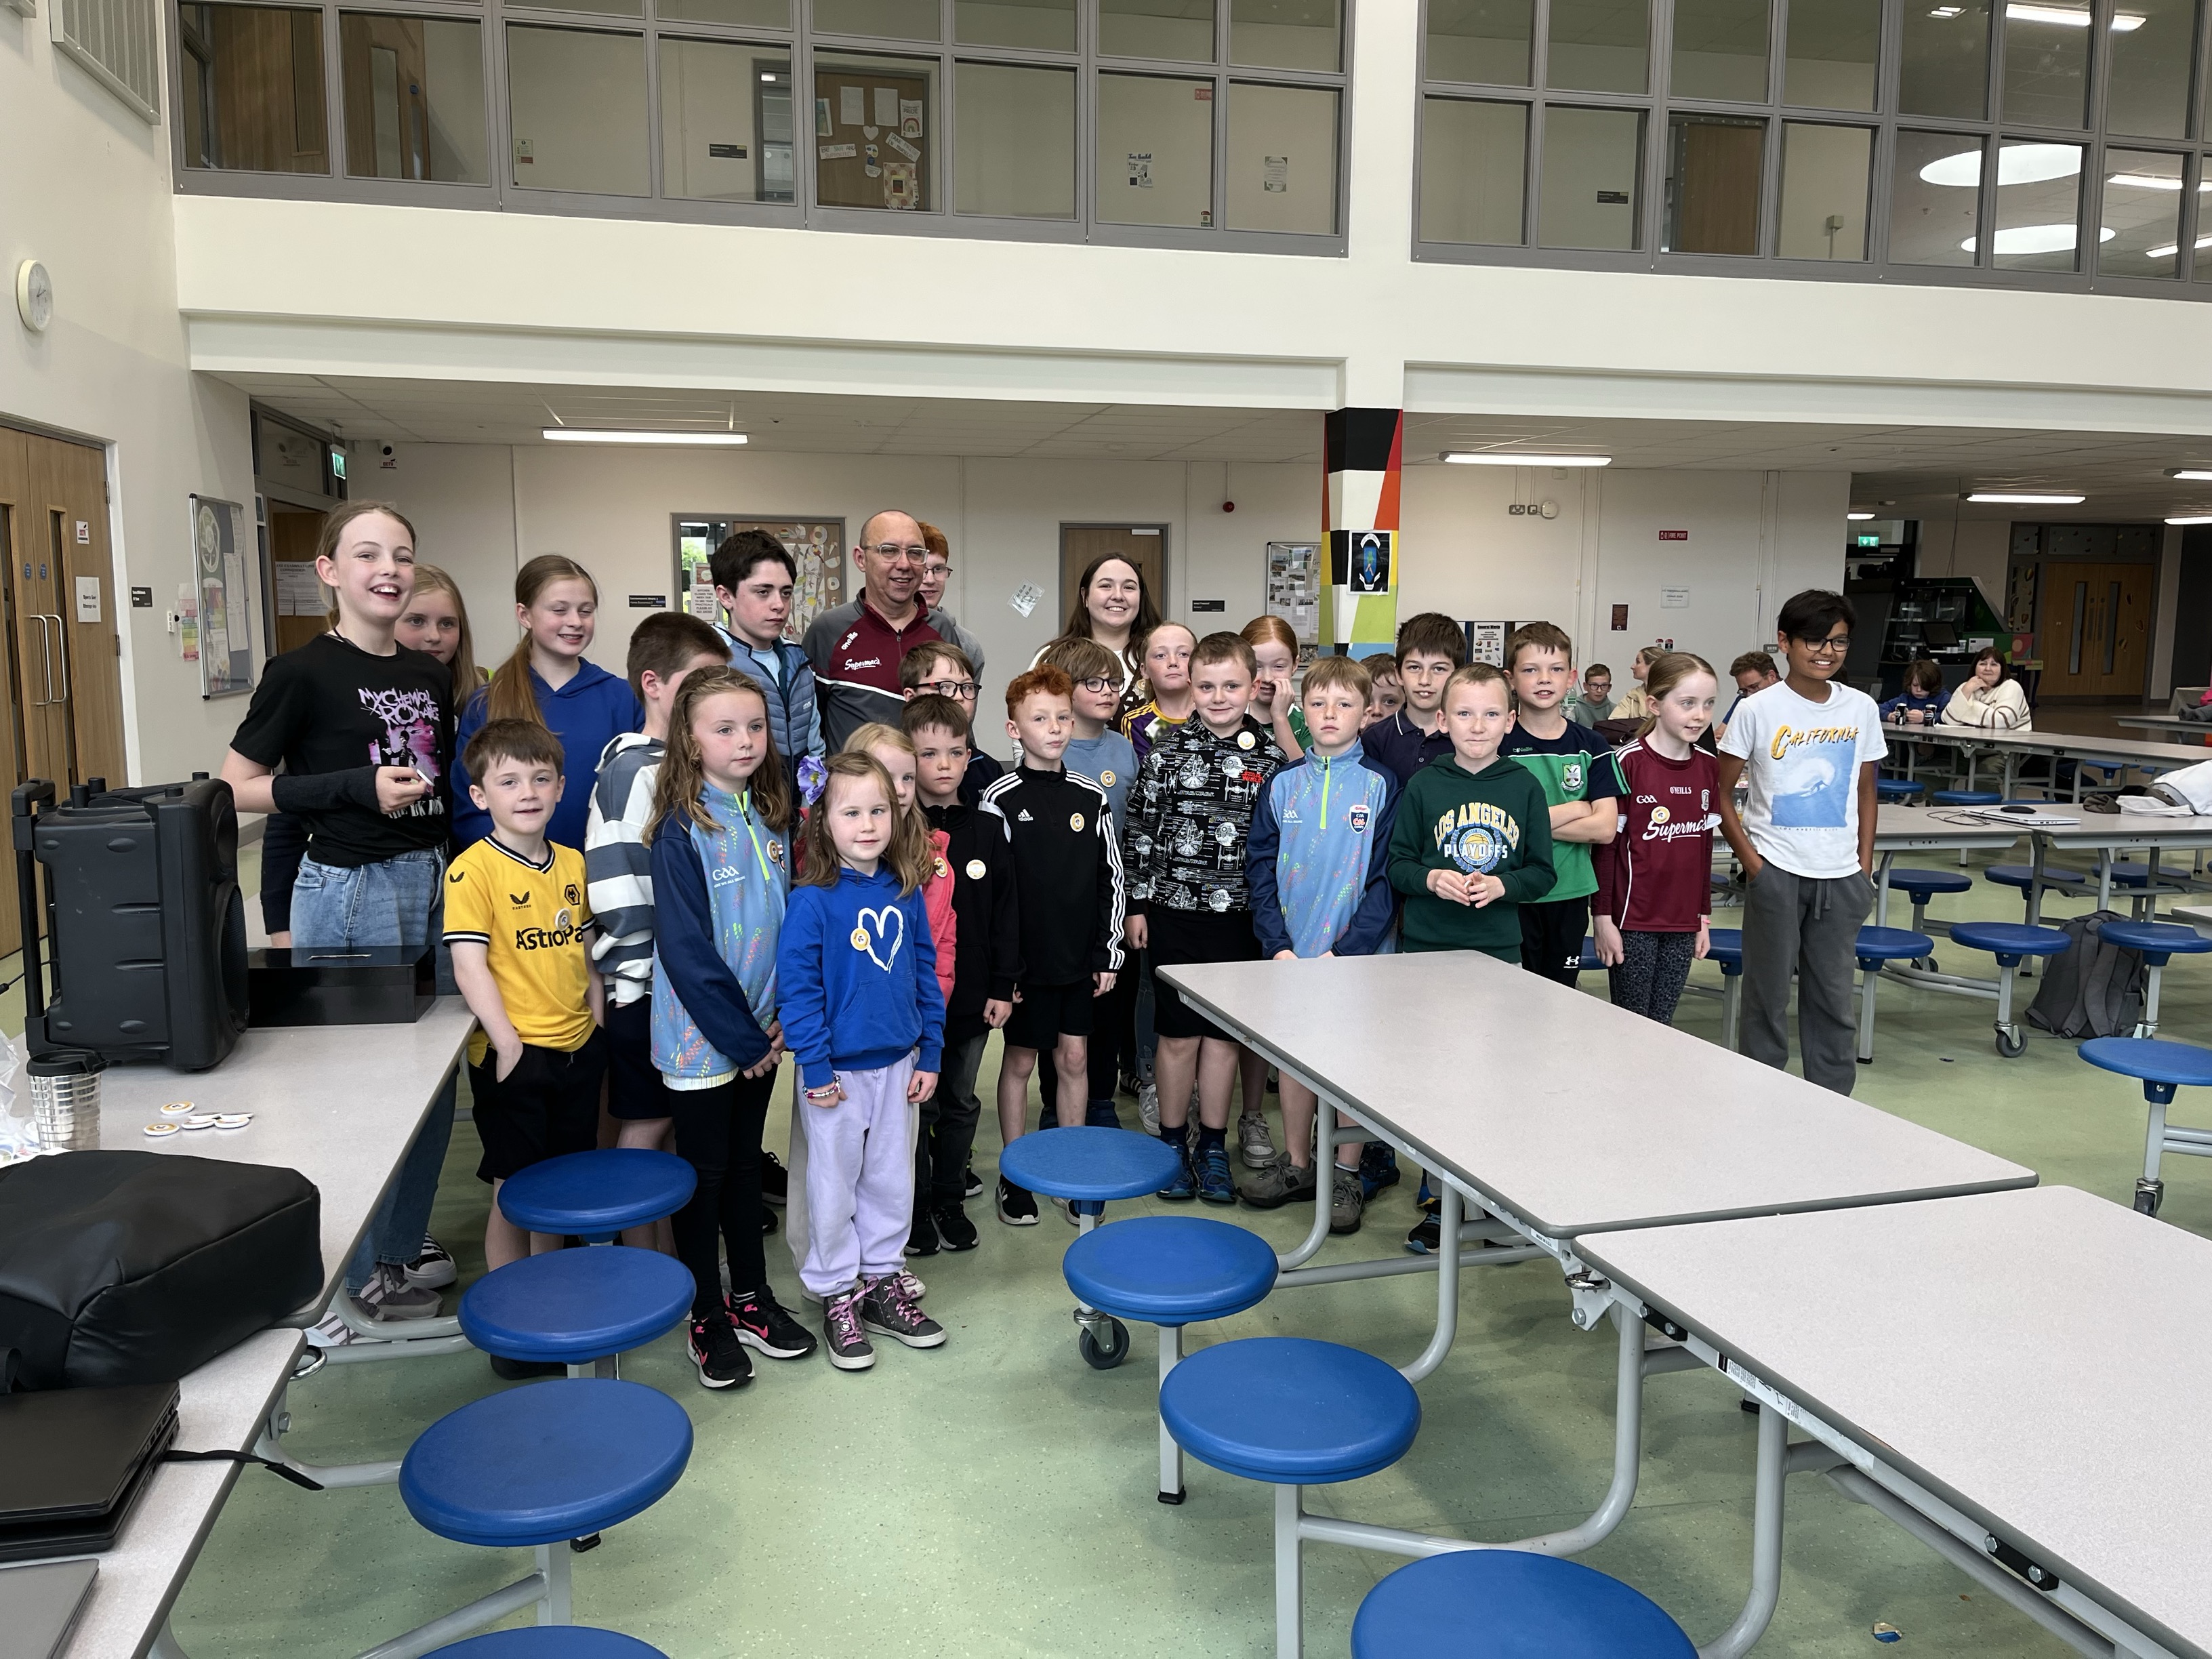
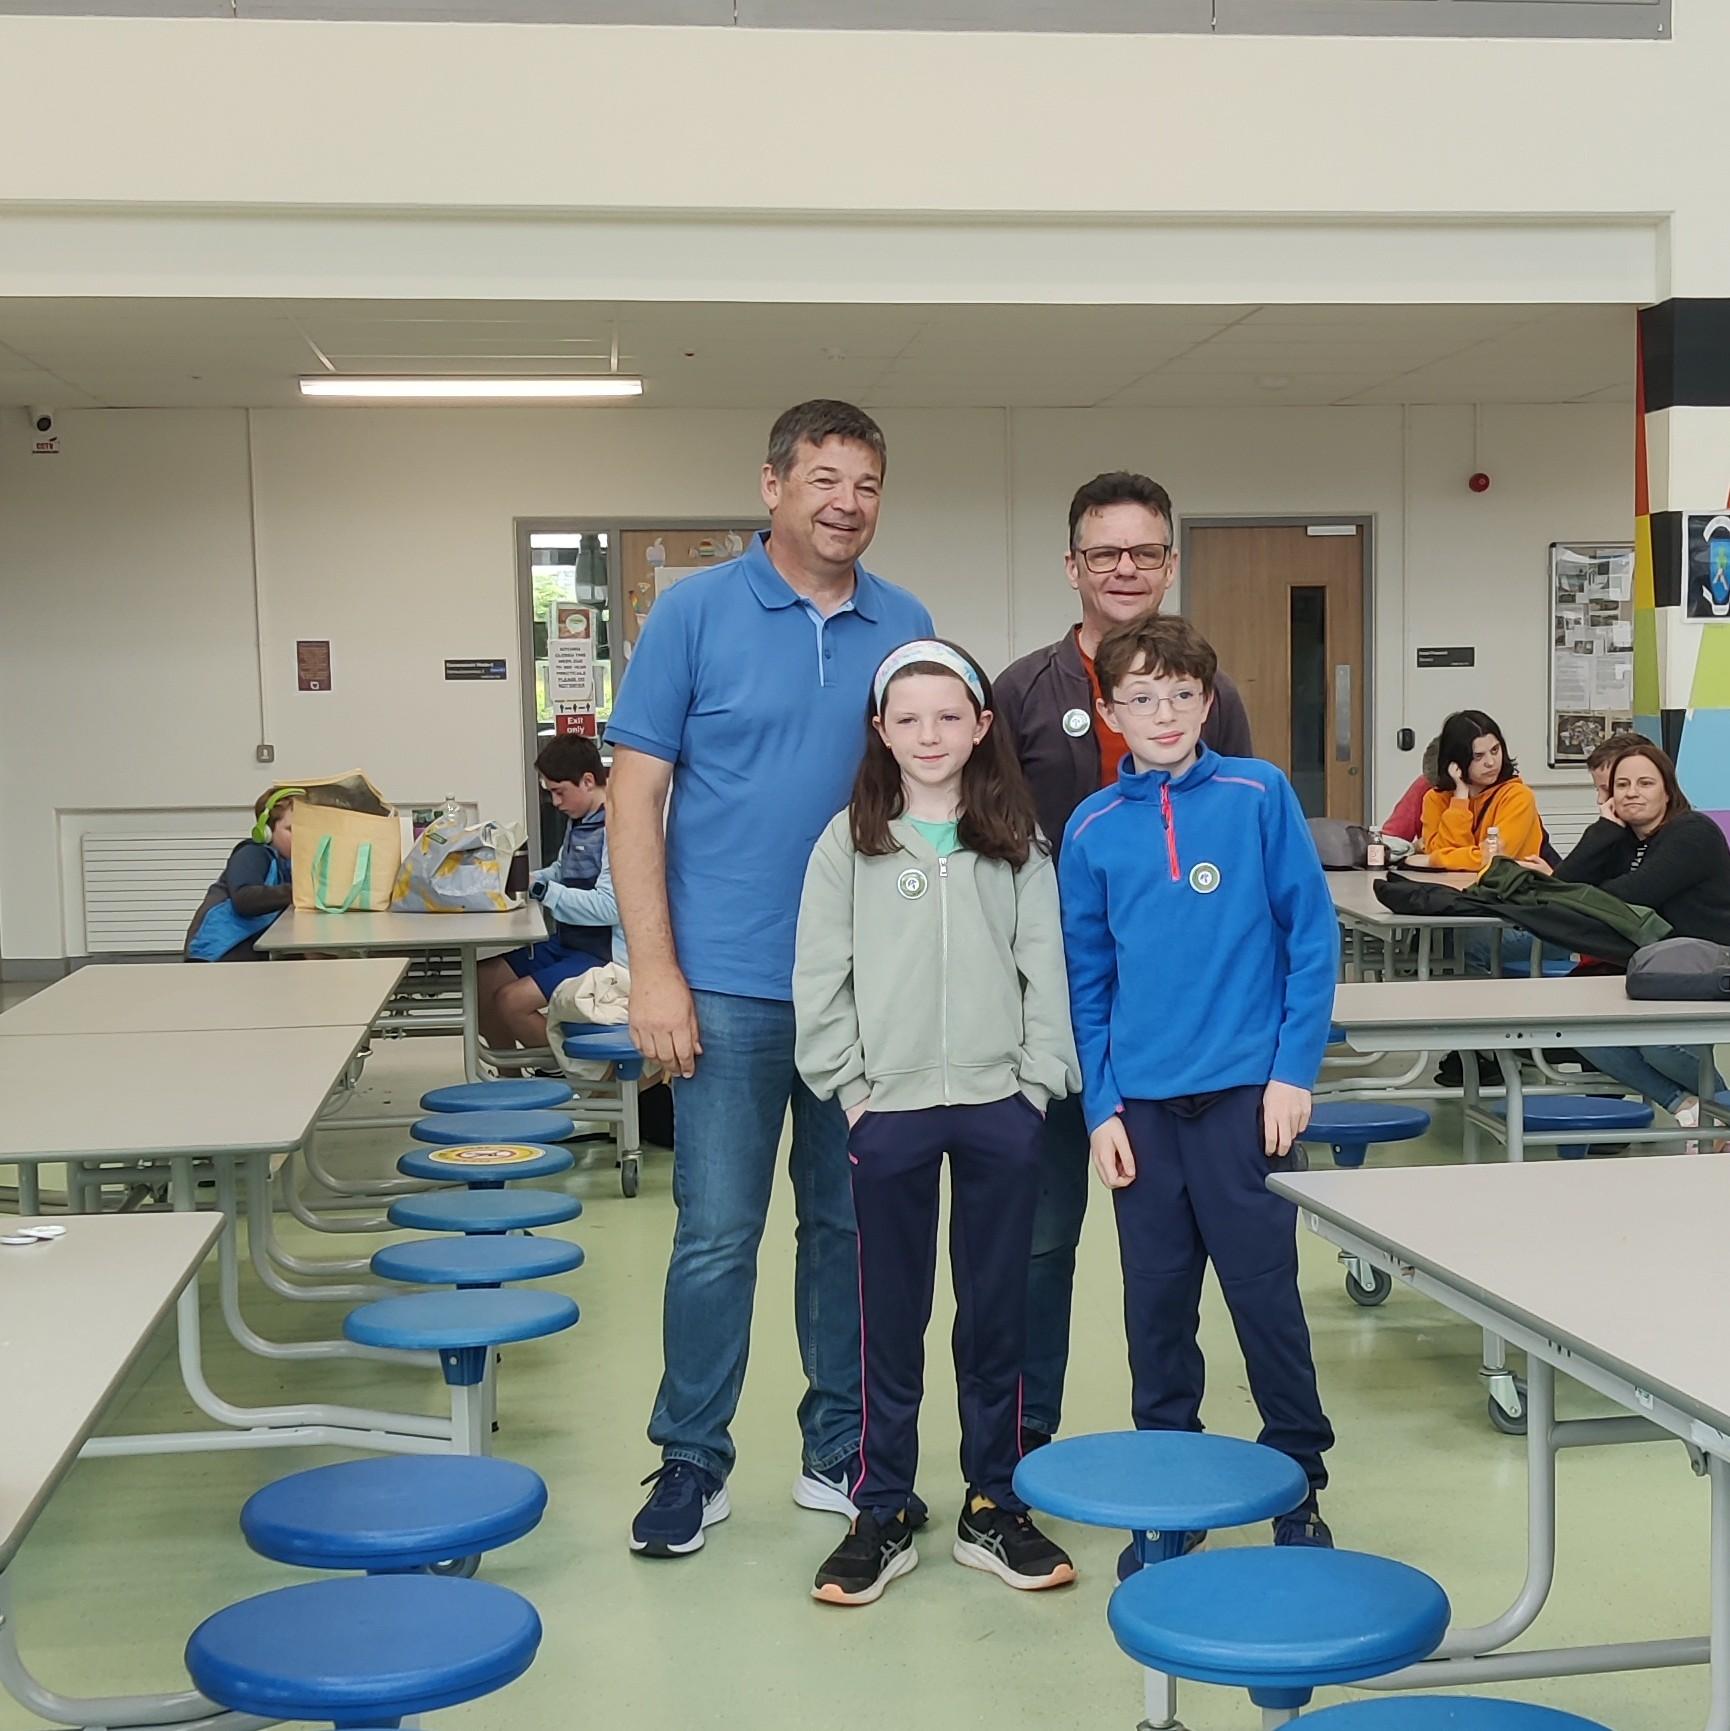
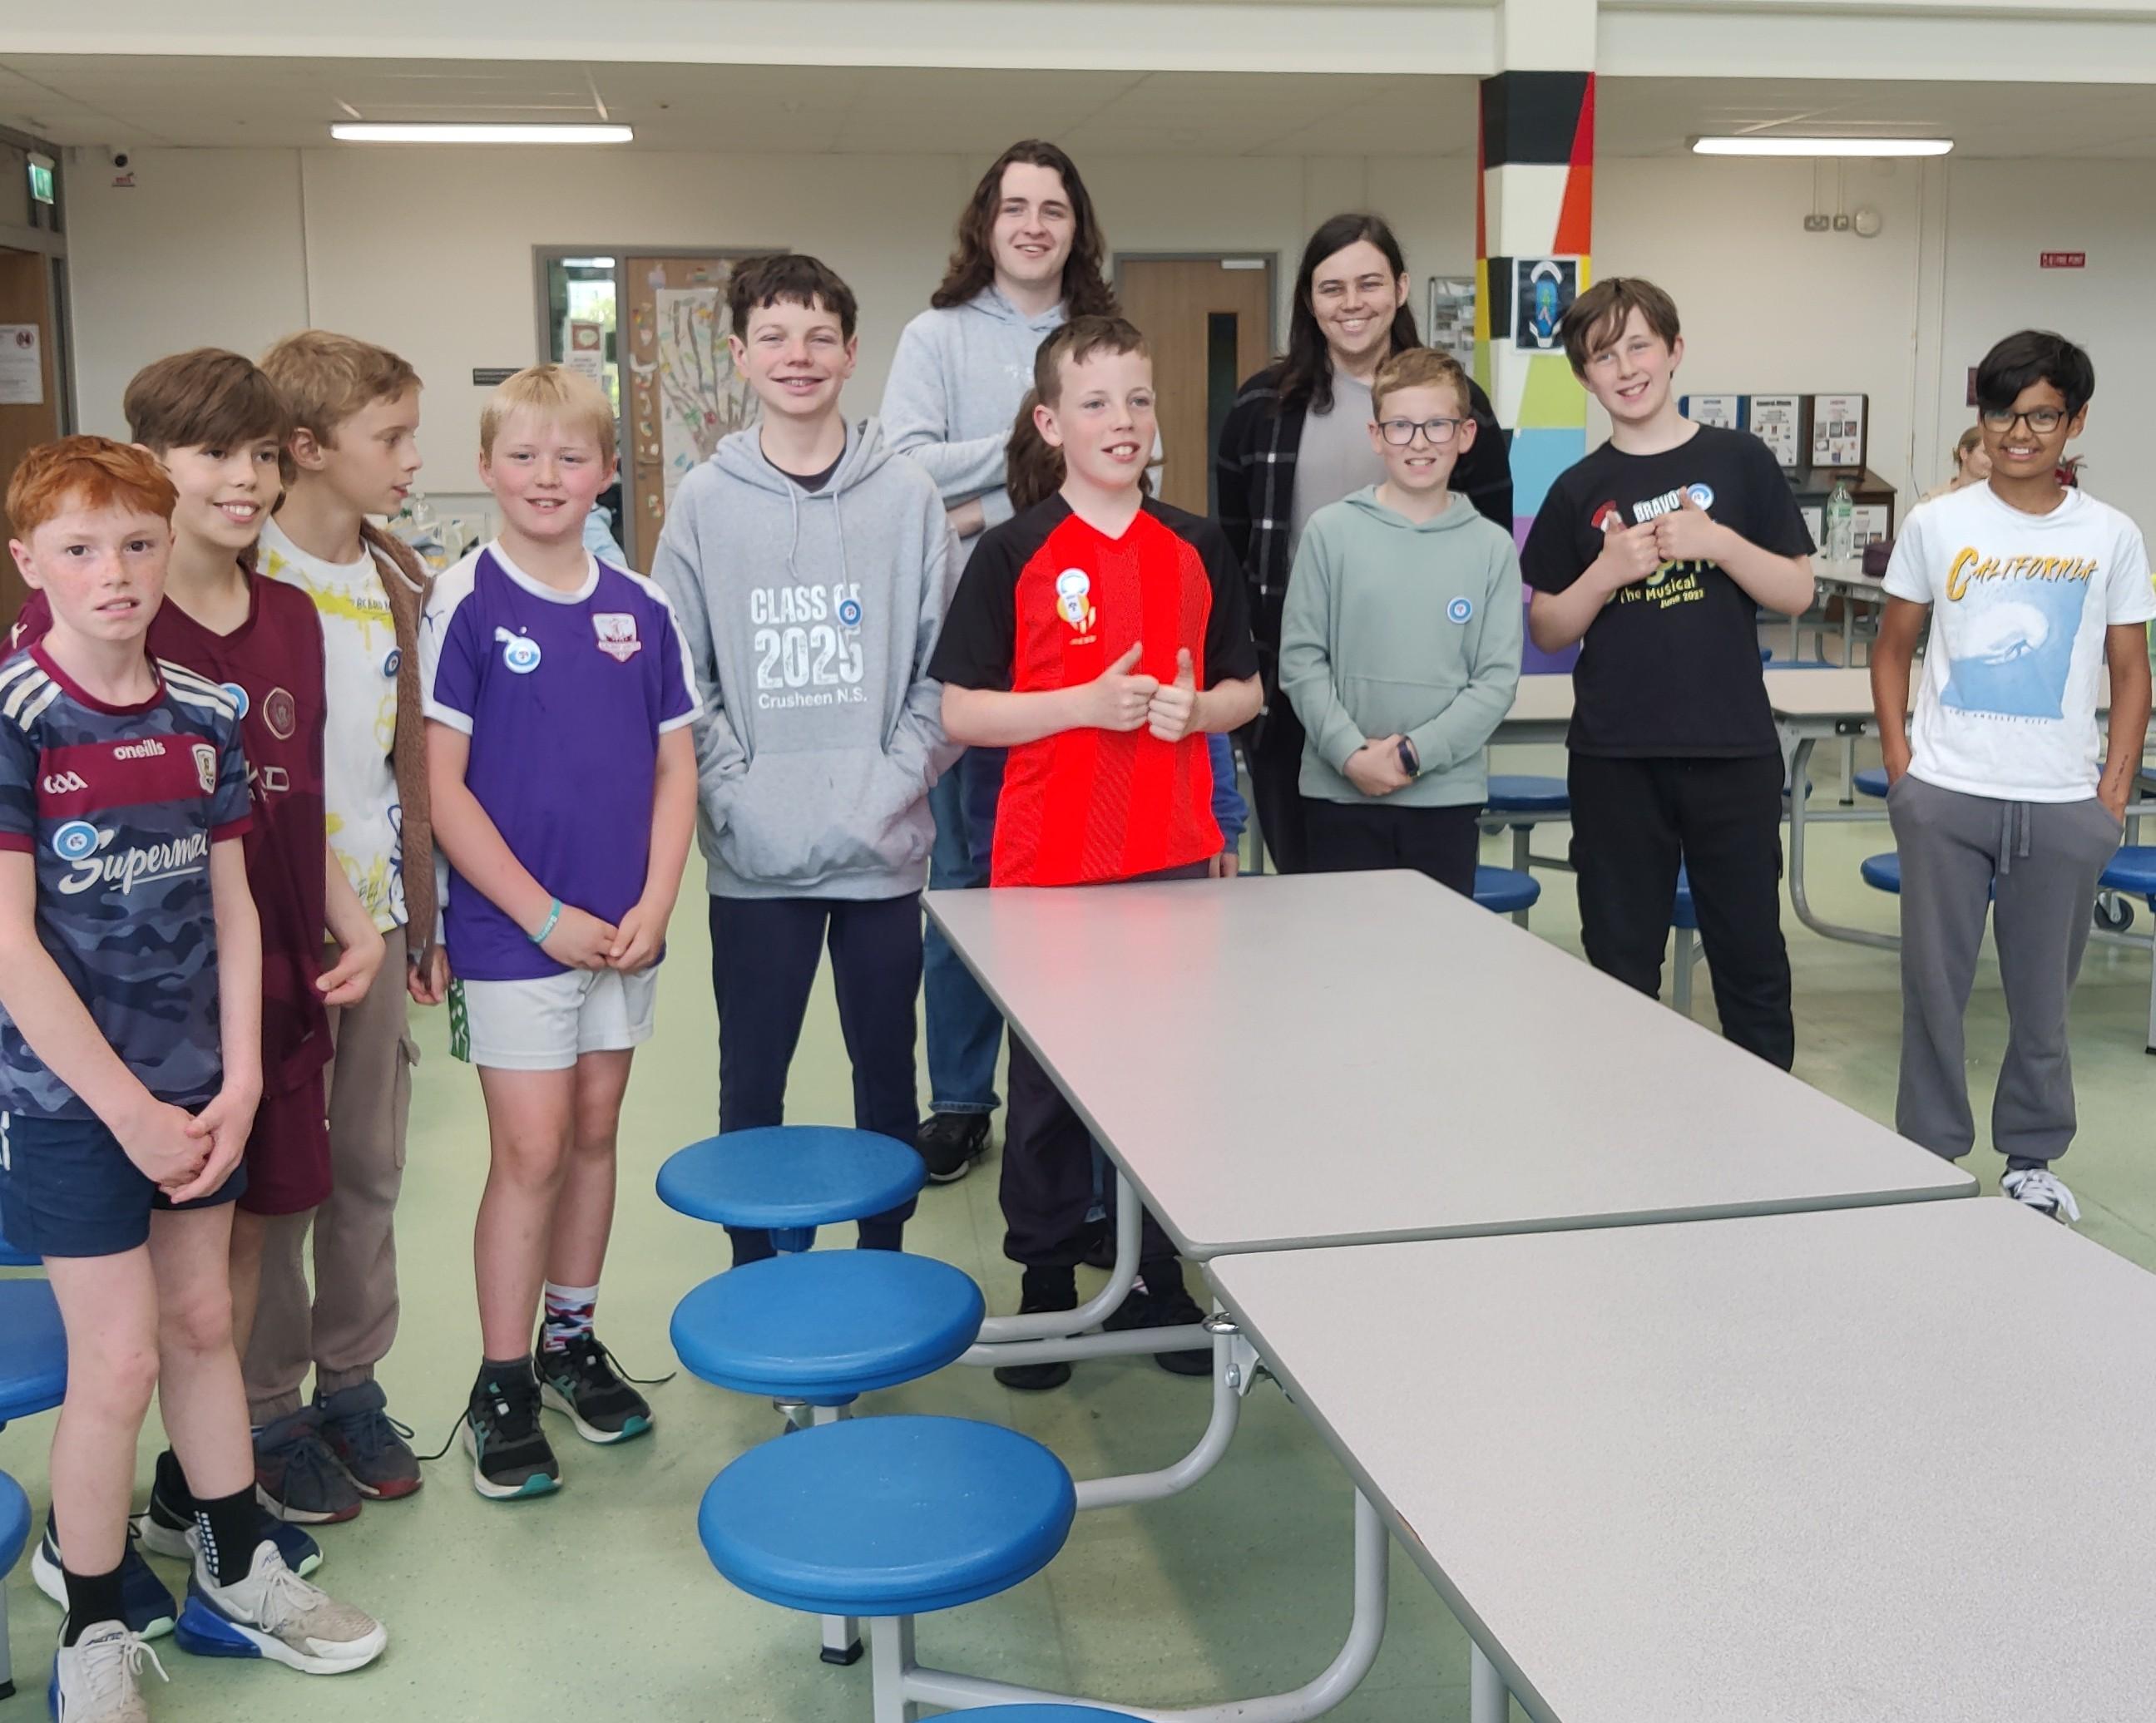
We had a great end-of-year party today. It’s our favourite tradition and a great way to celebrate our year’s achievements.
We demoed what each group had been working on, awarded badges and had a fun quiz. Then we feasted. Everyone’s favourite part is the food. Supermac’s & Papa John’s Athenry did a super job there, as they always do!
We invited donations today. We don’t like to do that too often, but everyone was incredibly generous. We received enough to completely cover the cost of the party and the badges with a little left over. Our most sincere thank you!
I’d like to acknowledge and thank others who have helped us this year. The acting-principle and staff of Clarin College ensure we have a venue, The University of Galway’s School of Computer Science provided us with much-needed financial grant. Medlife kindly donated two laptops which we can use in our laptop loaner program.
Finally, thank you to the hard-working and dedicated volunteer mentors who turn up week after week and keep this incredible organisation going.
We will be returning in the autumn. Dates will be announced in late-Aug/early-Sept, once we know them.
I wish everyone a fantastic summer!