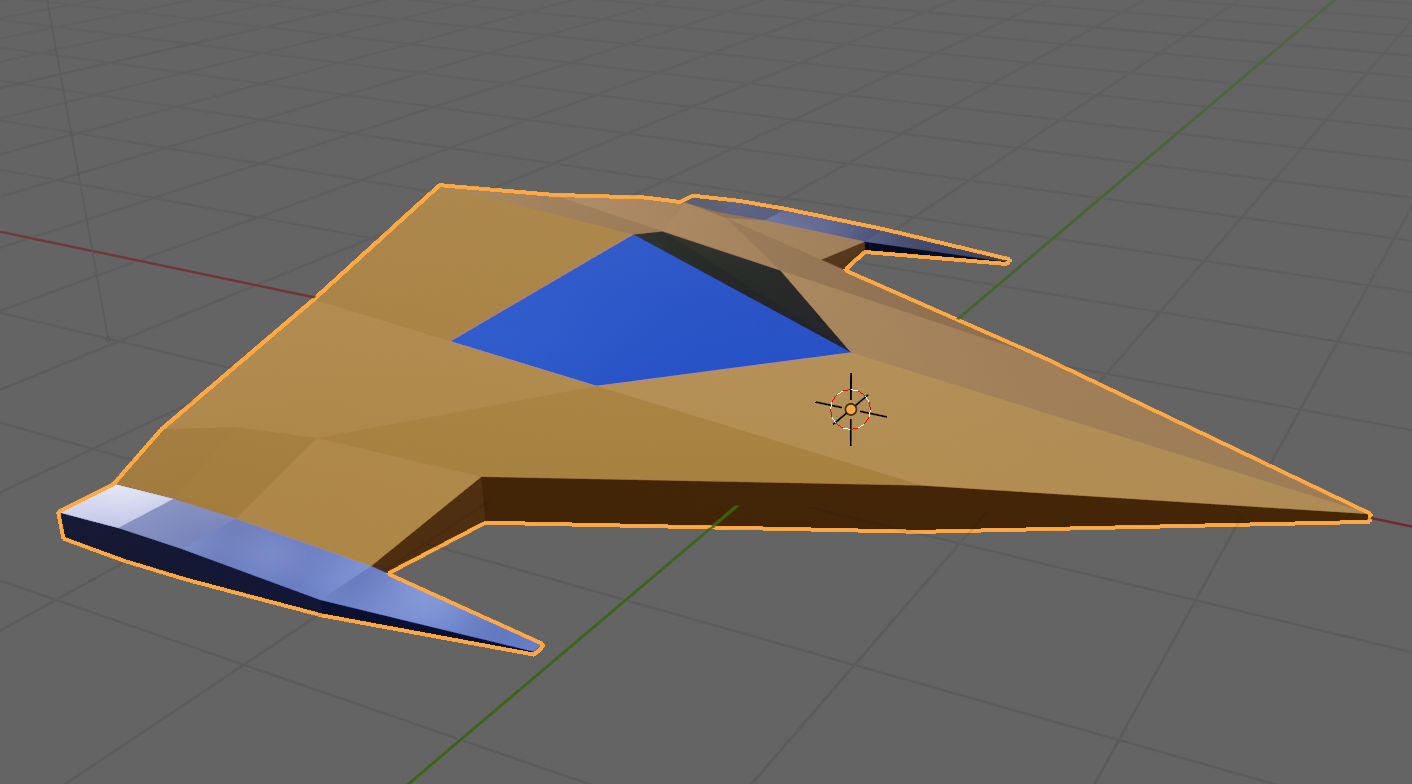
This week we completed our ship from the previous week by adding some materials. Materials are what provides colour to models.
Out model, by default, contains a single material slot. This default material is a grey material and because there’s a single slot, it’s applied to all faces.
To start colouring our model we went to the material properties panel on the right-hand-side of the screen. It has a red circular icon as seen at (1) below.
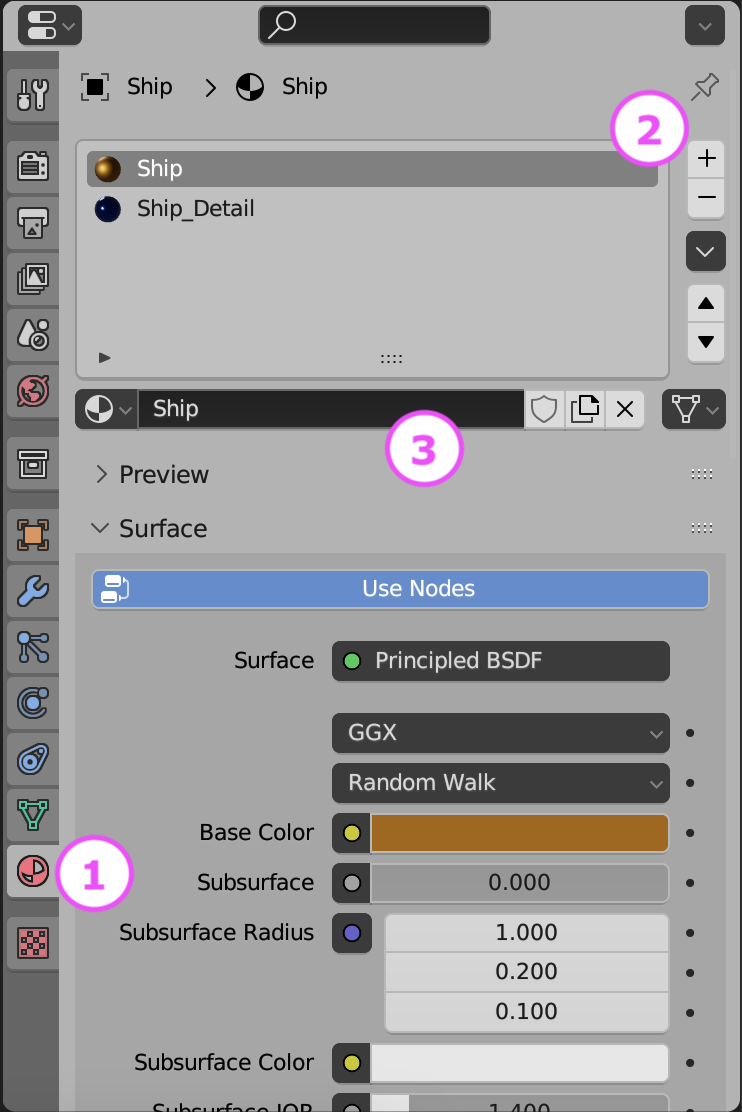
We removed the default material slot by using the – key at (2) above then then added two new materials, called Ship and Ship_Detail by pressing + at (2) to make two new material slots and using the “New” button at (3) when those empty slots where selected to actually make a new material.
The default material component has a lot of inputs, but we can ignore most of them for now. The most important ones are:
- Base Colour: This is the main colour of the material
- Metallic: How much like a metal the material is. Although a slider, its normally to be either zero (not a metal) or 1 (a metal) rather than anything in-between.
- Roughness: How smooth or rough the material is. Will greatly impact how light reflects off the object. Metallic materials with very low roughness look mirror-like.
We set Ship and Ship_Detail with contrasting colours, metallic finish and low roughness.
Environment

We are going to create loads of environment sections that snap together. The follow the basic pattern show above. A flat area 90x100m in size, with a vertical edge 4m high and a 20m flat area beyond that. We can add any embellishments to the raised flat area on the sides, so long as they’re not too high on the side facing the camera. We don’t want to obscure the ship.
Like the ship, we created two contrasting materials for the environment, one dark as a base and one bright as a contrast colour for details.
Getting the Model
The Blender model for this week can be downloaded from our Teams site here.
